Instructions
Page 109
18.4.2. Block / release flight phase
Use the REV/CLR button to release or block the flight
phases. First select the flight phase, then activate the
name, and finally switch between “free” and “blocked”
using the REV/CLR button. Selecting a different name
using the 3-D digi-adjustor also releases a blocked flight
phase. The active flight phase (x) cannot be blocked.
NOTE:
If you accidentally select a blocked flight phase with the
phase select switch, you will hear a continuous warning
tone. The settings of the last used phase remain active,
the corresponding phase number appears in the display
and the phase name appears striked out.
18.4.3. Copying the active flight phase
The active flight phase is marked by an “x” after the
name. You can copy the values for this phase into any of
the three other phases. This is the procedure:
1. Select the active phase (x)
2. Press the 3-D digi-adjustor (or ENTER) twice:
the “x” is activated
3. Select the destination phase for the copy: a “c” ap-
pears in the cursor.
4. Confirm with the 3-D digi-adjustor or ENTER
18.5. Sub-menu „Properties“
I affects active model memory
Displays model template used to create this model
This menu displays certain characteristics of the active
model. These characteristics can also be changed, with
the exception of the used template.
Example:
In this example Mode indicates that the left stick con-
trols rudder and elevator. You can change this setting if
you wish.
Assignment indicates which of the available assign-
ment lists for transmitter controls and switches is in use
for this model. You can change this setting if you wish.
Template indicates the model template you invoked
when you created this model. You cannot change this
setting.
he name of the model can be entered at this point, with
a maximum of 16 characters. If you create a new model,
the name of the template you used is automatically
entered here.
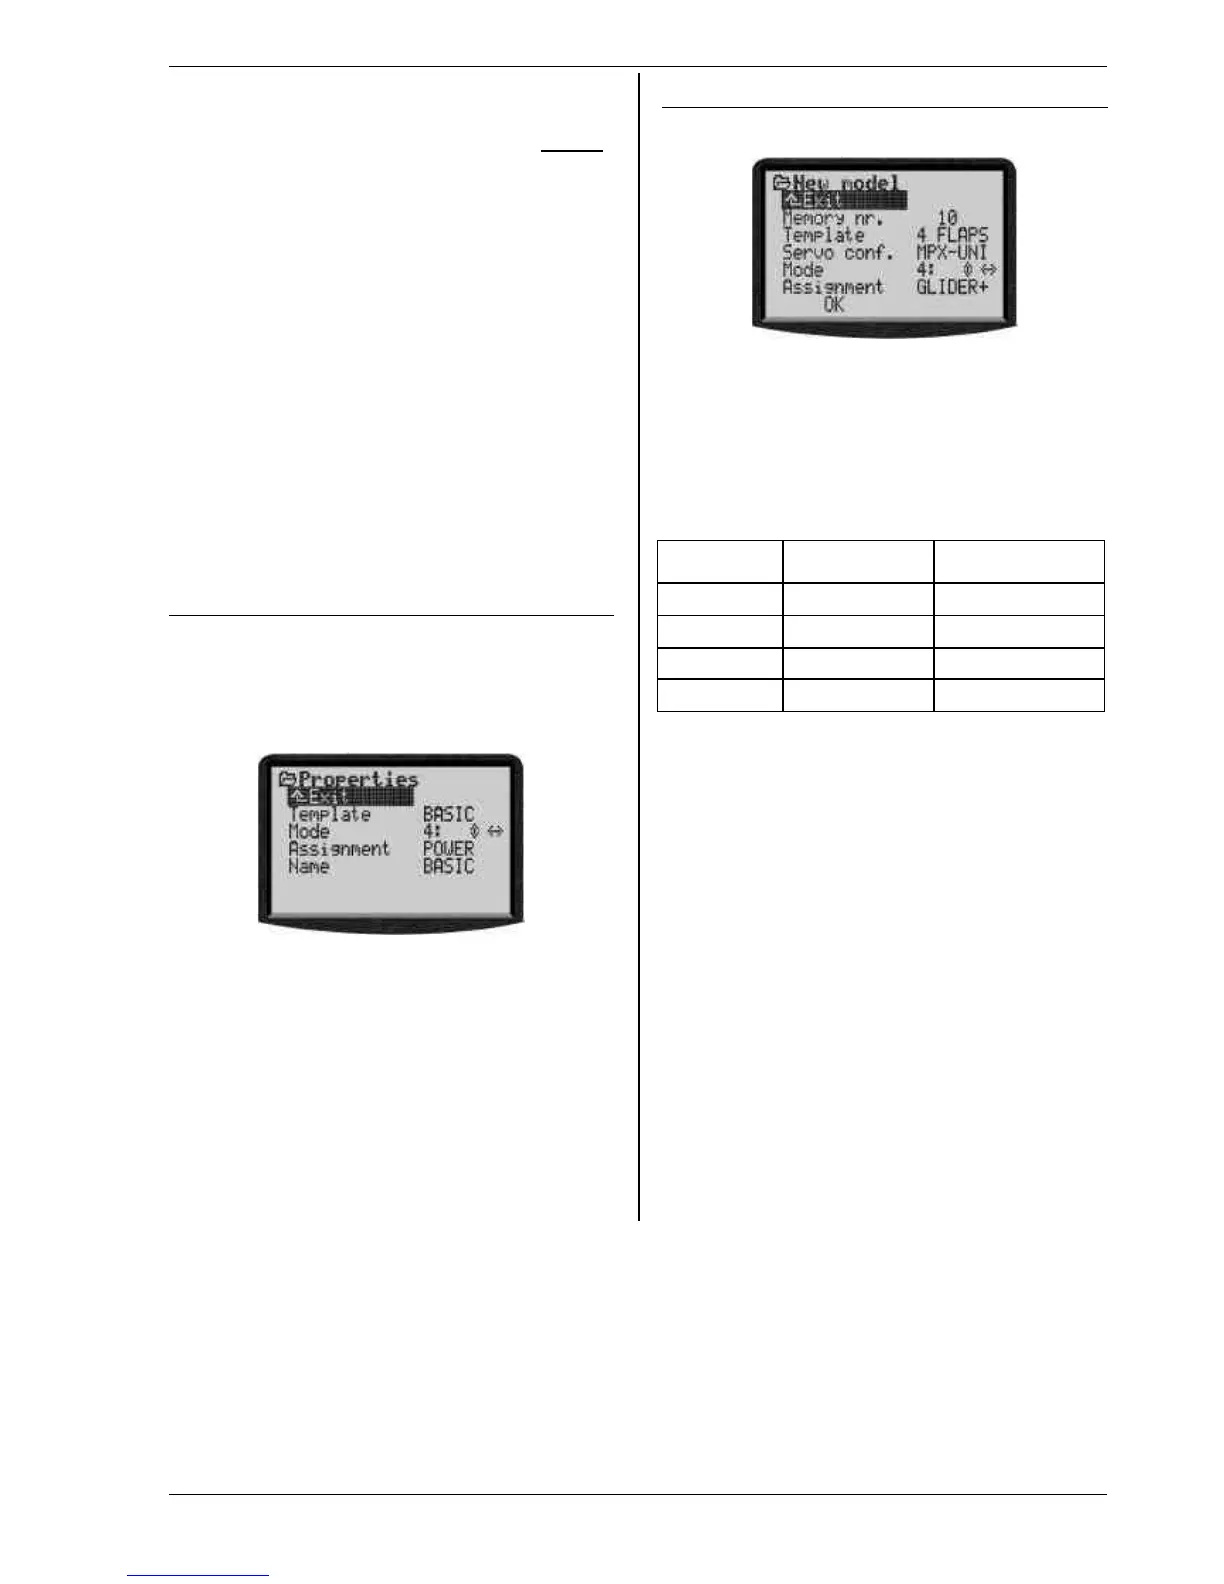
18.6. Sub-menu „New model“
When you open this sub-menu the following display
appears:
The transmitter tells you which memory number will be
used: it is always the first vacant memory. You cannot
change the memory number.
The template determines which basic settings are ac-
cepted into the memory (è 12.4.). You can change this
setting if you wish.
Servo conf. (Servo configuration) defines the assign-
ment of the servos and the signal format. The following
combinations are possible:
Servo conf..
Servo
assignment
Signal format
MPX-MPX
MPX MPX
MPX-UNI
MPX UNI
Futaba
Futaba UNI
JR
JR UNI
Mode defines the assignment of the sticks. In our ex-
ample the left-hand stick controls rudder and elevator.
You can change this setting if you wish.
Assignment defines which of the possible assignment
lists for transmitter controls and switches is to be used
with this model. You can change this setting if you wish.
Select OK to conclude the process, and the new model
is created.
Note:
If there are no vacant memories available, the screen
displays the number -1 and the note “No memory free!”
In this case press ENTER and then “EXIT” the menu.