the Power LED (or Power 1 LED) does not light, check that the power cord is plugged in correctly and
that the power source is good.
Optional Step 8: Install a Second Power Supply Unit
This procedure is optional.The following full-width models provide a second power module bay in which
you can install an optional second power supply unit (PSU):
• M4300-24X24F and M4300-48X
• M4300-28G and M4300-28G-POE+ • M4300-52G and M4300-52G-POE+
The supported PSUs depend on the switch model. For more information, see Power Supply Units on page
33 on page 33.
The PSU that is shipped with the product is installed in the power supply bay on the left, which is marked
PSU1.You can install the second PSU in the power supply bay on the right, which is marked PSU2.
The switch can continue to operate while you install a second PSU.
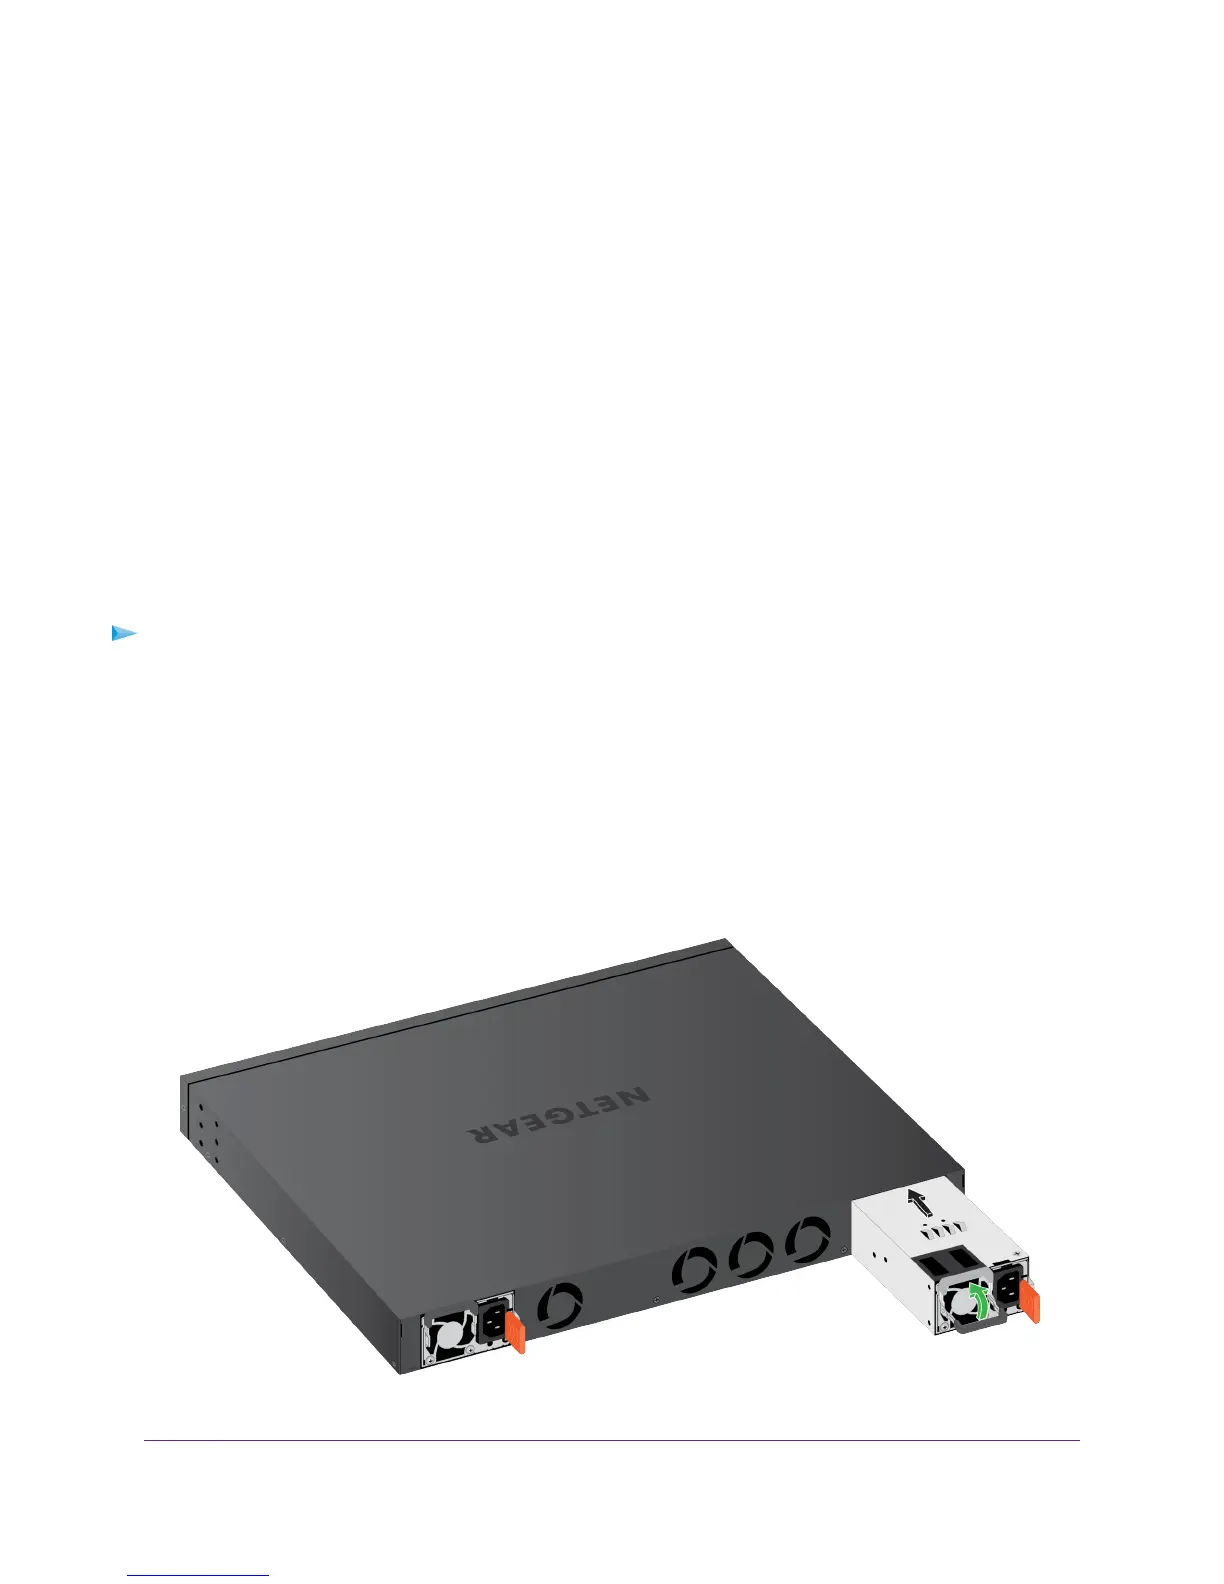
To install a second PSU:
1. Pull out the cover plate from the second power module bay. By default, the PSU that is shipped with
the product is installed in the left power supply bay. The second power supply bay is the one on the
right.
2. Insert the PSU into the second power module bay, and gently push the PSU into the bay until the latch
locks.
WARNING::When inserting the PSU, do not use unnecessary force. Doing so can damage the connectors
on the rear of the PSU and on the midplane.
The following figure shows model M4300-24X24F. However, you install a second PSU in model
M4300-28G, model M4300-28G-POE+, model M4300-52G, model M4300-48X, or model
M4300-52G-POE+ in the same manner.
Installation
49
Managed Stackable Switch Series M4300

 Loading...