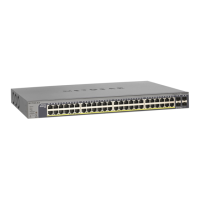
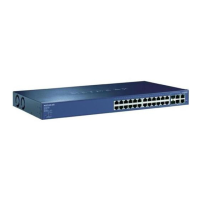
- The half-width models include a long bracket, regular (short) bracket, and screws. The kit also
includes two inside and two outside middle mounts, which allow you to install two half-width switches
in a single rack space.The full-width models include two regular (short) brackets and screws
f. Rubber footpads for tabletop installation
g. Quick installation guide
h. Resource CD with the following manuals and software:
- Software setup manual
- CLI manual
- Software administration guide
- This hardware installation guide
- The driver for use with the USB console cable
5. If any item is missing or damaged, contact your local NETGEAR reseller for replacement.
Step 4: Install the Switch
You can install the switch on a flat surface or mount it in a standard 19-inch (48.26-centimeter) network
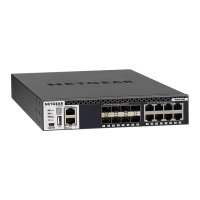
equipment rack.You can install a single half-width switch (model M4300-8X8F, M4300-12X12F or M4300-24X)
in a single rack space.You can also install two half-width switches (model M4300-8X8F, M4300-12X12F,
M4300-24X, or a combination of models) in a single rack space, that is, you can install these half-width
switches next to each other.
Install a Full-Width Switch in a Rack
To install the switch in a rack, you need the 19-inch rack-mount kit supplied with the switch.
To install a full-width switch in a rack:
1. Attach the supplied mounting brackets to the side of the switch.
2. Insert the screws provided in the rack-mount kit through each bracket and into the bracket mounting
holes in the switch.
3. Tighten the screws with a No. 1 Phillips screwdriver to secure each bracket.
4. Align the mounting holes in the brackets with the holes in the rack, and insert two pan-head screws with
nylon washers through each bracket and into the rack.
5. Tighten the screws with a No. 2 Phillips screwdriver to secure mounting brackets to the rack.The
following figure shows model M4300-52G-POE+. However, you install the other full-width models in the
same manner.
6. Tighten the screws with a No. 2 Phillips screwdriver to secure mounting brackets to the rack.
Installation
40
Managed Stackable Switch Series M4300
 Loading...
