To set up the AP with a non-PoE connection to your network:
1. Connect an Ethernet cable to the LAN/PoE+ port on the AP.
2.
Connect the other end of the Ethernet cable to a switch that is connected to your
network and to the Internet.
3. Connect the power adapter to the AP and plug it into an electrical outlet.
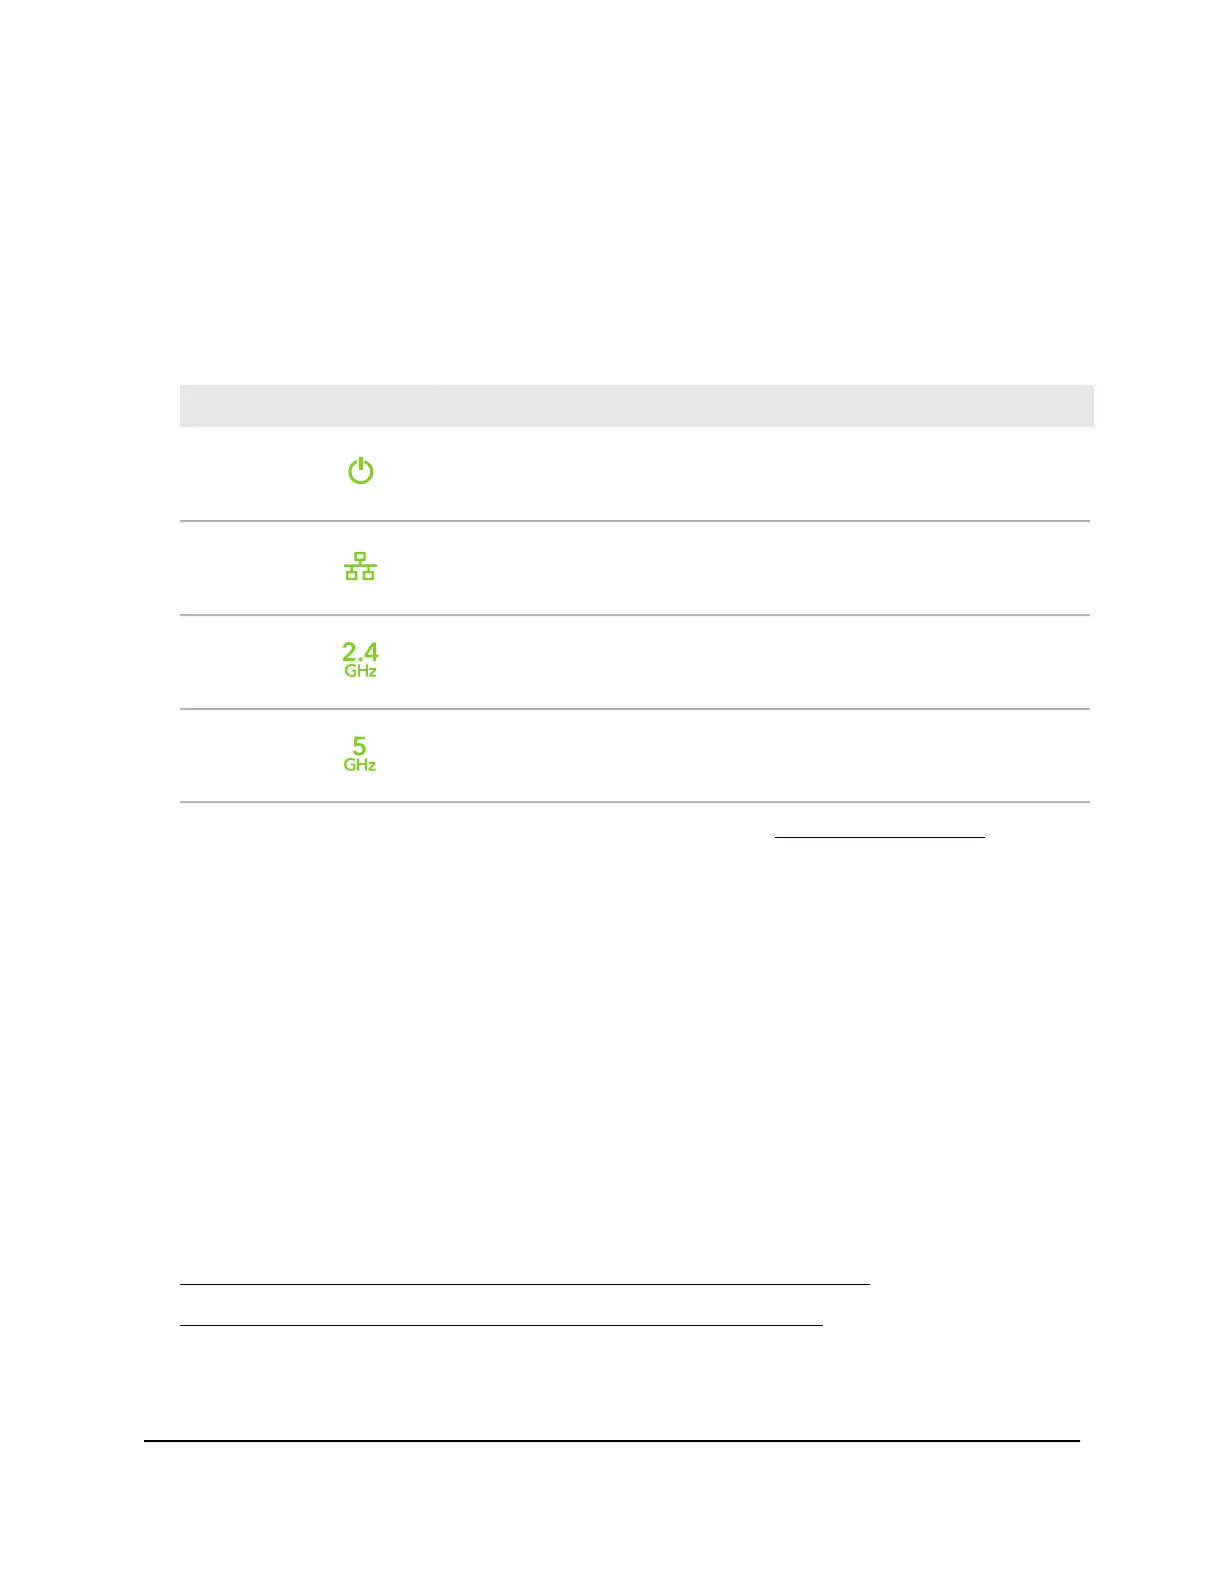
4. Check to see that the LEDs light.
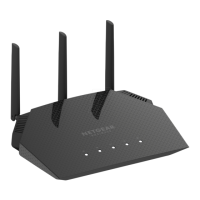
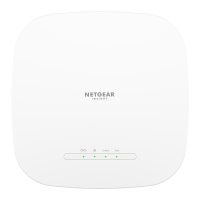
DescriptionLED
The Power LED lights blinking amber.Power LED
The LAN LED lights solid green or solid amber, depending on the speed of
the link.
LAN LED
The 2.4 GHz WLAN LED lights solid green.2.4 GHz WLAN
LED
The 5 GHz WLAN LED lights solid green.5 GHz WLAN
LED
You can now access the AP for initial configuration (see Initial login process on page
16).
Initial login process
During the initial login process, the AP presents its Welcome page. You must define
the AP login password for the AP’s device UI, set up the first user WiFi network, and
select the country or region in which you are using the AP (see the warnings below).
After you complete the initial-login process, if you want to log in to the device UI, the
AP no longer presents its Welcome page but a regular login page that lets enter your
AP login password.
For more information about the initial login process, see one of the following sections:
•
Connect directly to the AP over WiFi and log in for the first time on page 17
•
Connect to the AP over the LAN and log in for the first time on page 20
User Manual16Installation and Initial Login
Essentials WiFi 6 AX1800 Dual Band Access Point Model WAX214v2
 Loading...