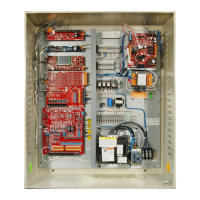
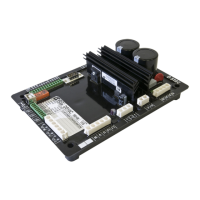
Troubleshooting
5-62 Manual # 42-02-2M01 A1
• Switches 1 through 6 = Board ID
• Switches 7 & 8 = Baud rate
• Switch 9 = Input levels
• Sw1: RST - Processor reset
Jumpers
• JP1: Internal CAN Network Termination
• JP2 - JP9: Pull Inputs 1 - 8 up to voltage at PS1 when set to I/O
• JP10 - JP17: Pull Inputs 9 - 16 up to voltage at PS2 when set to I/O
• JP18: Selects voltage reference
• A = External power supplied by J3 (default)
• B = 24Vdc power supplied by CAN bus
Line voltage can be present on jumpers. Move only with power off.
Test Points
• GND: Digital Ground - 0 V
• +5V: +5 Vdc measured between this test point and TP GND.
• 1: 1 Bus (common)
Indicators
• CPU ON: The micro controller is executing its program.
• IO1 - IO16: Indicates the state of the input or output, active or inactive. Blinking indicates
overload condition (resets automatically after 5 seconds/processor reset/ or power cycle).
Terminals
• J1: Used to program the micro controller (IDC connector).
• J2: Internal CAN signal and power (RJ12 connector).
• J3: 1 bus and 2 bus. Weidmuller connector.
• J4: Pull up voltages
• J5: IO1 - IO16
HC-UIO-2 Switches 7, 8 and 9 Settings
On the HC-UIO-2 Board switches 7 and 8 set the baud rate at which the CAN bus communicates
with this board.
Table 5.18 HC-UIO-2 Board Switches 7 and 8
Sw 7 Sw 8 Baud Rate Description
OFF OFF 500 kbps For boards inside the controller, RJ12 cable from J2 on HC-UIO board to
HC-CHP board Internal Network J1 through J10.
ON OFF 250 kbps For boards on the cartop, RJ12 cable from J2 on HC-UIO board to MC-LSI
board LAN connectors. Caution: Do not connect to J3 on the MC-LSI
(Landing System) board.
OFF ON 125 kbps Future use
 Loading...