Landing/Positioning System
42-02-2M01 A1 2-43
2
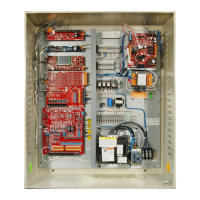
Motion 4000
LS-EDGE Installation
Before installing perforated tape, ensure adequate clearance from beams, walls, counterweight,
cab, and terminal limit devices. Make sure the sensor is not placed so close to the governor lift
arm that, when the car safeties are activated, the sensor is damaged or the car safeties cannot
apply.
• Hang the tape high enough in the hoistway so that, when the counterweight is on a fully
compressed buffer, the sensor assembly will not be damaged by overhead obstructions.
Uni-struts are provided to attach the tape to the rails.
• Attach the tape in the pit low enough so that, when the car is on fully compressed buffer,
the sensor assembly does not contact the bottom hanger assembly.
• Adjust tape spring tension so the tape does not make noise as the car travels up.
• During installation, the edges of the tape sometimes become gouged. After the tape is
installed, use a fine file on the edges of the tape to remove any burrs or gouges. This will
lead to much quieter operation of the encoder system as the car travels at contract speed.
• After smoothing the edges, wipe off all excess oil and dirt from the face of the tape before
installing magnets. Do not use rags that will leave lint on the tape.
Top Hanger Assembly
1. Attach the uni-strut for the top tape hanger across the back of the selected guide rail
using the forged rail clips and hardware provided.
2. Attach the diagonal brace as shown below (only provided for tape length exceeding 150
feet).
90 degrees
Hang tape
on tab
19 - 25 ft lbs
40 - 50 ft lbs
40 - 50 ft lbs
30 - 40 ft lbs
Top tape clamp
hardware,
10 - 12 ft lbs
LS-TAPESTRUT-EDGE - included only
when tape length requires extra support
see Detail A