Landing/Positioning System
42-02-2M01 A1 2-55
2
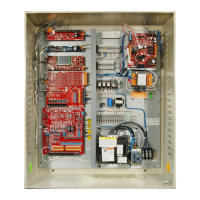
Motion 4000
Tape End Pieces Tape end clamps are loosely assembled using 1-inch, 8x32 screws so
that you can simply loosen them up, weave the tape through, and tighten the screws down. It
may be easiest to attach just the top end piece now and then attach the bottom end piece after
hanging the tape.
1. Loosen the screws on a tape end clamp. Slide the tape between the center piece and the
top clamp, magnetic band up, down through the square hole and back between the cen-
ter piece and the bottom clamp. See the figure below.
2. Gently tighten the screws in the order shown below. Square up the end clamp and the
tape.
3. In the same 1, 2, 3, 4 order, make several passes, tightening each screw just a little each
time. Finally, torque each screw to 14 in-lb. or 224 in-oz. (depending on the units on
your torque driver).
Hanging Tape With the hangers in position on the rails such that the tape will hang
approximately vertically, connect the tape to the top hanger using the hex bolt and locking nut
provided. Make certain the arrow on the tape is pointing up and that the magnetic surface is
facing the car. Begin unreeling tape toward the bottom of the hoistway:
1. Move slowly down the hoistway and unroll the tape from the carrier.