28
SECTION 3: DVR SETUP
After the block is created, it can be repositioned by dragging it with a mouse.
To remove a block, double click on it.
4. Right click anywhere on the desktop to return to the VIDEO SETUP menu.
5. Click the conrm icon (a) in the lower right corner of the screen, then click the Conrm button in the Note window.
6. Repeat this procedure for the other camera channels, if necessary.
3.4.2 AUDIO
If the camera channel you are conguring is associated with a microphone,set up audio inputs for the current channel. The option
includes UNBIND, CH1, CH2, CH3, and CH4. For example, if the current channel is CH1 and AUDIO is set at “UNBIND”, there will be no
audio for CH1; if the current channel is CH1 and the “AUDIO” is set at “2”, the audio of Audio input 2 will play with CH1.
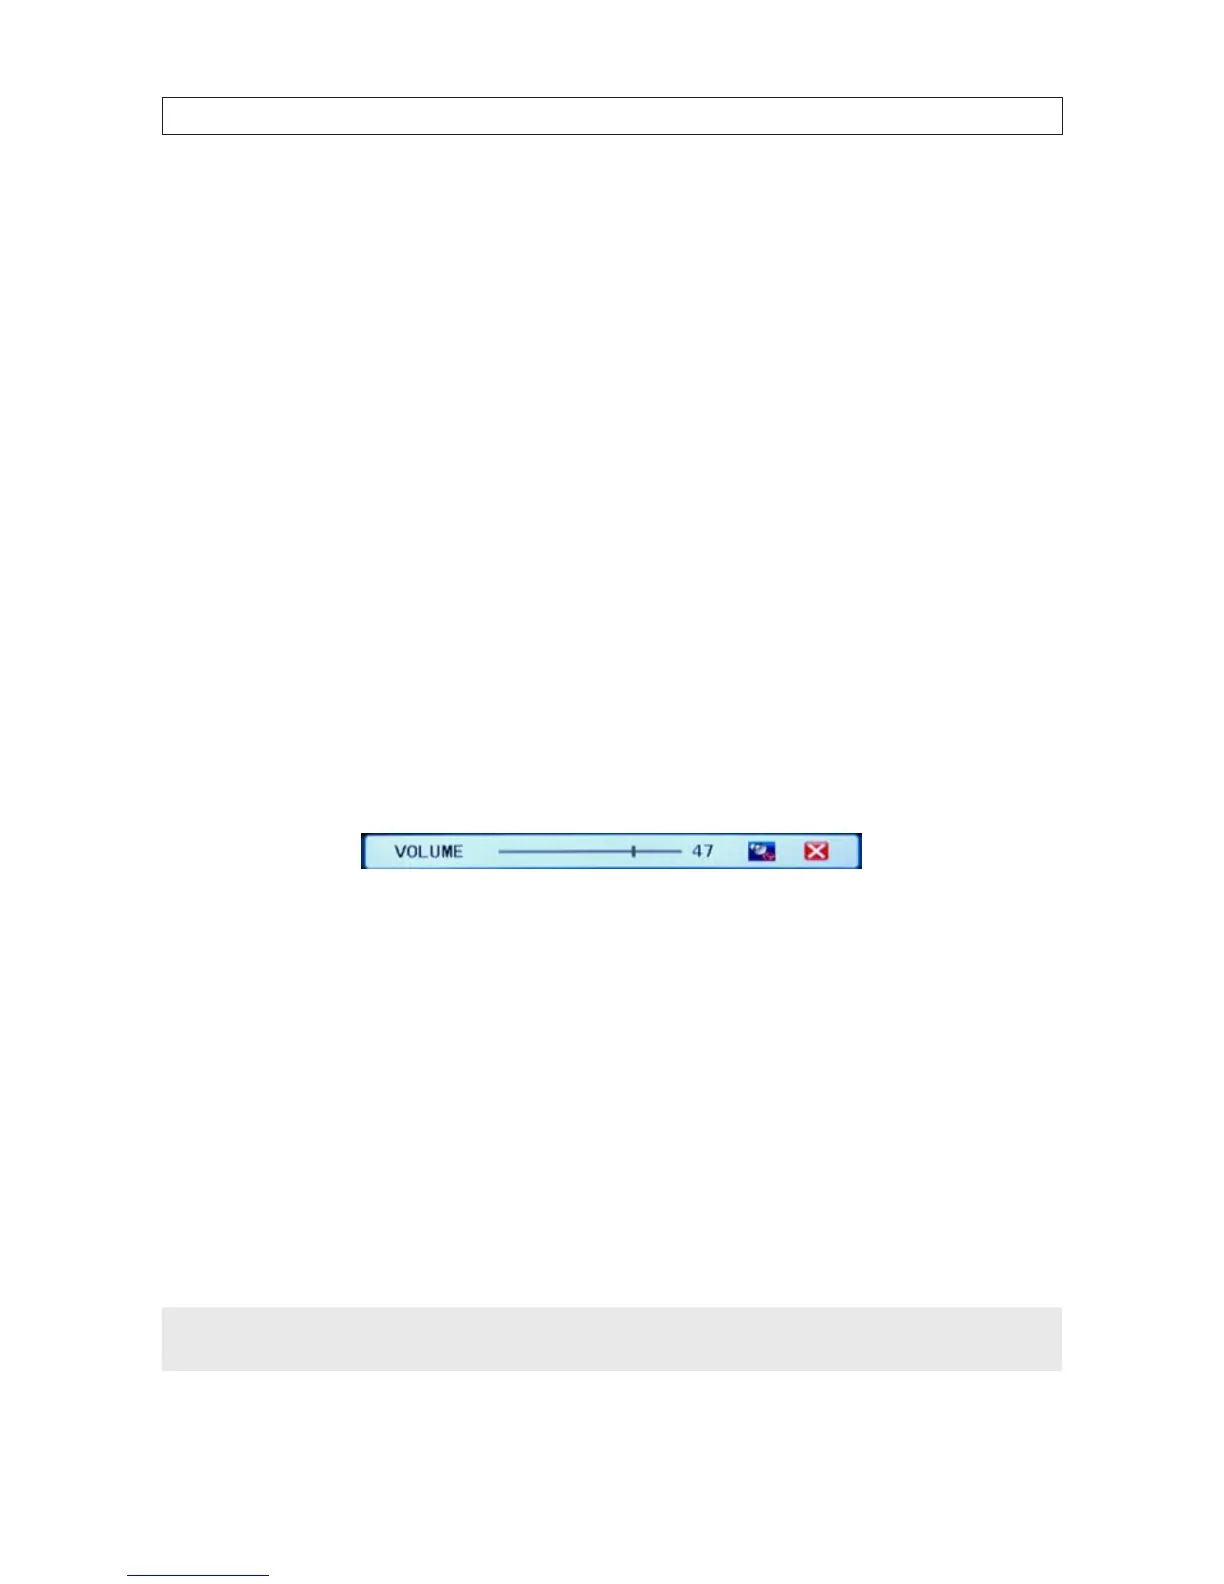
Volume
Click System Settings -> System -> Volume to open the Volume setting window. With a normal sound volume level in the
environment of the microphone, drag the slider left or right to decrease or increase the volume level.
RECORD menu AUDIO
Open the RECORD menu. In the AUDIO option select OPEN or CLOSED. OPEN indicates that the audio recording for all channels is
enabled; CLOSE indicates that audio recording is disabled.
3.5 Network conguration settings
Use the NETWORK menu to congure your DVR for use on a LAN, for access through the Internet, for access from a smartphone, and
for issuing automated email when alarm conditions occur.
Refer to the Chapter 4, Networking your DVR for conguring your system for local LAN and Internet access. For other network
settings, including DDNS, EMAIL, MOBILE, and OTHER SETTINGS, refer to the chapter DVR System Menus.
NOTE
The default IP addresses and port settings of your DVR may be dierent from those shown in this document. Always use
network settings that are compatible with your network(s).