- 182 -
Windows utilities
4
5
1
3
2
Convenient print
functions
Appendix Index
Checking and
Changing Printer
Settings Using
the Control Panel
Network
Setup
Matching
Colors
Using Utility
Software
Using in popup mode
1
Select [Start]>[All programs]>[OKI
Data]>[Print Job Accounting Client]>
[Change Job Account Mode] to start the
print job accounting client.
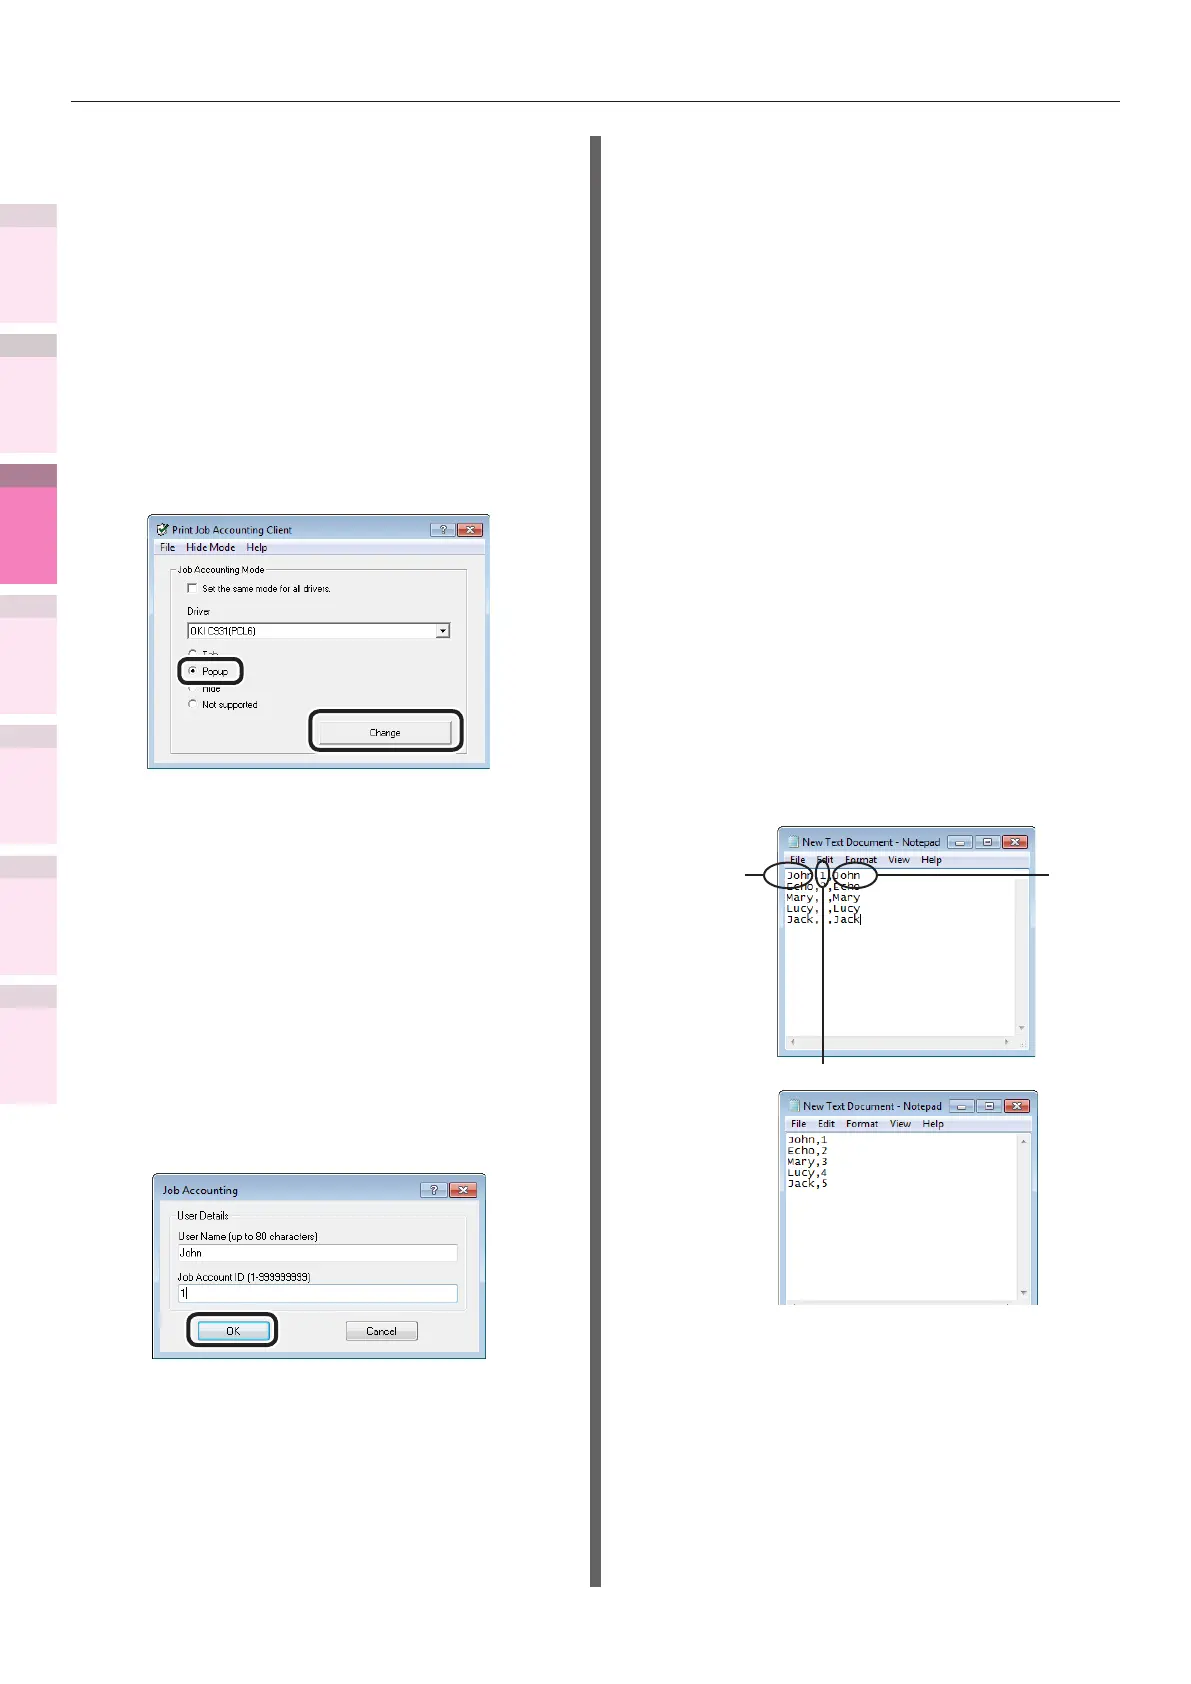
2
Select the printer drivers set from the
[Driver] list. To set all printer drivers
to the same mode, enable the [Set the
same mode for all drivers] check box.
3
Select [Popup] and click [Change].
4
Click [OK] in the change notication
window.
5
Select [Exit] in the [File] menu.
6
Print from the applications.
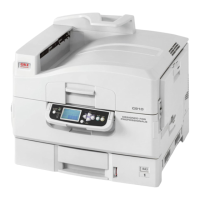
7
The popup window will be displayed, so
enter the user name and user ID, and
click [OK].
When [Cancel] is clicked, the user name is
blank, and user ID remains as 0 in the log.
The print job is not canceled.
Using in non-display mode
Using by switching user ID for each user
in non-display mode
1
Create the ID le using the MemoPad
or commercially-available spreadsheet
software, etc.
z
Using MemoPad
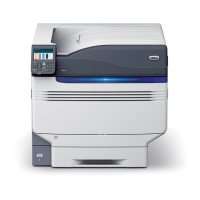
(1)
Describe the login user name, user ID,
and user name for each user per line.
Separate the login user name, user ID,
and user name with a ",".
Login user name:
User name entered when logging into
Windows
User ID:
User ID corresponding to the login
user ID
User name:
User name used in print job accounting
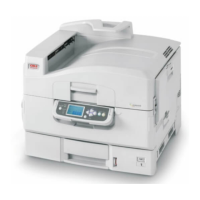
The user name can be omitted. When
not specied, the login user name is
used as the user name.
Login user
name
User
name
User ID
(2)
Designate the le extension as
"CSV" in text format to save.
z
Using commercially-available
spreadsheet software
(1)
Describe the login user name, user ID,
and user name for each user per line.
(2)
Save the le in CSV format.