- 218 -
Using DHCP
5
1
2
4
3
Convenient print
functions
Appendix Index
Checking and
Changing Printer
Settings Using
the Control Panel
Network
Setup
Matching
Colors
Using Utility
Software
Setting the printer
To use the device on a DHCP environment, set
the IP address setup method to automatic.
Further, the default factory setting is to set the
IP address automatically, so implementing this
procedure is unnecessary.
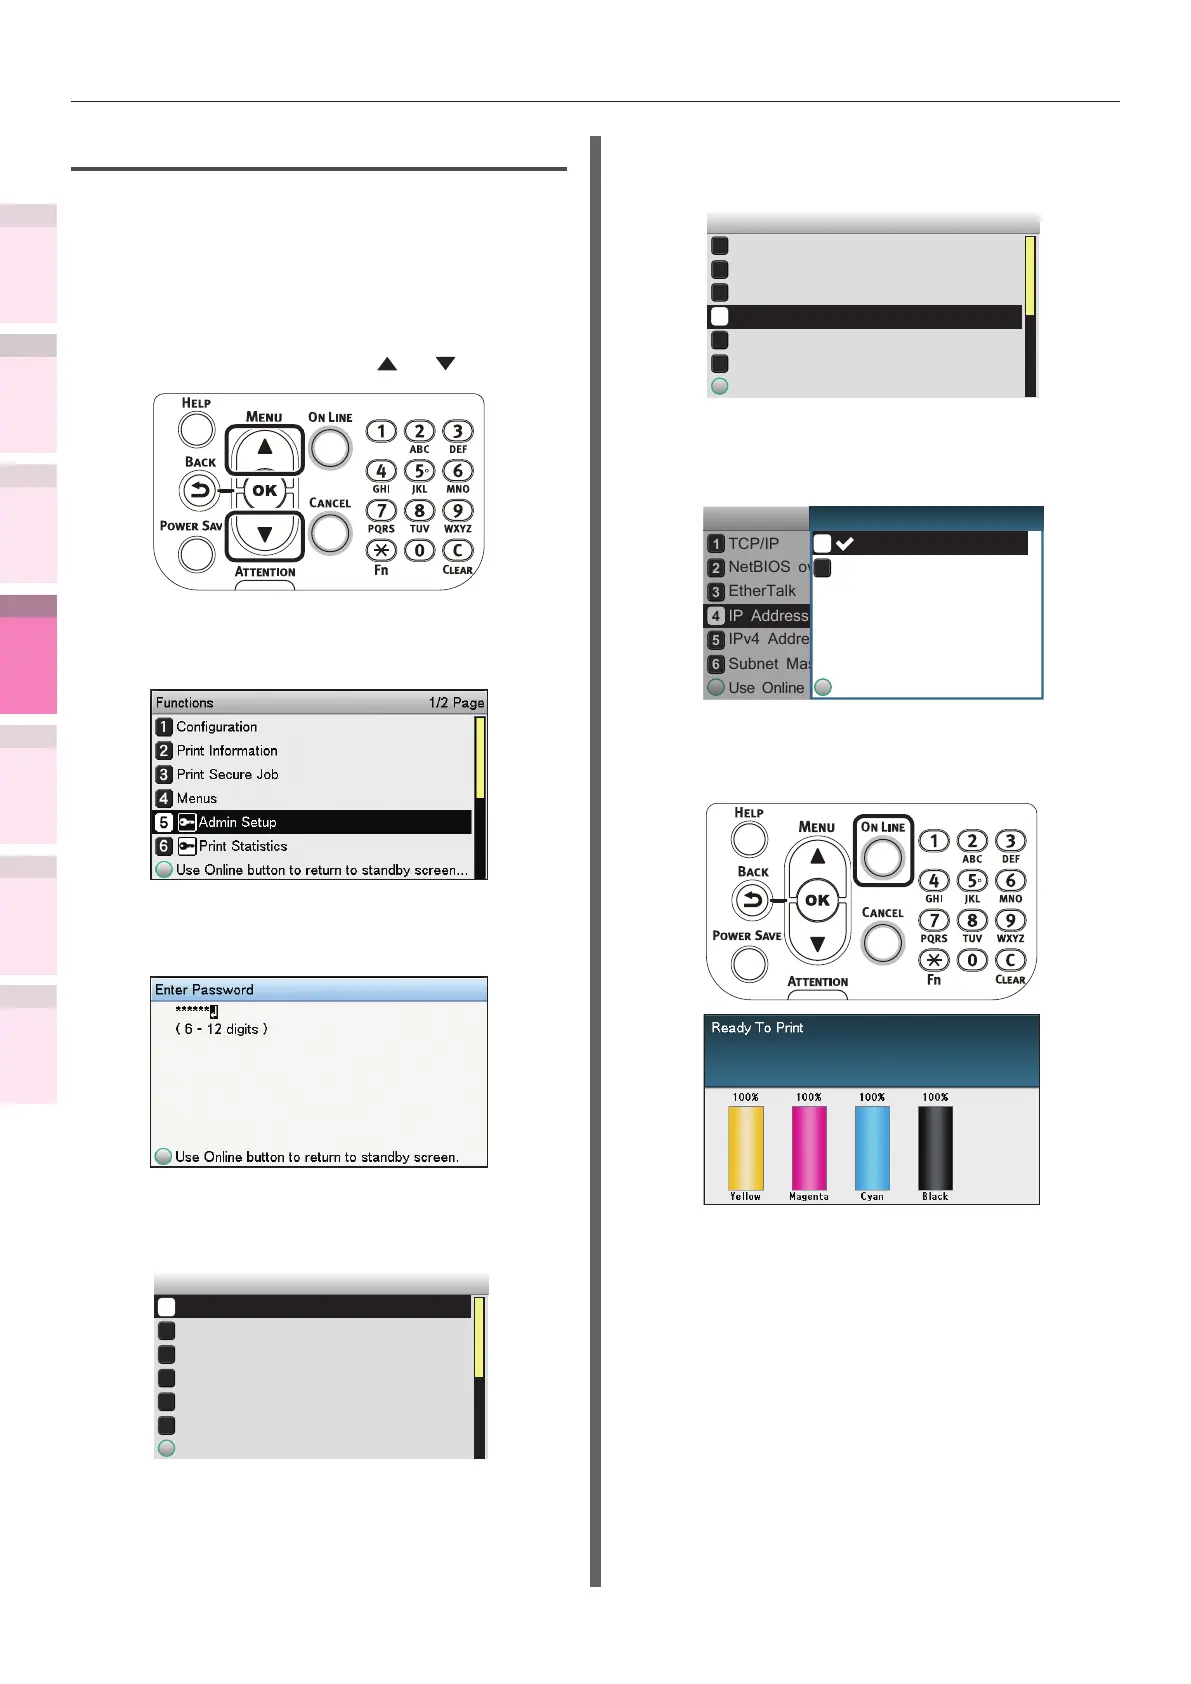
1
Press the scroll button or .
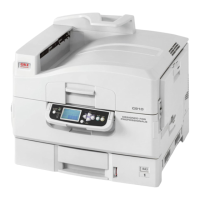
2
Select [Admin Setup], and press the
[OK] button.
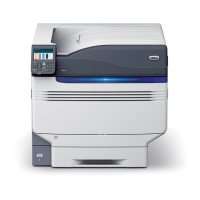
3
Enter the administrator password, and
press the [OK] button.
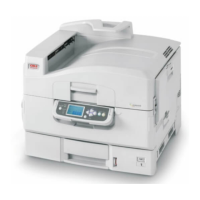
4
Select [Network Setup], and press the
[OK] button.
Admin Setup 1/3 Page
Network Setup
Print Setup
PS Setup
PCL Setup
XPS Setup
USB Setup
5
Select [IP Address Set], and press the
[OK] button.
Network Setup 1/3 Page
TCP/IP
EtherTalk
IP Address Set
IPv4 Address
Subnet Mask
Use Online button to return to standby screen
NetBIOS over TCP
6
Select [Auto], and press the [OK]
button.
TCP/IP
NetBIOS over TCP
EtherTalk
IP Address Set
IPv4 Address
Subnet Mask
Use Online button to return to standby scr
Network Setup
Use Online button to return
Manual
Auto
1/1 PageIP Address Set
7
Press the [ON LINE] button to return to
the standby screen.