- 22 -
2. Print
• Loading Custom Size Paper
• For Windows PCL Printer Driver
• For Windows PS Printer Driver
•For MacOSX
Set a custom paper size and paper type on the operator panel. Then, register a paper size
with a printer driver.
Paper sizes of from 64 to 216 mm in width and from 90 to 1321 mm in length can be
registered.
• Register paper in portrait, and load paper in a tray in portrait.
• If the paper length exceeds 432 mm (17 inches), use the rear output tray.
• This function may not be available for some applications.
• If the paper length exceeds 432 mm (17 inches), the print quality cannot be guaranteed.
• If paper is so long that it exceeds the paper supports of the MP tray, support the paper with your hands.
• It is not recommended to use a paper width of less than 100 mm (3.9 inches), because paper jams may result.
• About available paper sizes for each tray and for duplex printing
Loading Paper (User's Manual)
• The auto tray switch function is set to [ON] by factory default. When a tray runs out of paper during printing, another
tray automatically starts feeding paper. To feed custom size paper from a specified tray, set the auto tray switch
function to [OFF].
• If images are not correctly printed on large size paper, select [Normal(600x600dpi)] for [Quality] in the PS printer
driver. Printing may be improved.
Loading Custom Size Paper
When printing on custom paper size, change the paper type setting, and specify a paper tray.
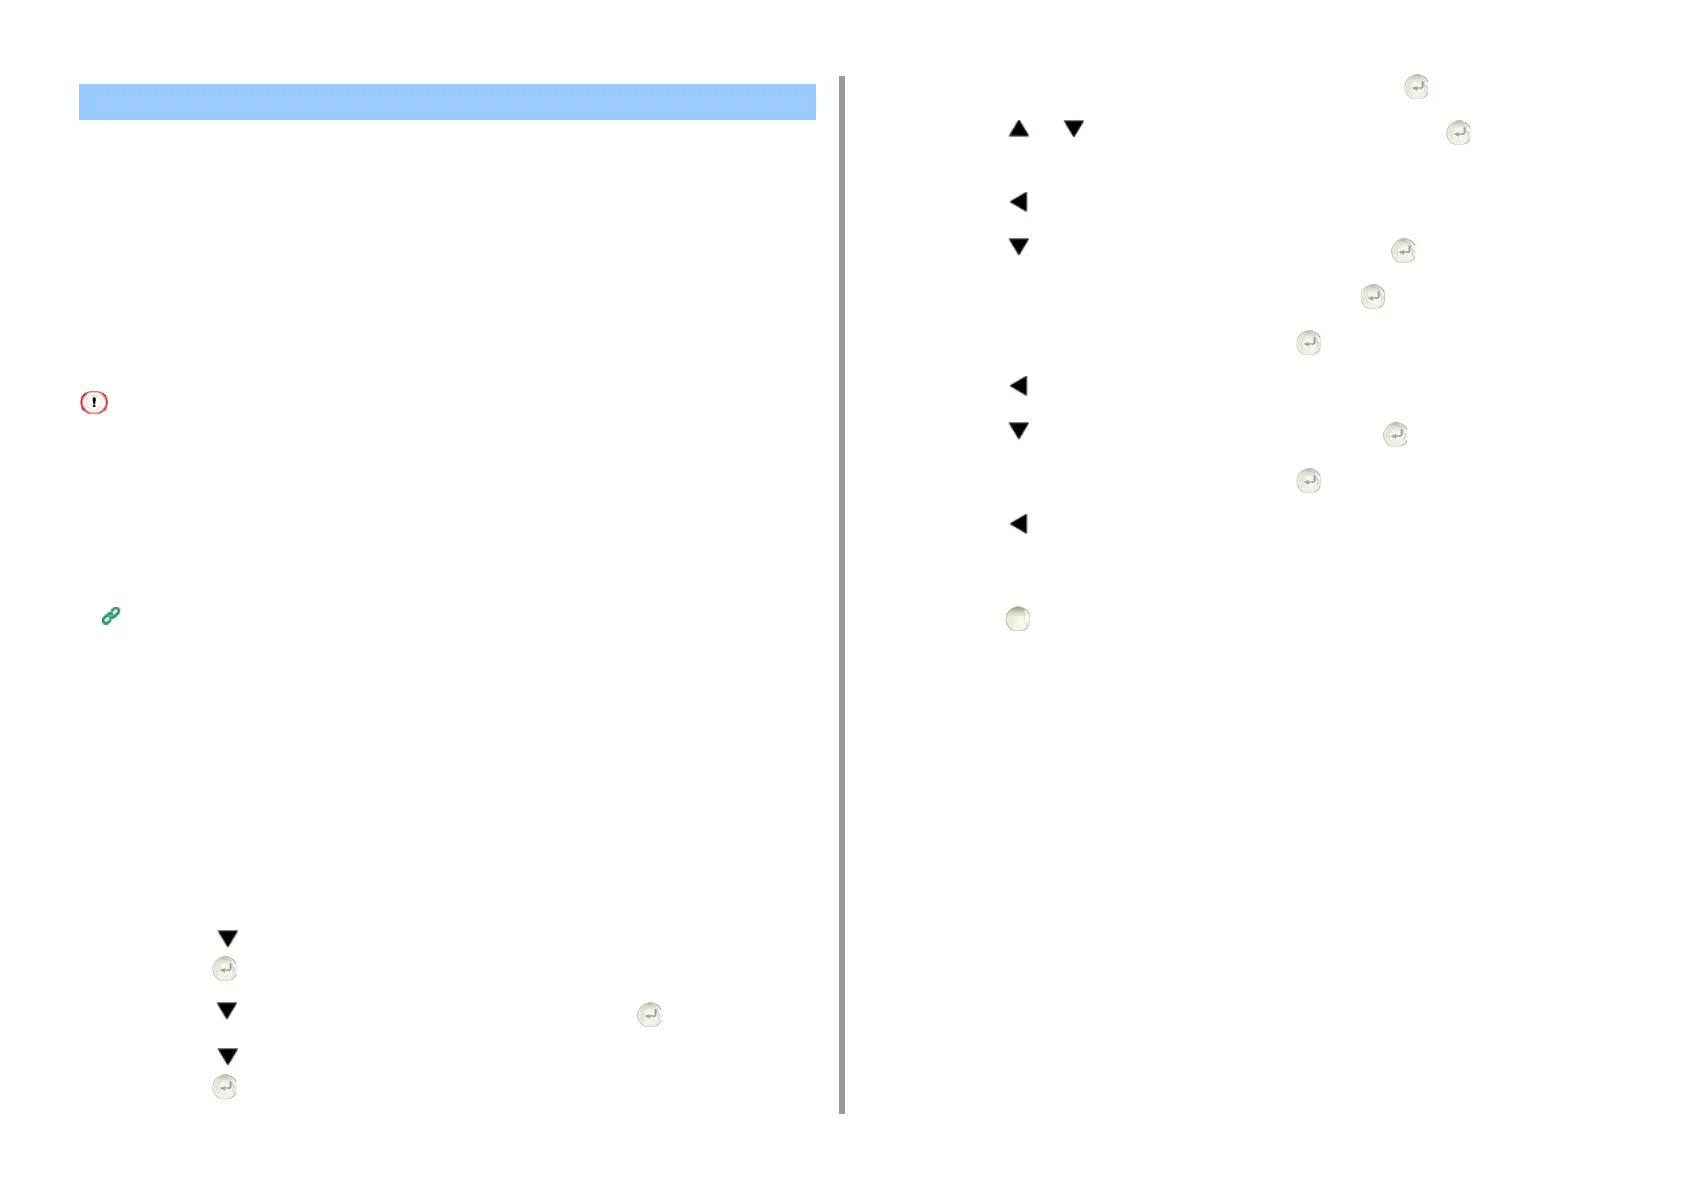
1
Load paper that can be set to the custom size in the MP tray or tray.
2
Press the button on the operator panel repeatedly to select [Setting] and
press the (ENTER) button.
3
Press the button to select [Paper Setup] and press the (ENTER) button.
4
Press the button to select the tray on which paper is loaded in step 1 and
press the (ENTER) button.
5
Check that [Paper size] is selected, and then press the (ENTER) button.
6
Press the or button to select [Custom] and press the (ENTER)
button.
7
Press the (BACK) button to go back to the tray screen.
8
Press the button to select [Custom] and press the (ENTER) button.
9
Check that [Width] is selected, and then press the (ENTER) button.
10
Enter the setting value, and then press the (ENTER) button.
11
Press the (BACK) button to go back to the [Custom] screen.
12
Press the button to select [Length] and press the (ENTER) button.
13
Enter the setting value, and then press the (ENTER) button.
14
Press the (BACK) button to go back to the tray screen.
15
Change other settings if necessary.
16
Press the (ONLINE) button to return to the standby screen.
For Windows PCL Printer Driver
1
Click [Start], and then select [Devices and Printers].
2
Right-click the [OKI C532 PCL6] icon, and then select [Printing Preferences].
3
Click [Paper Feed Options] on the [Setup] tab.
4
Click [Custom Size].
5
Enter a name of the new size in [Name].
6
Enter values in [Width] and [Length].
7
Click [Add] to save the custom paper size to the list, and then click [OK].
You can save up to 32 custom sizes.
Printing on Custom Size Paper