14
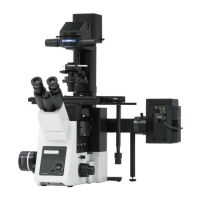
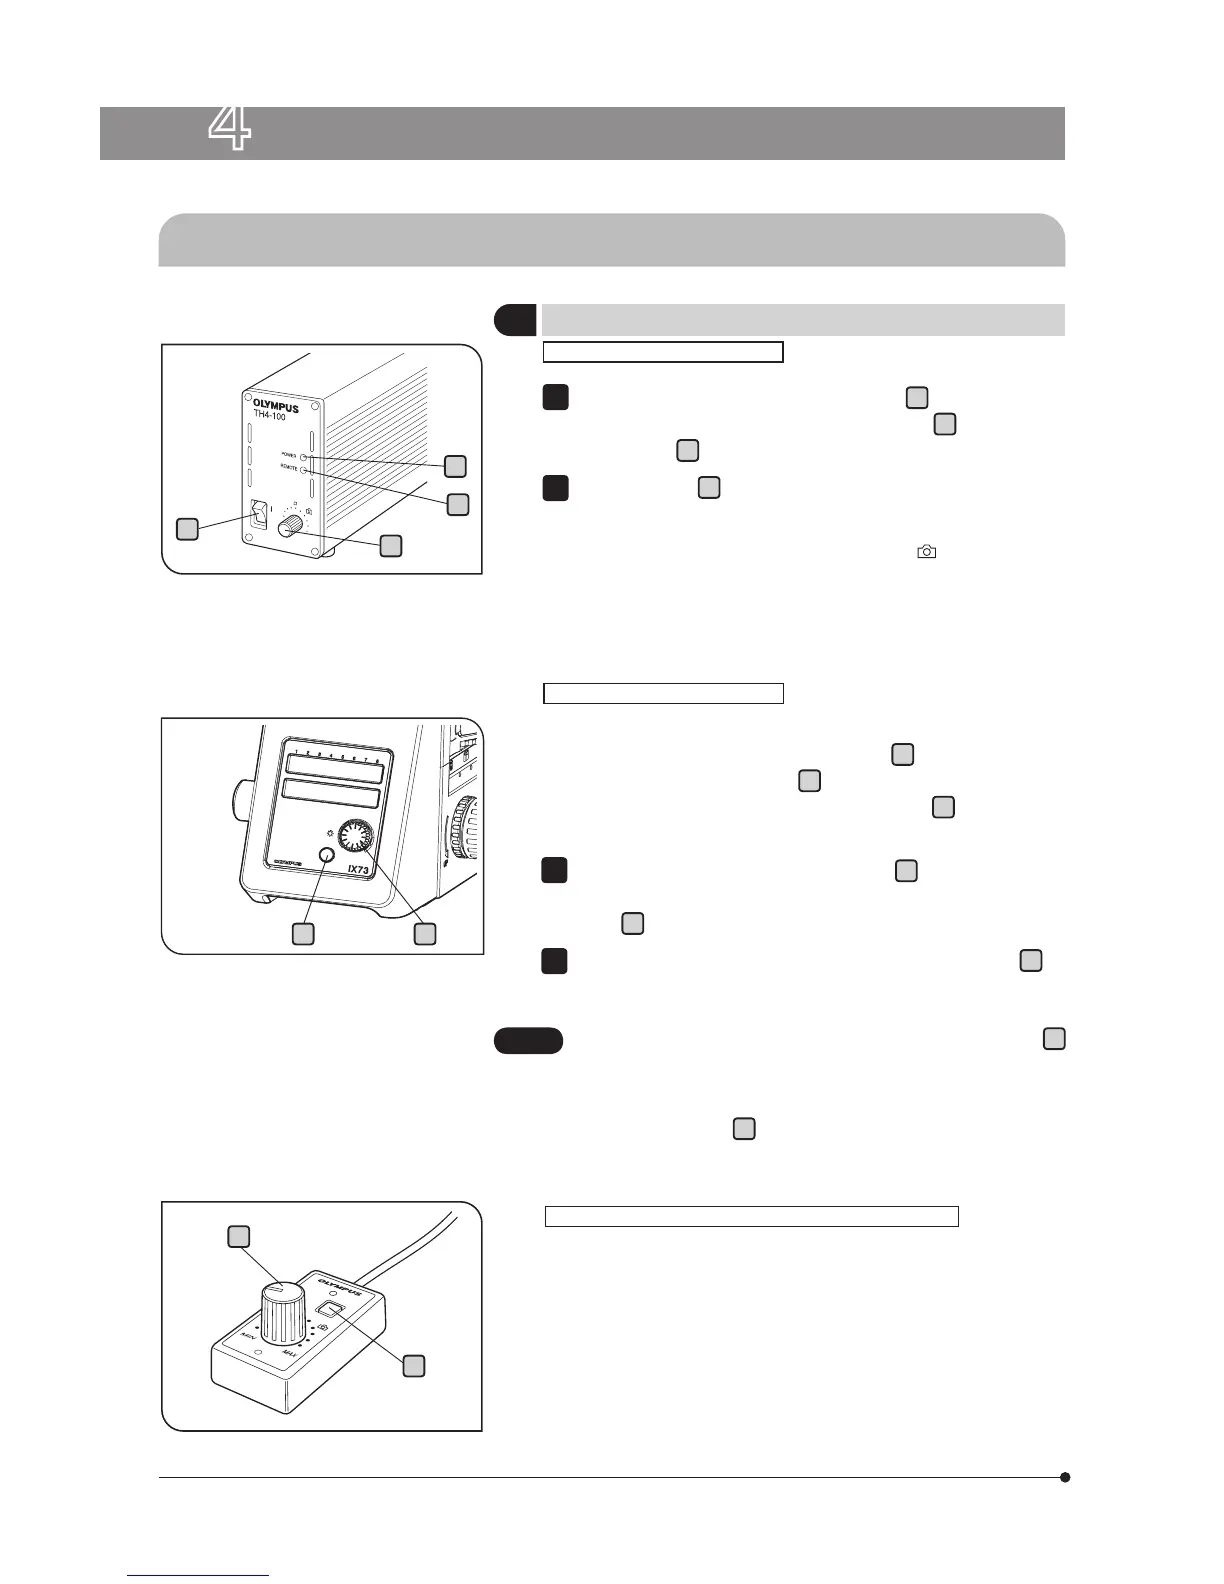
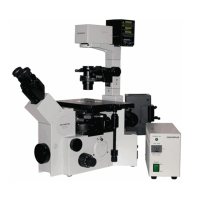
4-1 Power Supply Unit and Microscope Frame
With the TH4
Make sure that the light intensity control knob
a
is in the MIN (mini-
mum intensity) position and set the main switch
b
to “ ON ”. (The
POWER LED
c
lights up.)
Rotate the knob
a
toward MAX (maximum intensity) to increase the
intensity and the illumination brightness.
} With the TH4, the position (approx. 9 V) marked
indicates the po-
sition where the daylight illumination suitable for photomicrography
is obtained when the 45LBD filter is engaged in the light path.
1
2
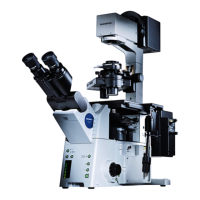
With the IX73 Frame
} If the power supply connection cable provided with the microscope
is connected to the TH4 (the REMOTE LED
d
lights in this case),
the light intensity control knob
a
on the power supply unit is
defeated and only the light intensity control knob
e
on the front of
the microscope is available.
Press the transmitted light ON-OFF button
f
(so that the LED is
illuminated) and adjust the brightness with the light intensity control
knob
e
.
To turn the lamp OFF, set the transmitted light ON-OFF button
f
to OFF.
1
2
The microscope is in standby mode when the REMOTE LED
d
is lit. Power of about 2.5 W is consumed in this period.
When the microscope system is not be used for a long period,
set the main switch
b
to “OFF”.
CAUTION
When the TH4-HS Hand Switch is Used
} The illumination brightness can be adjusted from the hand switch
in the same way as on the IX73 microscope.
The hand switch is provided with double-sided adhesive tape, so it
can be adhered to an easy-to-use position.
4 USING THE CONTROLS
1
Turning Power On, Adjusting the Brightness
b
a
c
d
ef
e
f