Chapter 4 Inspection
43
VISERA XENON LIGHT SOURCE CLV-S40
• When using the automatic brightness control function with
the following products, brightness adjustment by the
brightness control switches is not available. In this case, set
the brightness level to “0”. For the exposure control, refer to
the instruction manual of the following products.
− OTV-S6
− OTV-SX2
1. Press the AUTO/MANUAL brightness selector. Each time it is pressed, a
beep sounds and the mode is changed.
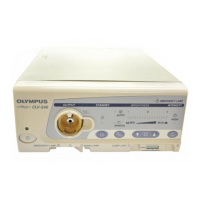
2. Confirm that the AUTO indicator and the MANUAL indicator light alternately
by pressing the selector (see Figure 4.9).
Figure 4.9
Operating the manual brightness control
Perform the following inspection when using a video system with no BNC
connectors or when not using a video system.
When using the manual brightness control, never adjust the
brightness level higher than the minimum level necessary to
complete the examination. If the light is too bright, eye
damage or burns can result.
Indicators
AUTO/MANUAL
brightness selector

 Loading...