Chapter 5 Operation
55
VISERA XENON LIGHT SOURCE CLV-S40
• When this instrument and the VISERA video system center
OTV-S7V are combined with any of the following products,
the brightness control indicator and MANUAL indicator are
disabled, and it is not possible to control the brightness from
this instrument. In this case, use the exposure level switch on
the OTV-S7V.
Refer to the instruction manual of the OTV-S7V.
− OTV-S7V camera head
− LTF TYPE V3
− A50001A/03A/21A/23A
• When using the automatic brightness control function with
the following products, brightness adjustment by the
brightness control switches are not available. In this case, set
the brightness level to “0”. For the exposure control, refer to
the instruction manual of the following products.
− OTV-S6
− OTV-SX2
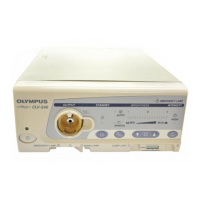
1. Press the auto/manual brightness selector on the front panel to select
automatic brightness control.
2. Press the brightness control switches to set a brightness level suitable for
observation.
The standard setting is “0” (see Figure 5.2).
Figure 5.2
• The setting may be too bright or too dark depending on the endoscope
and video system being used. Use the brightness control switches to
change the brightness to an appropriate level.
Illuminated
AUTO/MANUAL
brightness selector
Brightness level indicators
Brightness control switches

 Loading...