Omron TM Collaborative Robot S Series: TM12S and TM14S Hardware Installation Manual
6.4.3 Removal of the Robot Arm and Tightening
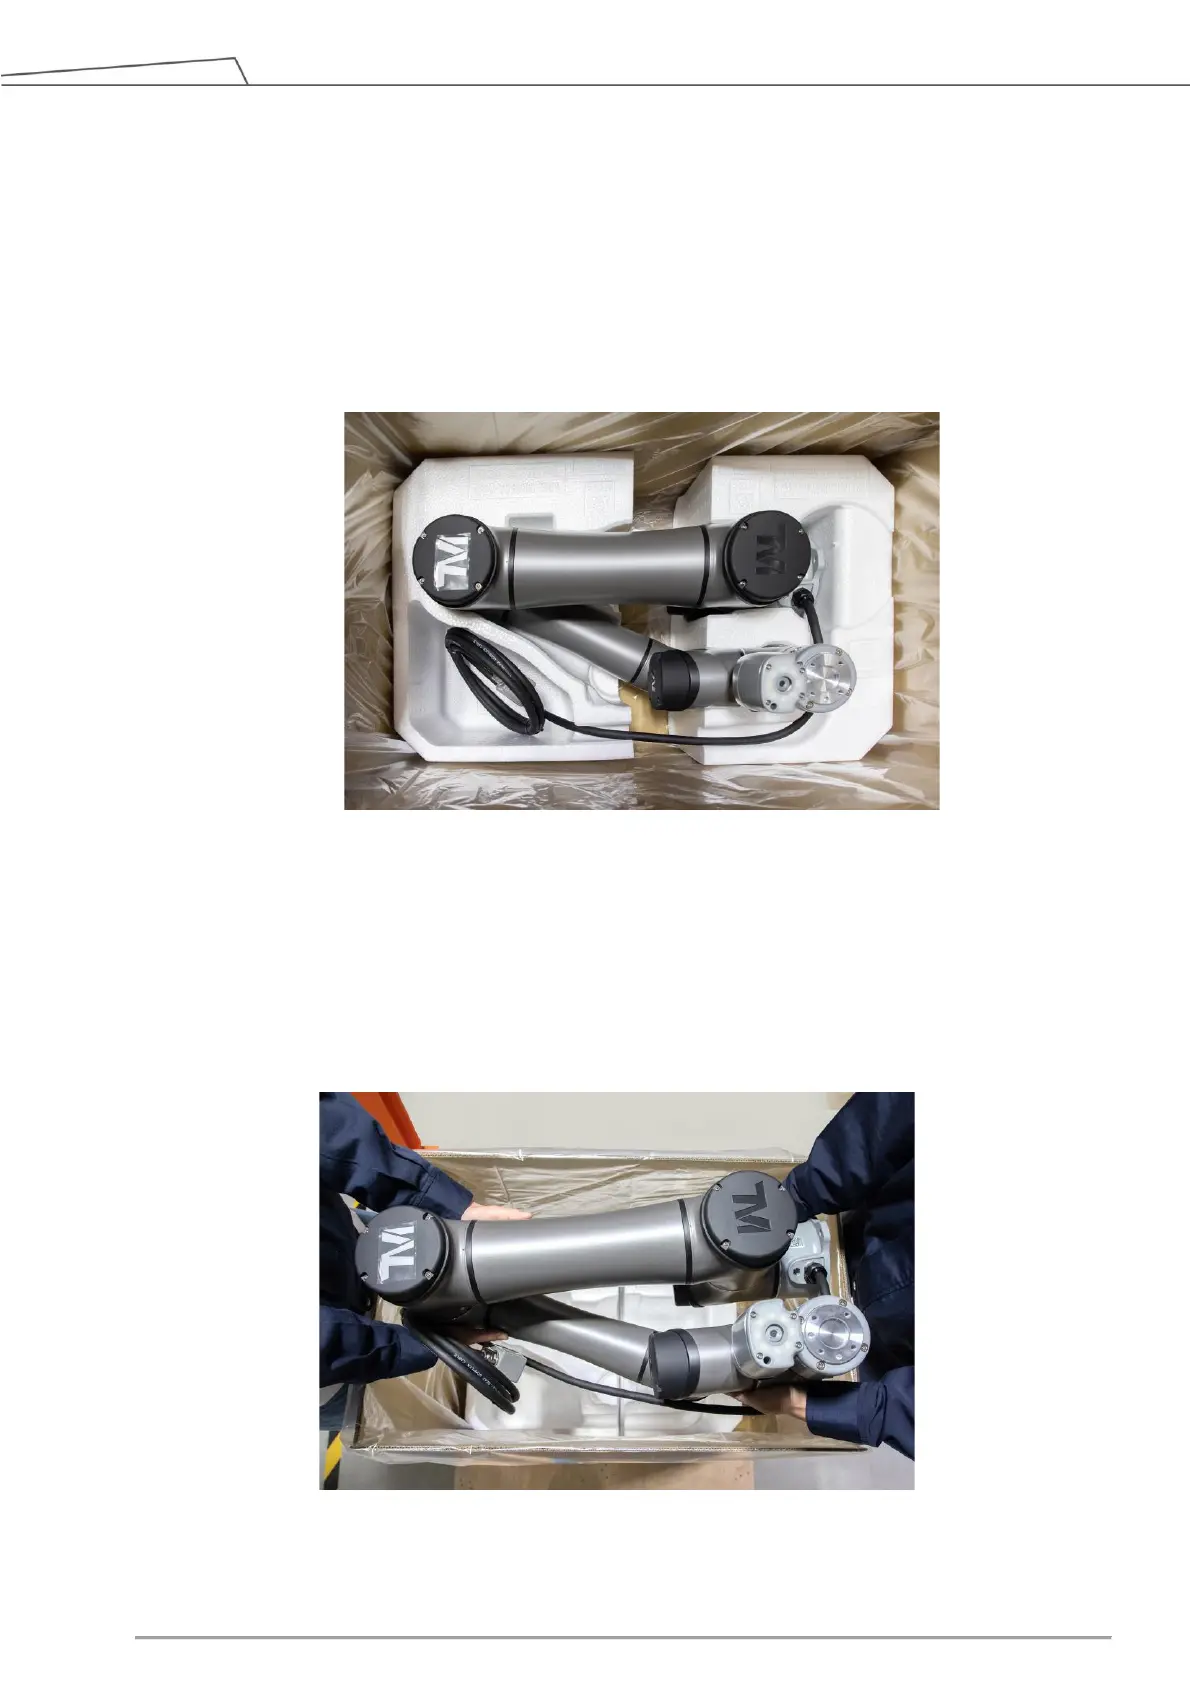
At least two people should remove the robot arm from the carton. For the correct holding positions, refer
to the figure below. Place the robot on the mounting base. If the mounting base is designed with
connection pins, align them with the pinholes of the robot base module. Tighten two locking screws with
metal washers for the robot base that are diagonally across from each other, and then tighten the other
two locking screws. Follow the tightening torque recommended in 4.2.1.5 Robot Arm Installation
Figure 69: Moving the Robot Arm (1/2)
The Robot Arm itself should be handled with at least two people. One person should carry the Lower arm
and Upper arm, and the other should hold on to the position between the base and 1
st
Joint as well as the
6
th
Joint. Before the Robot Base is fastened with screws tightly, the Robot Arm should always be
supported to avoid tipping.
Figure 70: Moving the Robot Arm (2/2)