76 The Information Company
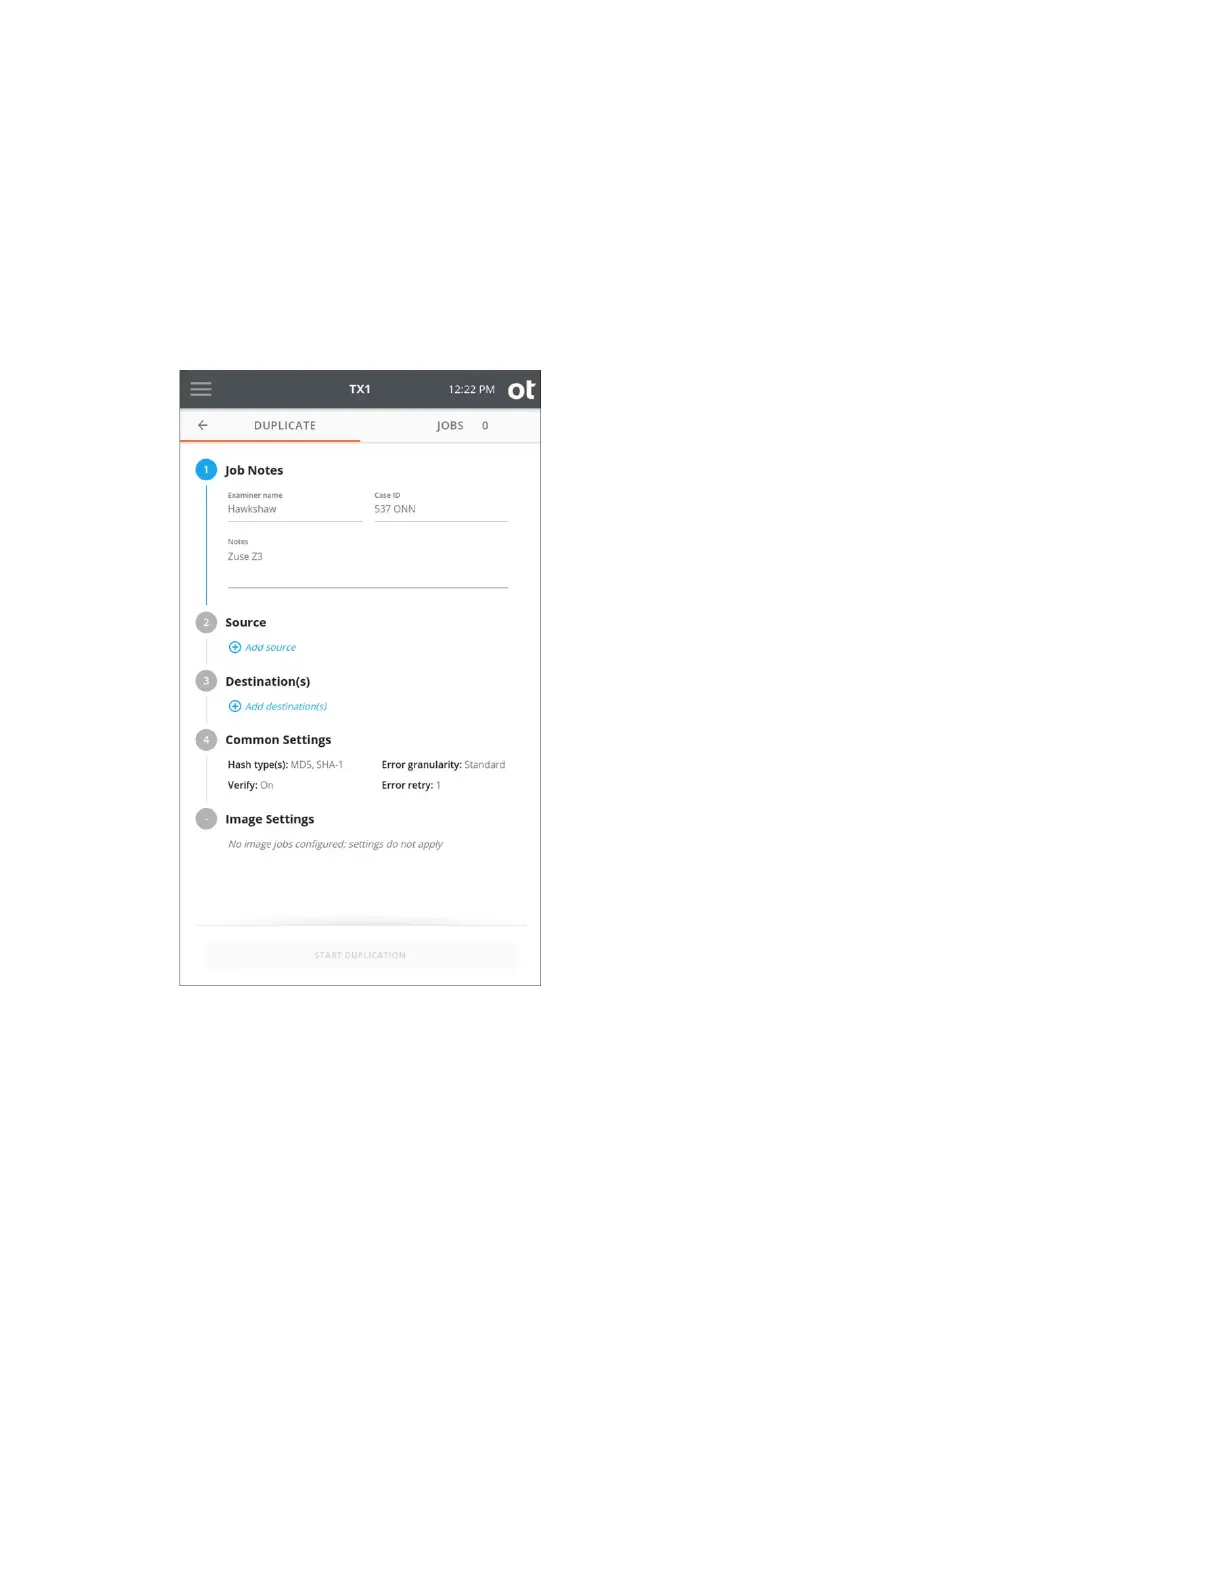
2. To modify or enter job notes, tap the 1 or Job Notes heading to expand the section.
Tap a text box to modify or enter Name, Case ID, or Notes values and the virtual
keyboard is displayed on the bottom half of the screen. If desired, you can also attach
a USB keyboard to one of the front Accessory USB ports to make data entry easier.
Note that all information entered in the Job Notes section will be used for each of the
ensuing automated jobs.
3. To s
et TX1 into Automated Acquisition mode, tap the 2 or Source heading. The top
source drive tile is used for automated acquisition setup and will be present whether
other source drives are connected or not. Tap the Automated Acquisition setup tile
to start the automated job configuration process. Three options will be shown that
need to be set before proceeding, as follows (and as shown in the screenshot below):
• Acquire currently connected – If this option is enabled, any source drives
currently connected to and detected by the system will have jobs automatically
started when the Automated Acquisition mode is fully enabled.
• Acquire newly connected – If this option is enabled, any source drives that are
detected by the system for the duration of the automated acquisition run will have
jobs automatically started as soon as drive detection is complete.
• Shelve AMA/DCO as needed – If this option is enabled, any drives with
detected AMA or DCO settings will have those settings disabled prior to the start
of the job and then replaced after the job is complete. See “Disabling drive
Copyright © 2022 Open Text. All rights reserved. Trademarks owned by Open Text.