Chapter 3 - How to...
3.1.3 Use the system
Before setting up and capturing images, ensure you are familiar with the device and equipment.
3.1.3.1 Using the touch screen
The touch screen is connected to the scan head and controls the scan head and capture functionality.
Some of this functionality is also available on the hand control, see Using the hand control below.
The options are selected by touching an option or pushing the control in the required direction.
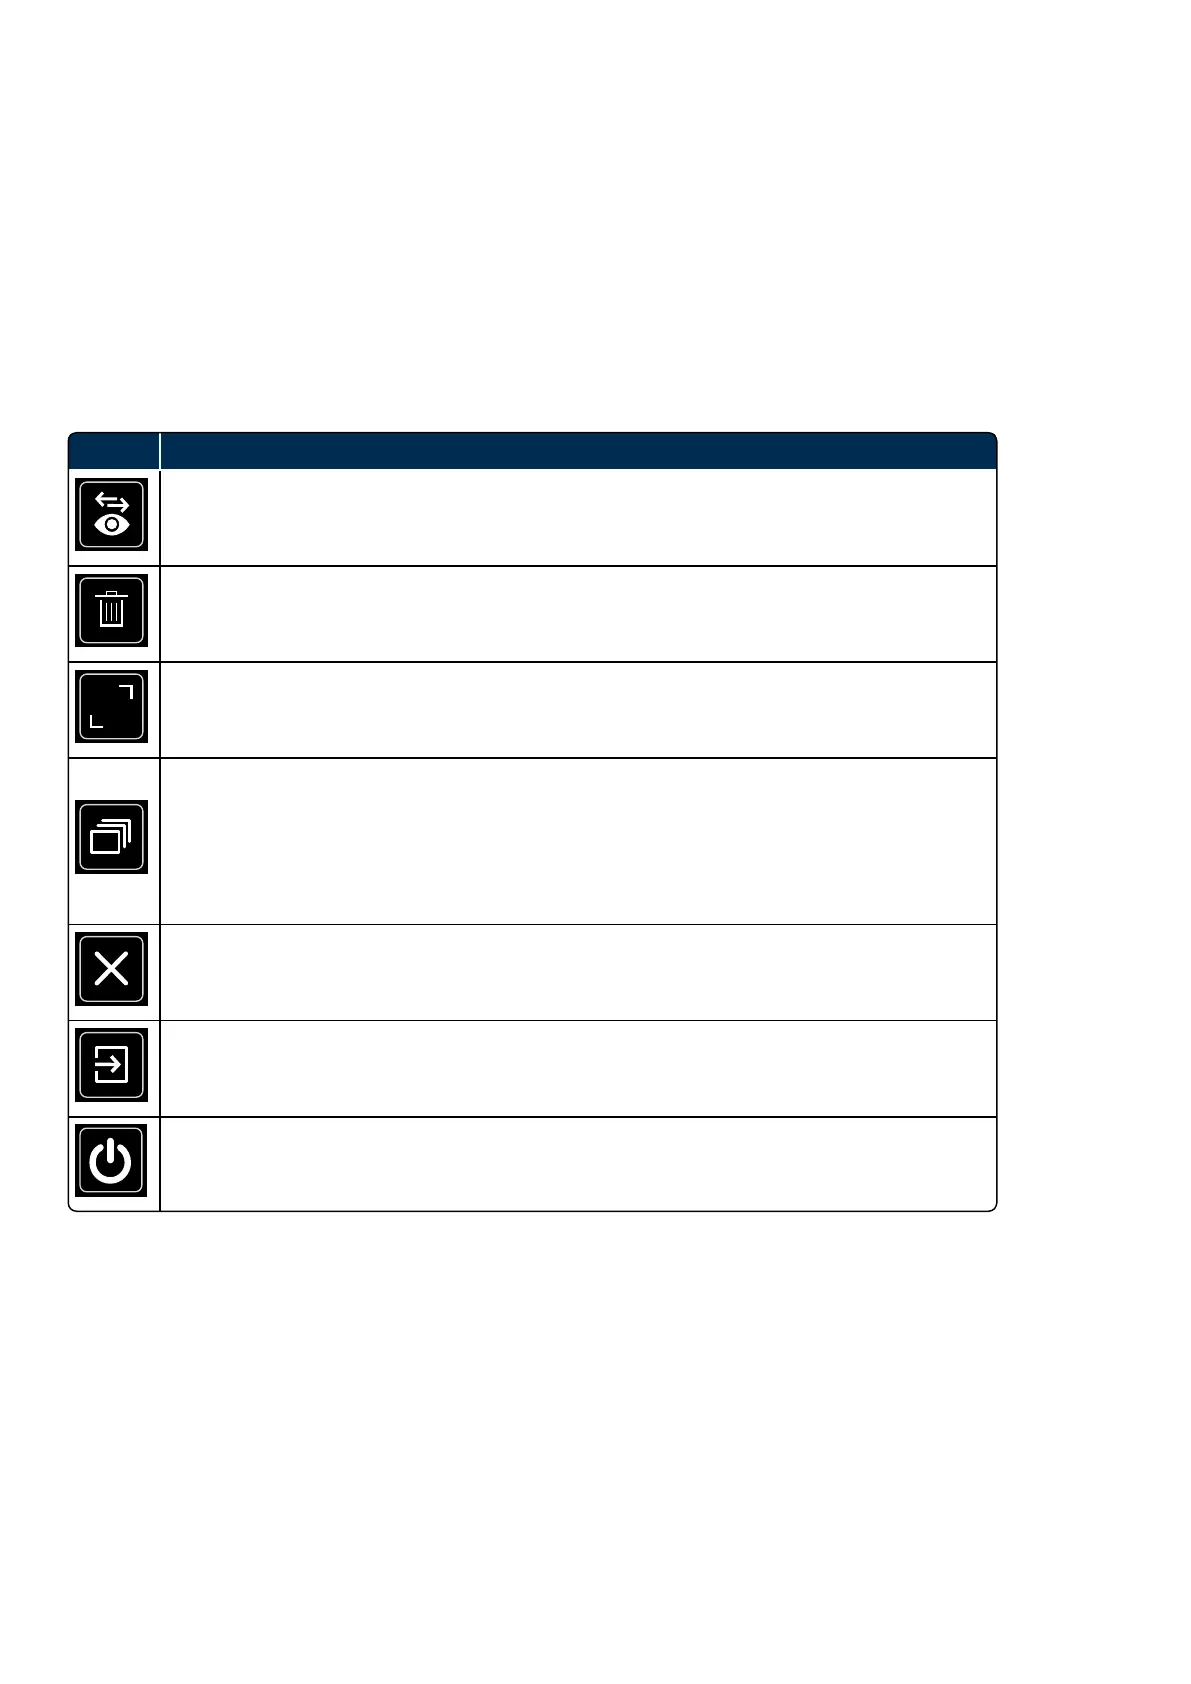
TABLE 3: List of touch screen icons
Icon Description
Change laterality
Changes the laterality of the captured image.
Discard
Deletes the current image or scan.
Declutter
Removes all icons to show a full sized image. Select the icon again to show all the controls.
Image Browser
Displays the images and scan which will be saved at the end of the session. You can change
laterality and delete images and scans.
The image browser can be used to select a suitable SLOimage at the start of the OCT capture
process.
Cancel
Cancels the current action without saving changes.
Finished
Completes the current action.
Shut down device
3.1.3.2 Using the touch screen keyboard
The touch screen keyboard uses the same layout as a standard keyboard in your language.
As needed, accented or special characters may be available by pressing and holding keys with a symbol in
the upper right corner.
3.1.3.3 Using the hand control
The hand control is used to adjust the scan head XYZ alignment.
When capturing OCT scans the hand control can also be used to adjust the scan, see How to optimize OCT
scan quality on page45. The retina view will update in real time to show the location of the scan.
Page 32 of 72 Part Number: G110230/1ENG
English Copyright 2019, Optos plc. All rights reserved.