Chapter 3 - How to...
3.2.3 How to align the patient
Initial patient alignment is the same for all image capture procedures.
3.2.3.1 Patient coaching
You should coach the patient so that they know what is going to happen, and to help put them at ease.
Explain the following information to the patient:
1. During the session you will capture a series of images. The patient should stay in position for the
duration of the session, if possible. There will be opportunities for the patient to rest and blink. You will
tell the patient when they can rest and blink and when they should try to stay still.
2. The patient should sit as upright as they can, with their mouth closed and their teeth together. This will
help reduce movement when images are being captured.
3. The patient's head will be supported by a head rest and a chin rest. The head rest will be positioned
first, and then the chin rest. Both may be adjusted before the image is captured, but it is better to get
comfortable, and firmly supported, from the start.
4. The patient should look for the patient alignment target, see Patient Alignment Guide on page71. The
alignment colors seen by the patient are also shown on the touch screen, so you will see the alignment
feedback they can see.
5. The patient should choose one of the central corners of the alignment target. The patient will be asked
to look at their chosen corner when being imaged.
3.2.3.2 Align the patient
1. Prepare the device, see How to prepare for image capture on the previous page. Select the patient and
select To capture.
2. When you can see the live camera view, ask the patient to sit up straight in front of the device.
3. Stand to the side of the patient where you can reach the touch screen, the table height switch, and
from where you can monitor the position of the patient's face.
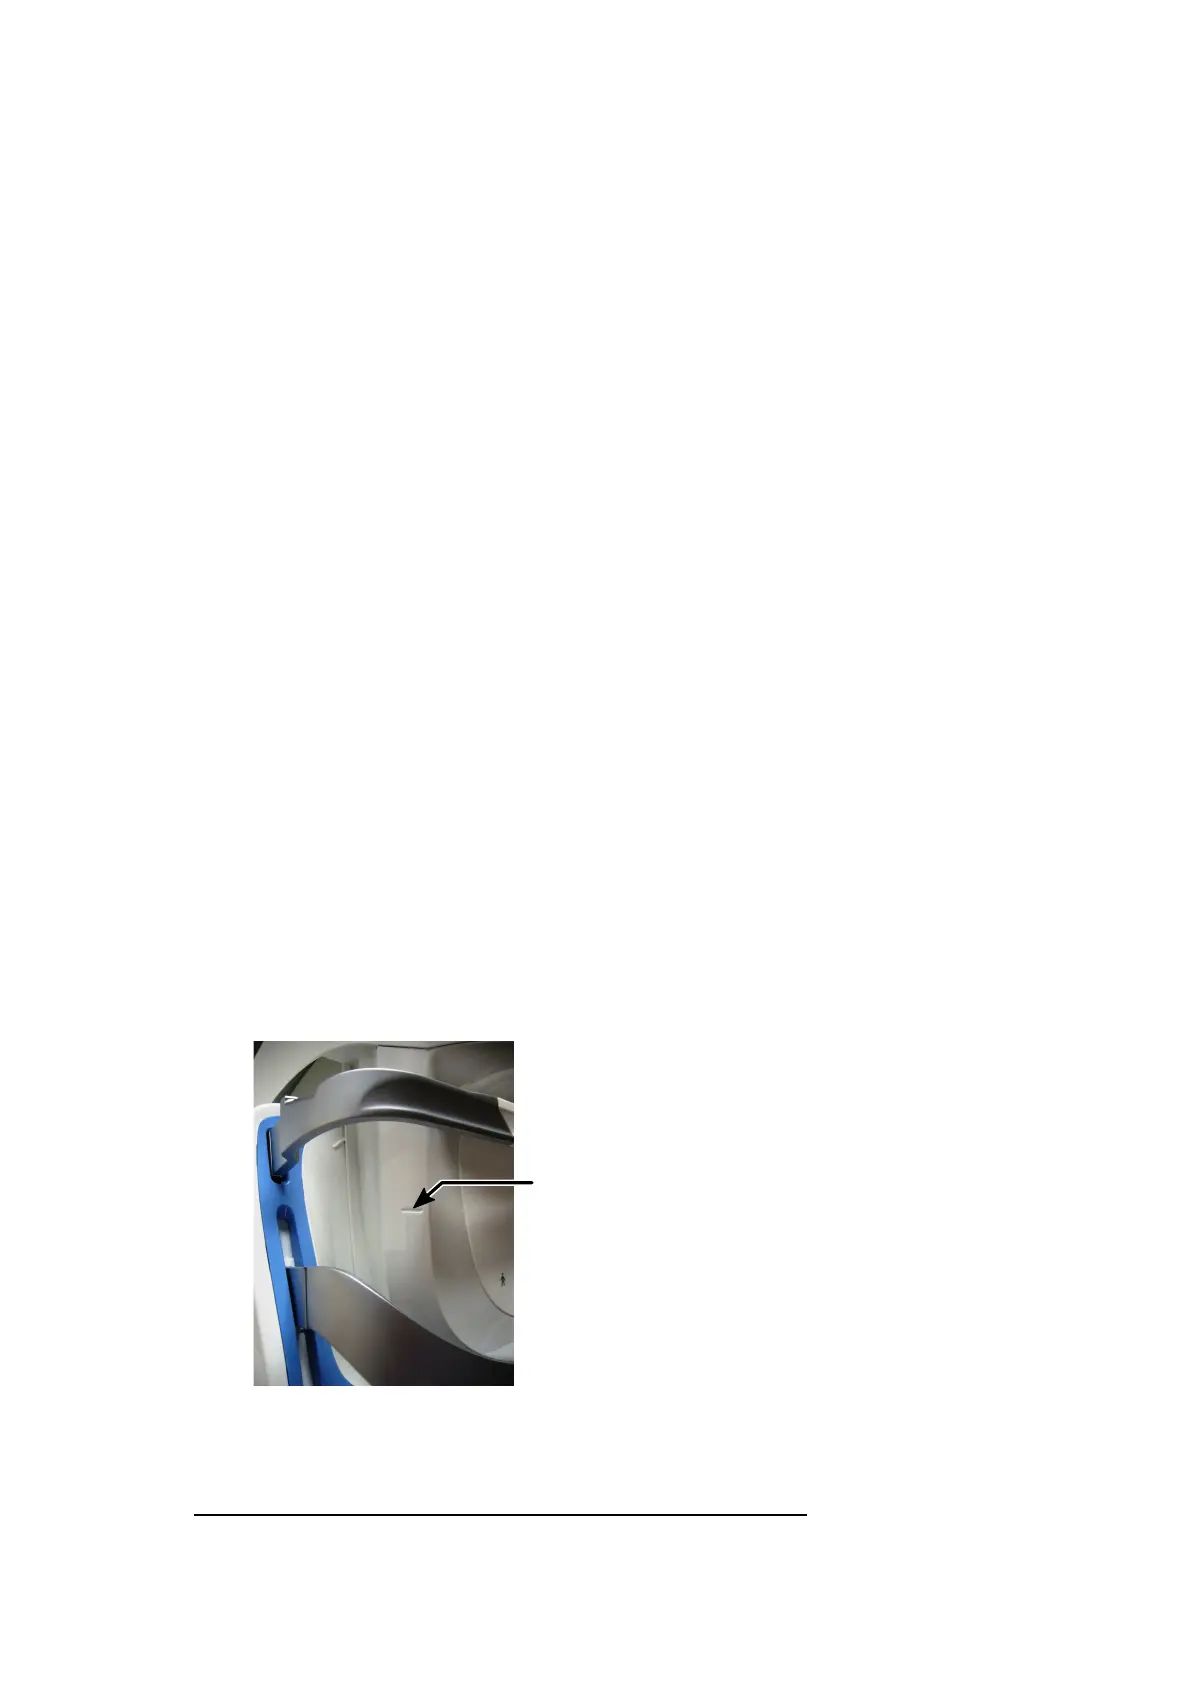
4. Adjust the table or chair so that the patient’s pupil height is aligned to the center of the face pad
aperture. Take care to ensure that cables are not trapped. You can use the canthus
1
mark as an
additional guide.
FIGURE 10: Position of the canthus mark on the covers
1.
The inner or outer corner of the eye where the upper and lower eyelids meet.
Part Number: G110230/1ENG Page 37 of 72
Copyright 2019, Optos plc. All rights reserved. English