4-6
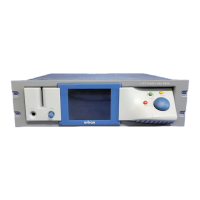
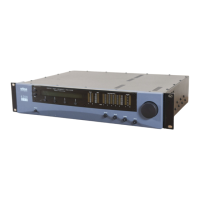
MAINTENANCE Orban Model 8400
The pushbutton switches, joystick, and rotary encoder are all soldered to this board and
can be replaced by normal solder rework techniques.
17. Removing the Display Board.
You must remove the front panel according to the instructions in step 11 on page 4-4 be-
fore you can remove the display board.
A) Unplug from the display board all of the cables leading from the various assemblies
in the front panel.
B) Remove the two screws holding the display board to the chassis.
C) Carefully unplug the display board from its socket on the main board.
18. Removing the Main Board.
A) If you have not done so yet, remove the top cover (step 6 on page 4-3).
B) If you have not done so yet, remove the power supply (step 7 on page 4-3).
C) If you have not done so yet, remove the front and rear PC-card boards (step 10 on
page 4-4).
D) If you have not done so yet, remove the display board (step 17 on page 4-6).
E) Unscrew the six threaded standoffs associated with the Serial 1, Serial 2, and Re-
mote Interface connectors.
F) Unplug the three plugs connecting wiring harnesses and ribbon cables to the main
board.
G) Remove the eight screws fastening the main board to the standoffs on the chassis.
H) Lift the main board out of the chassis.
19. Replacing the Main Board
A) Carefully insert the main board in the chassis, lining up the eight screw holes with
the standoffs on the chassis.
Be sure that the rear-panel connectors fully protrude through their holes.
B)
Replace the eight screws removed in step (18.G) on page 4-6.
C) Replace the six threaded stand-offs to the D-SUB connectors that were removed in
step (18.E) on page 4-6.
D) Replace the display board.
a) Carefully plug the display board into its socket in the main board.
Be sure that the pins are lined up horizontally and that no pins have been
bent.
b)
Replace the two screws that hold the display board to the chassis standoffs.