135
SQW0419
Adjusting the focus and brightness (exposure)
Taking pictures with Auto Focus
4
Press
• The AF area setting screen appears.
5
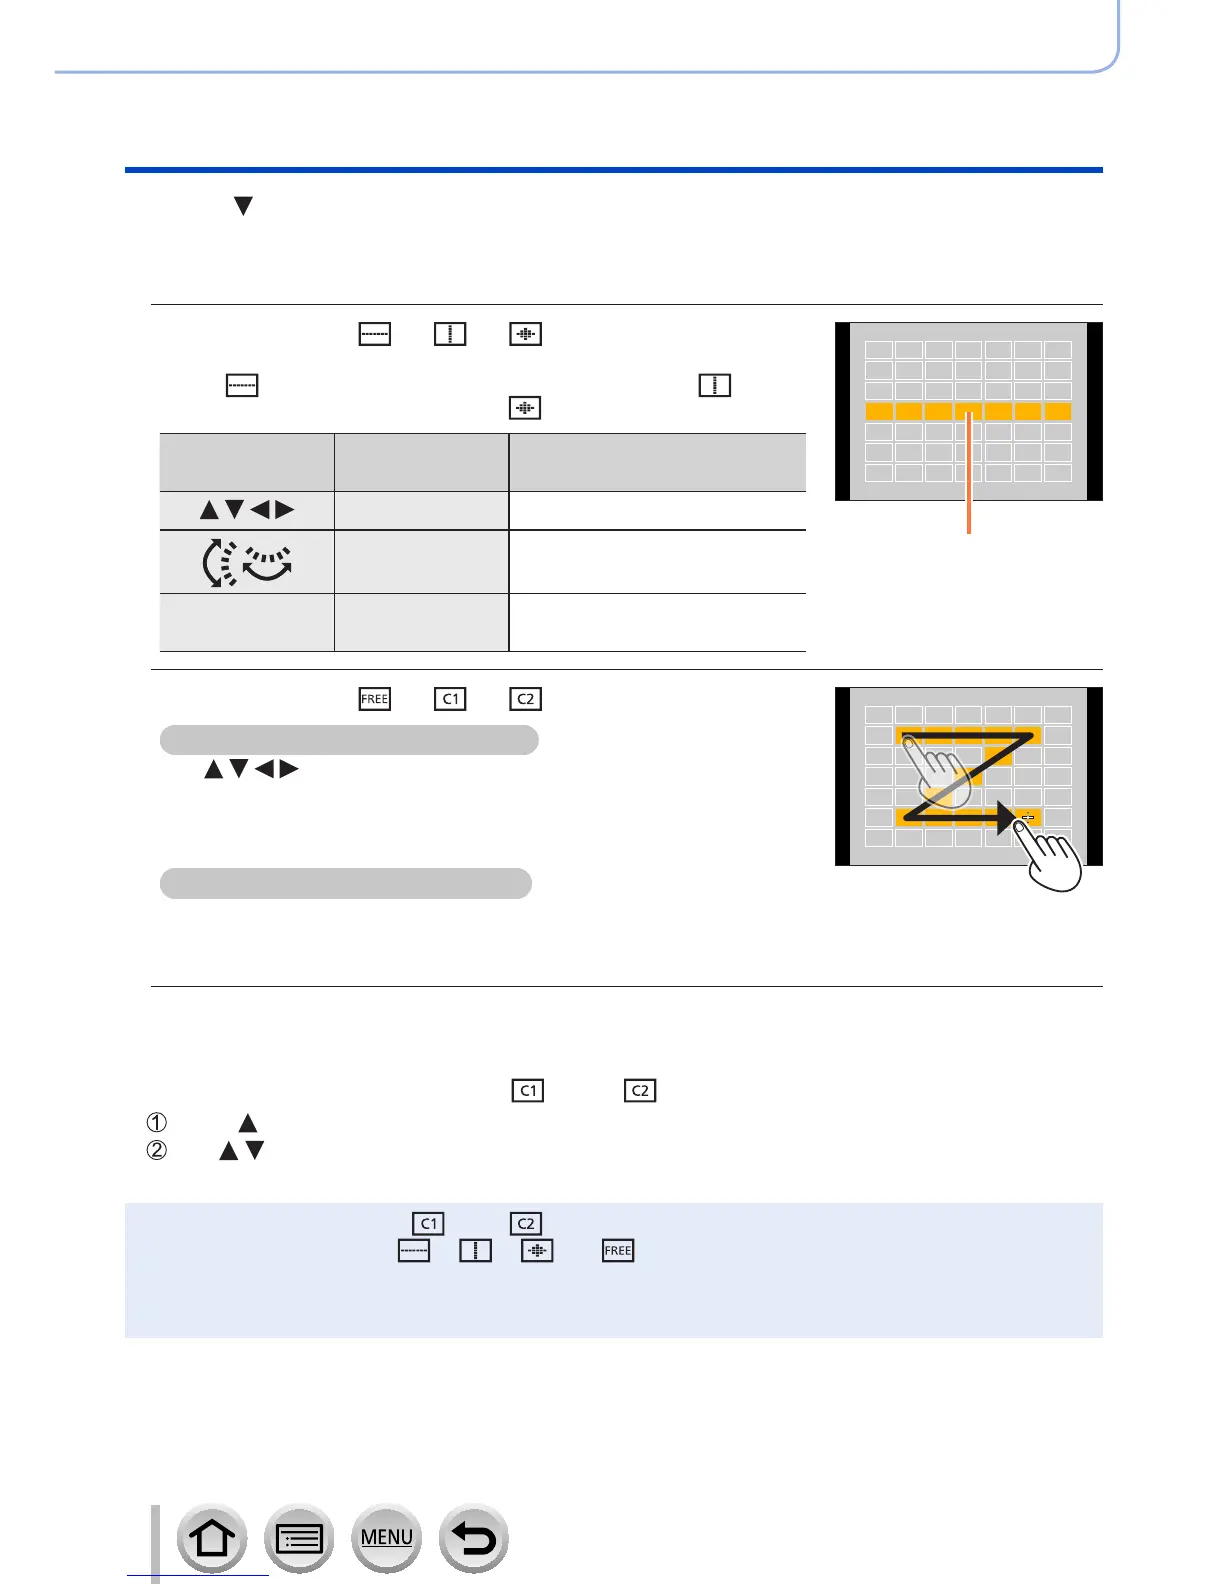
Select the AF area
When selecting [
] / [ ] / [ ]
You can set the size and position of the area in the vertical direction
when [
] is selected, in the horizontal direction when [ ] is
selected, and in all directions when [
] is selected.
Button
operation
Touch
operation
Description
Touch Moves position
Pinch in /
Pinch out
Changes the size (3 stages)
[DISP.] [Reset]
Restores to the initial
settings
Selected AF area
When selecting [ ] / [ ] / [ ]
With cursor button operations
Use to select AF area and press [MENU/SET] to set
(repeat)
• If you press [MENU/SET] again, the setting will be canceled.
• To cancel all the settings, press the [DISP.] button.
With touch screen operations
Drag your finger over the parts you want to set as AF areas
• If you touch one of the selected AF areas, the selection of the
area will be canceled.
6
Press [Fn2] button
■
Registering the set AF area in [ ] and [ ] (Custom)
Press on the screen of step
3
on (→134)
Use to select the registration target icon and press [MENU/SET]
●
The settings registered in [ ] and [ ] will be retained even if the camera is turned off.
●
The settings adjusted in [ ], [ ], [ ] or [ ] will be restored to the default settings when
the camera is turned off.
●
If you press the cursor button when [Direct Focus Area] in the [Custom] menu is set to [ON], the
AF area setting screen will appear.
 Loading...