48
SQW0419
Basics
Buttons/Dials/Levers Used for Recording
Enabling/disabling the guideline display
→ [Custom] → [Guide Line] → [ ] / [ ] / [ ] / [OFF]
• The guideline is not displayed during panorama picture recording.
When you select
[ ]
, you can move the position of the guideline by pressing
.
•
You can also set the position directly by touching [ ] on the guideline of the recording
screen.
Turning on/off the recording information screen of the monitor
→ [Custom] → [Monitor Info. Disp.] → [ON] / [OFF]
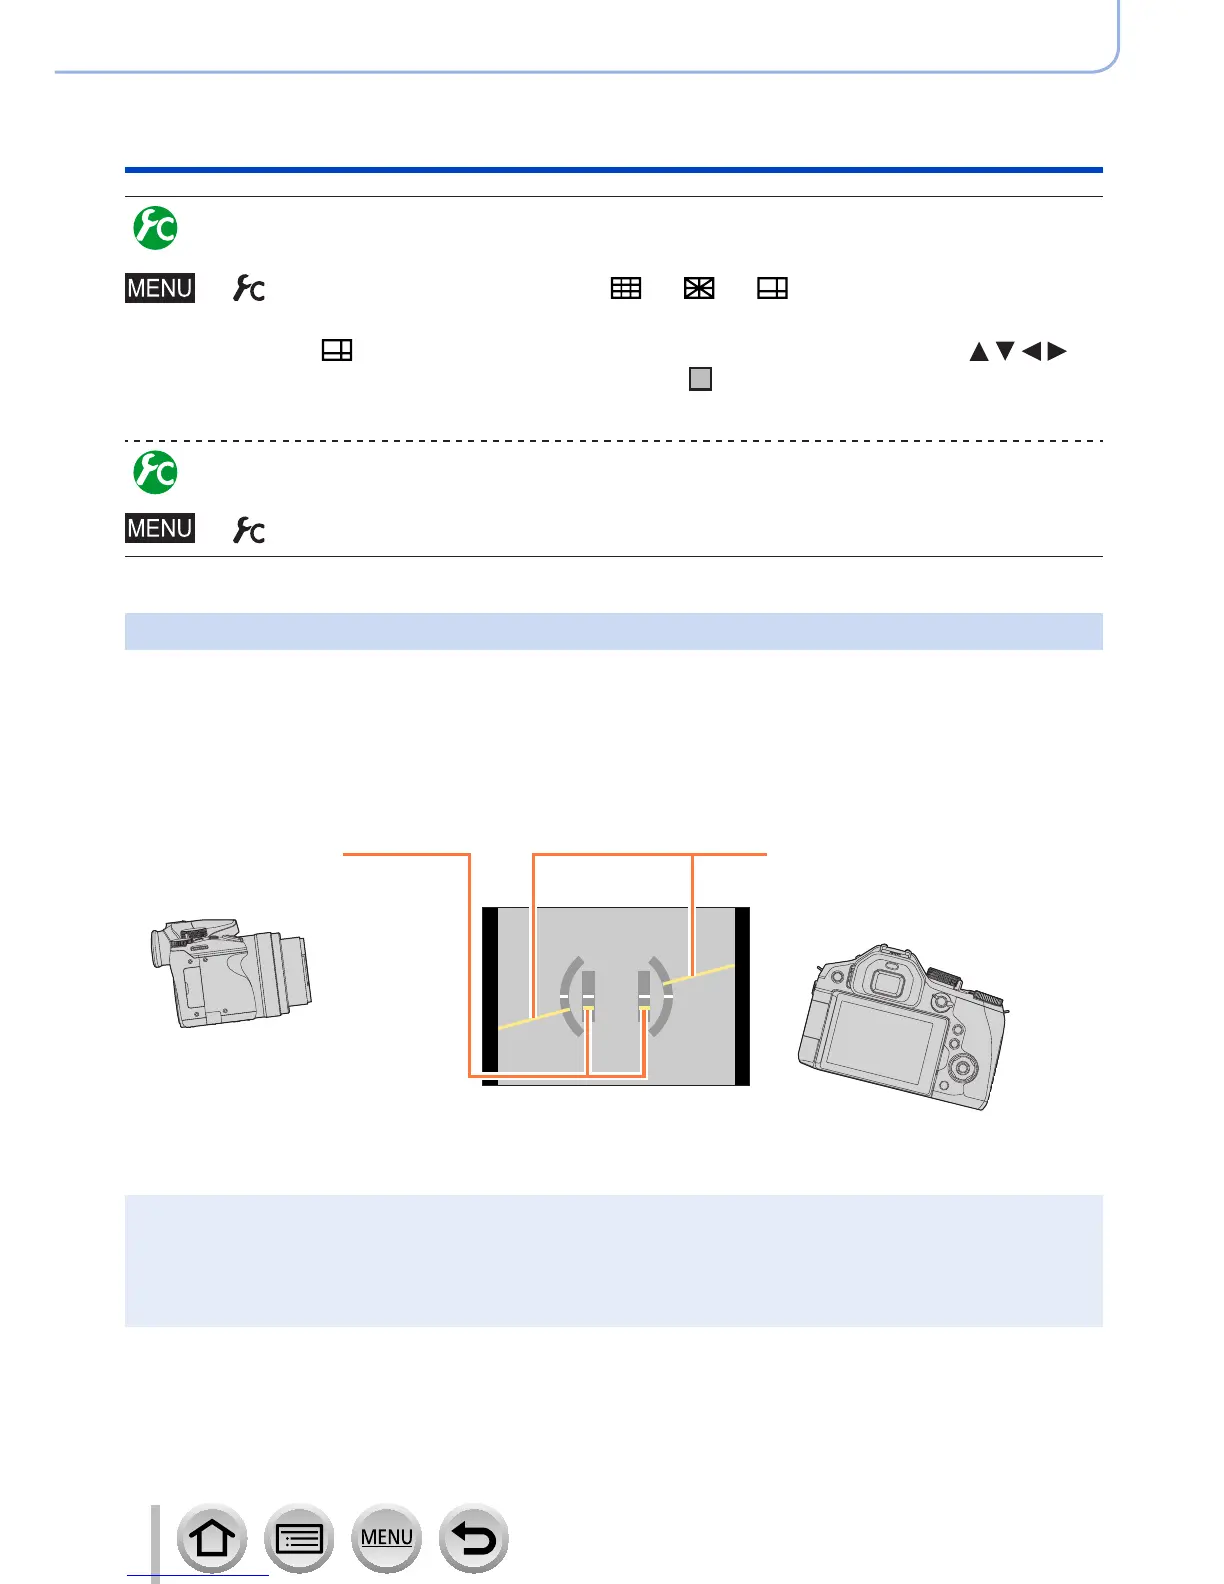
Using the level gauge
If you want to make sure that the camera is not slanted or tilted, for example, when you
take a picture of a landscape, use the level gauge indication as a reference.
1
Press [DISP.] button to display the level gauge
The yellow line indicates the current angle. Correct the angle of the camera so that it
matches the white line.
Tilting up or down
• In this case, it is facing upward.
Tilting left or right
• In this case, the right side has
dropped.
• When the camera is tilted very little or not at all, the level gauge will turn green.
●
Even when angle is more or less corrected, there may be an error of about ±1 degree.
●
When [Level Gauge] is assigned to a function button, you can turn the level gauge on and off
every time you press the function button.
●
The level gauge may not be displayed correctly or the direction detect function (→36) may not
operate correctly if the pictures are taken with the camera pointing sharply up or down.
 Loading...