Preparation
14
VQT1G28
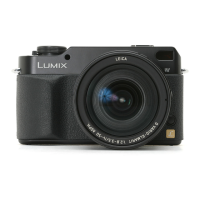
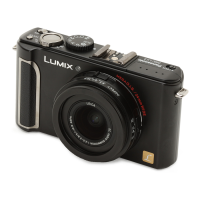
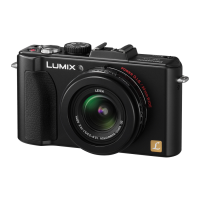
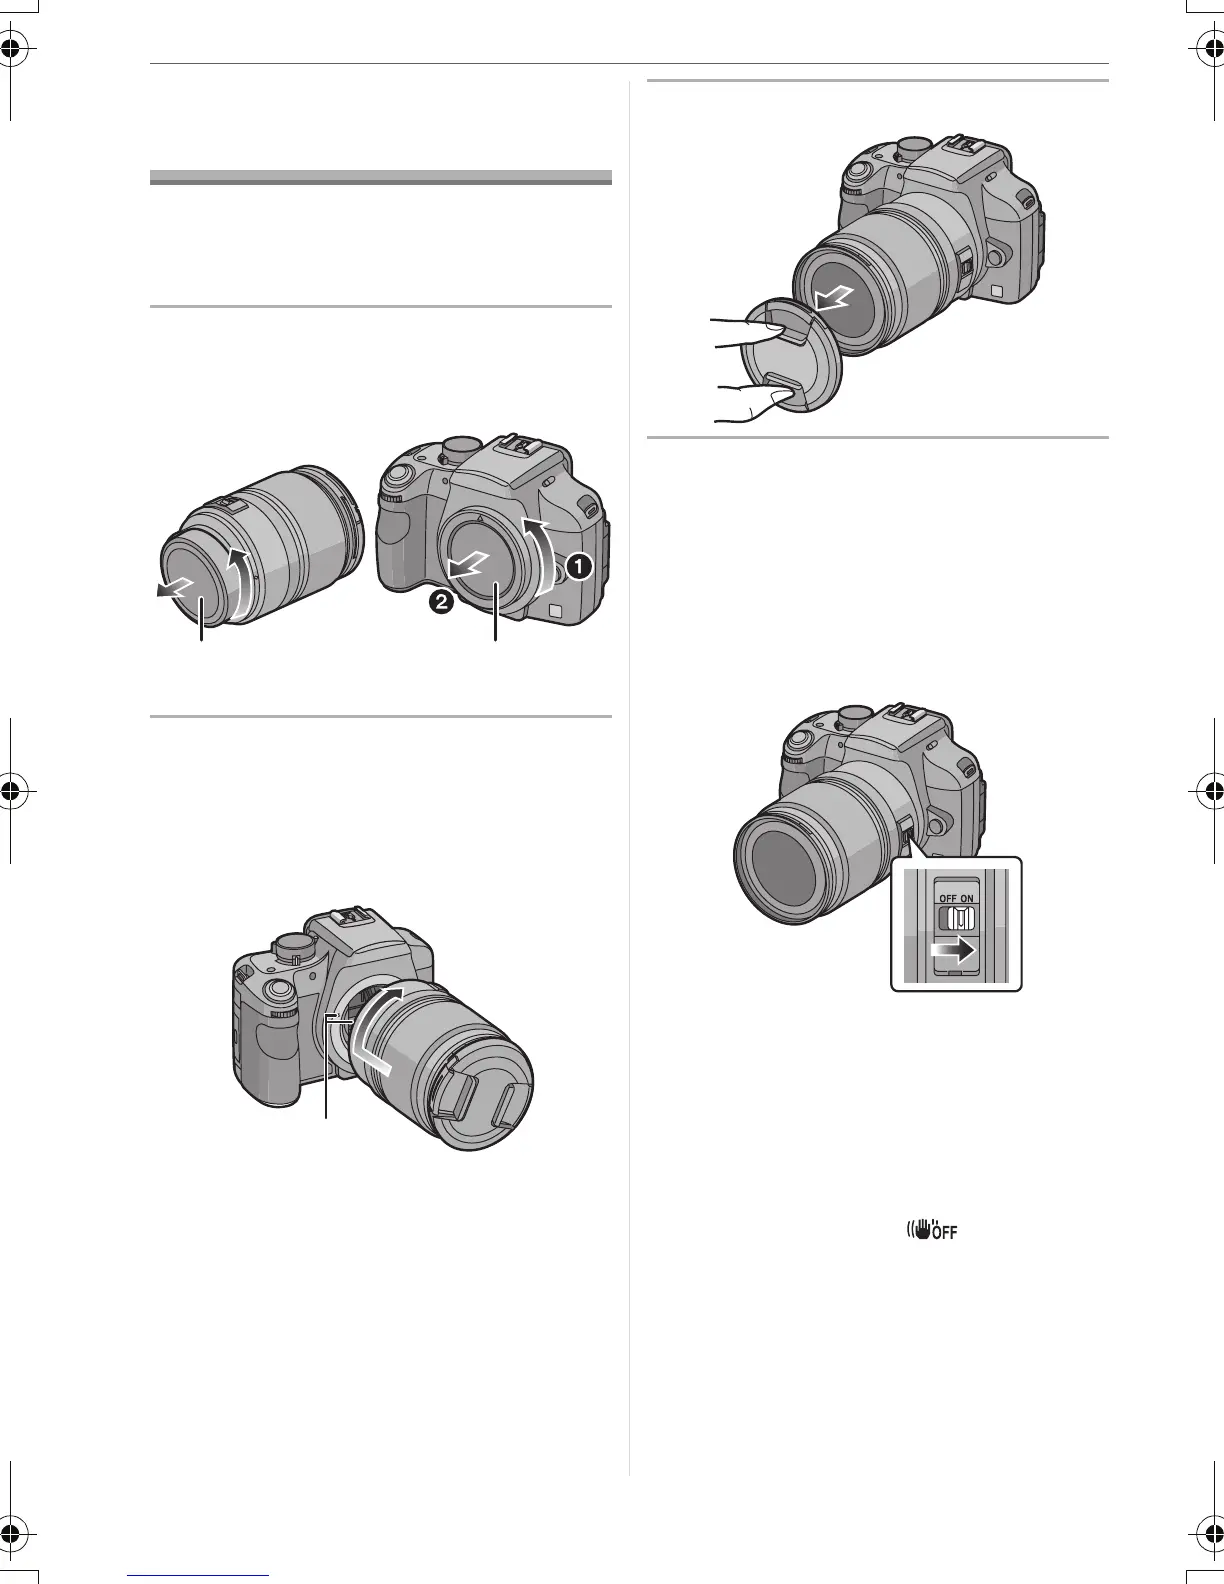
Attaching/Detaching
the Lens
• Check that the camera is turned off.
• Close the flash.
∫ Attaching a lens to the camera body
1 Turn the lens rear cap A and the
body cap B in the direction of the
arrow to detach them.
• Do not put your hands inside the mirror.
2 Align the lens fitting marks C
(red marks) on the camera body
and the lens and then rotate the
lens in the direction of the arrow
until it clicks.
• Do not press the lens release button
when you attach a lens.
• Do not try to attach the lens when
holding it at an angle to the camera
body as the lens mount may get
scratched.
• Check that the lens is attached
correctly.
3 Detach the lens cap.
∫ Optical image stabilizer
The supplied lens has an optical image
stabilizer function.
The optical image stabilizer function is set
for activation when the lens is attached to
the camera body.
Set the [O.I.S.] switch to [ON].
• You can change the optical image
stabilizer mode to [MODE1], [MODE2] or
[MODE3] using [OIS MODE] in the [REC]
mode menu. (P96) It is set to [MODE1] at
the time of purchase.
• We recommend setting the [O.I.S.] switch
to [OFF] when using a tripod. If the [O.I.S.]
switch is set to [OFF], [ ] is displayed
on the LCD monitor.
A
2
1
B
C
VQT1G28ENG_L10KP.book 14 ページ 2007年9月6日 木曜日 午前9時29分
 Loading...