Menu Settings
93
VQT1G28
∫ Adjusting each film mode to the
desired setting
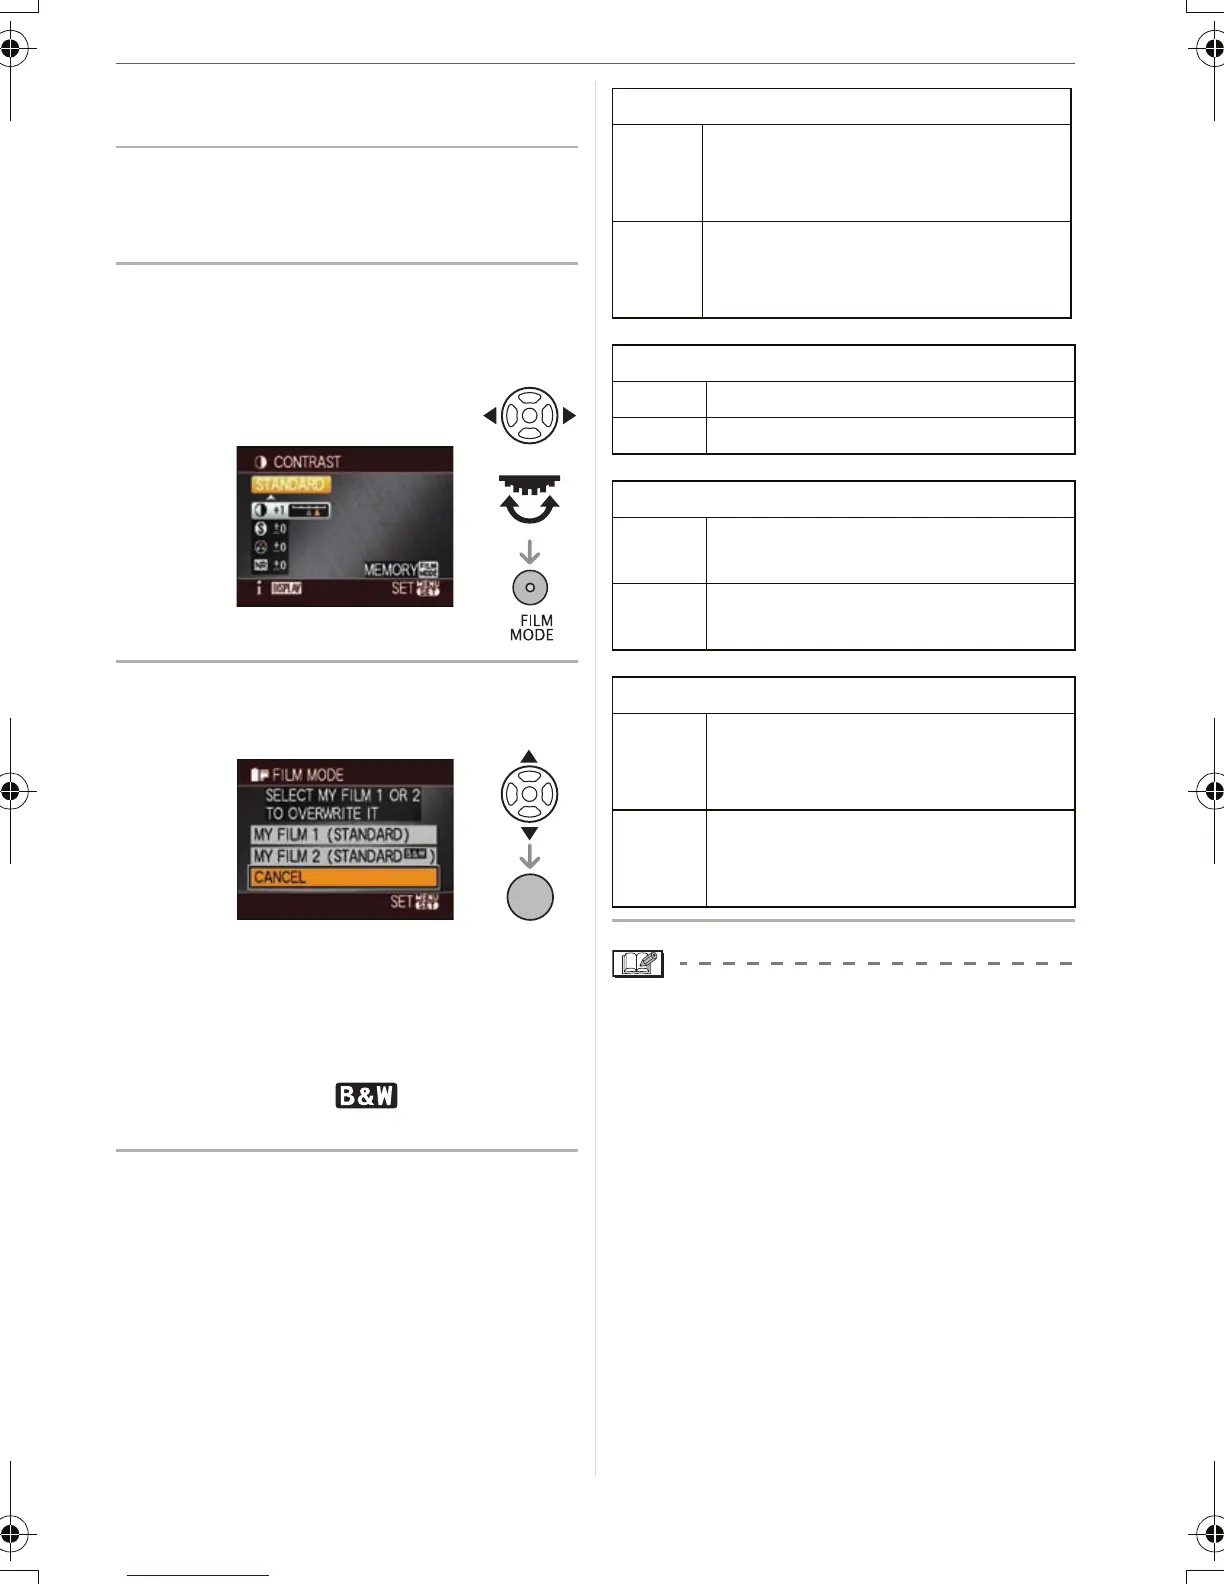
1 Press 3/4 or use the front dial
on the screen shown in step 1 on
page 92 to select an item.
2 Press 2/1 or use the rear dial to
adjust the item and then press
[FILM MODE].
3 Press 3/4 to select the item and
then press [MENU/SET].
• You can register 2 settings. ([MY FILM1]
and [MY FILM2]
(After registering, the film mode name that
was registered previously is displayed.)
• [STANDARD] is registered in [MY FILM1]
and [STANDARD] ( ) is registered in
[MY FILM2] at the time of purchase.
4 Press [MENU/SET] to close the
menu.
• You can also press the shutter button
halfway to close the menu.
• Noise may become visible when you take
pictures in dark places. To avoid picture
noise, we recommend setting
[NOISE RED.] towards [_] or setting the
items except [NOISE RED.] towards [`] to
take pictures.
• If you adjust a film mode, [_] is displayed
beside the film mode name on the LCD
monitor.
• You cannot adjust [SATURATION] in the
black and white settings in film mode.
• Film mode cannot be adjusted in
advanced scene mode and scene mode.
or
MENU
/SET
[CONTRAST]
[_]
Increases the difference between
the brightness and the darkness
in the picture.
[`]
Decreases the difference
between the brightness and the
darkness in the picture.
[SHARPNESS]
[_] The picture is sharply defined.
[`] The picture is softly focused.
[SATURATION]
[_]
The colors in the picture become
vivid.
[`]
The colors in the picture become
natural.
[NOISE RED.]
[_]
The noise reduction effect is
enhanced. Picture resolution may
deteriorate slightly.
[`]
The noise reduction effect is
reduced. You can obtain pictures
with higher resolution.
VQT1G28ENG_L10KP.book 93 ページ 2007年9月6日 木曜日 午前9時29分
 Loading...