B
Benjamin HuffmanJul 26, 2025
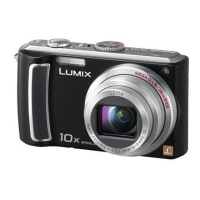
Why Panasonic Lumix DMC-TZ10 Digital Camera incorrect date displayed in Calendar playback?
- VVanessa CaseyJul 26, 2025
If the date displayed in Calendar playback on your Panasonic Digital Camera is incorrect, it could be because the picture was edited on a computer or taken on a different device, or because the [CLOCK SET] is incorrect.