Chapter 2 Getting Started — Installing/removing the projector
ENGLISH - 41
4) Remove the safety wire.
(ii)
(i)
Ceiling
Ceiling foundation
(Field edge or
reinforcing material)
Ceiling material
(Gypsum board, etc.)
Track system
Shaft holder
Safety wire
Pole
Cables from main unit
to power supply unit
Tapping screw
Bracket
Bracket
Tapping screw
Ceiling hole
5) Loosen the lever locking screw.
f Turn each lever locking screw (M3) for the levers A/B counterclockwise until they turn freely, using a Phillips
screwdriver (ISO No. 2, diameter: 6 mm (1/4")), and release the levers A/B.
Lever plate A
Lever A
Cross section
Lever A locking screw
Lever plate B
Lever B
Lever B
Lever plate B
Lever B locking screw
Lever B locking screw
Cross section
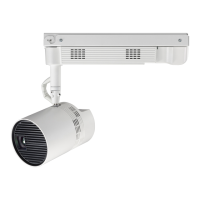
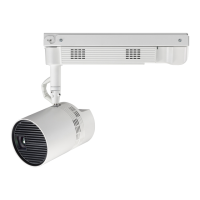
6) Support the power supply unit with one hand, turn the lever B 90°, turn the lever A to the same side to
direct them 90° against the track system, and then remove the projector from the track system.

 Loading...

