Chapter 1 Preparation — Precautions for use
26 - ENGLISH
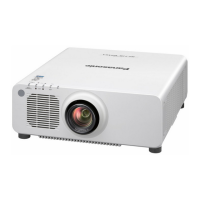
rProjection in all 360° direction is possible.
360°
360°
360°
Cautions when setting up the projector
f Use the adjustable feet only for the oor standing installation and for adjusting the angle. Using them for other
purposes may damage the projector.
f When installing the projector with a method other than the oor installation using the adjustable feet or the
ceiling installation with the Ceiling Mount Bracket, use the ve screw holes for ceiling mount (as shown in the
gure) to x the projector to the mount.
In such case, make sure that there is no clearance between the screw holes for ceiling mount on the projector
bottom and the setting surface by inserting spacers (metallic) between them.
f Use a torque screwdriver or Allen torque wrench to tighten the xing screws to their specied tightening torques.
Do not use electric screwdrivers or impact screwdrivers.
For the screws to x the projector, use commercially available ISO 898-1 standard screws (made of carbon steel
or alloy steel).
(Screw diameter: M6, tapping depth inside the projector: 12 mm (15/32"), screw tightening torque: 4 ± 0.5 N·m)
f Do not stack projectors on top of each other.
f Do not use the projector supporting it by the top.
360° vertically 360° horizontally
360° tilted
(combination of vertical and horizontal)
Unit: mm
Thread engagement depth
Positions of screw holes to x projector and adjustable feet
Adjustable feet
Screw holes to x the projector
Adjustable feet
M6
12(15/32")
 Loading...