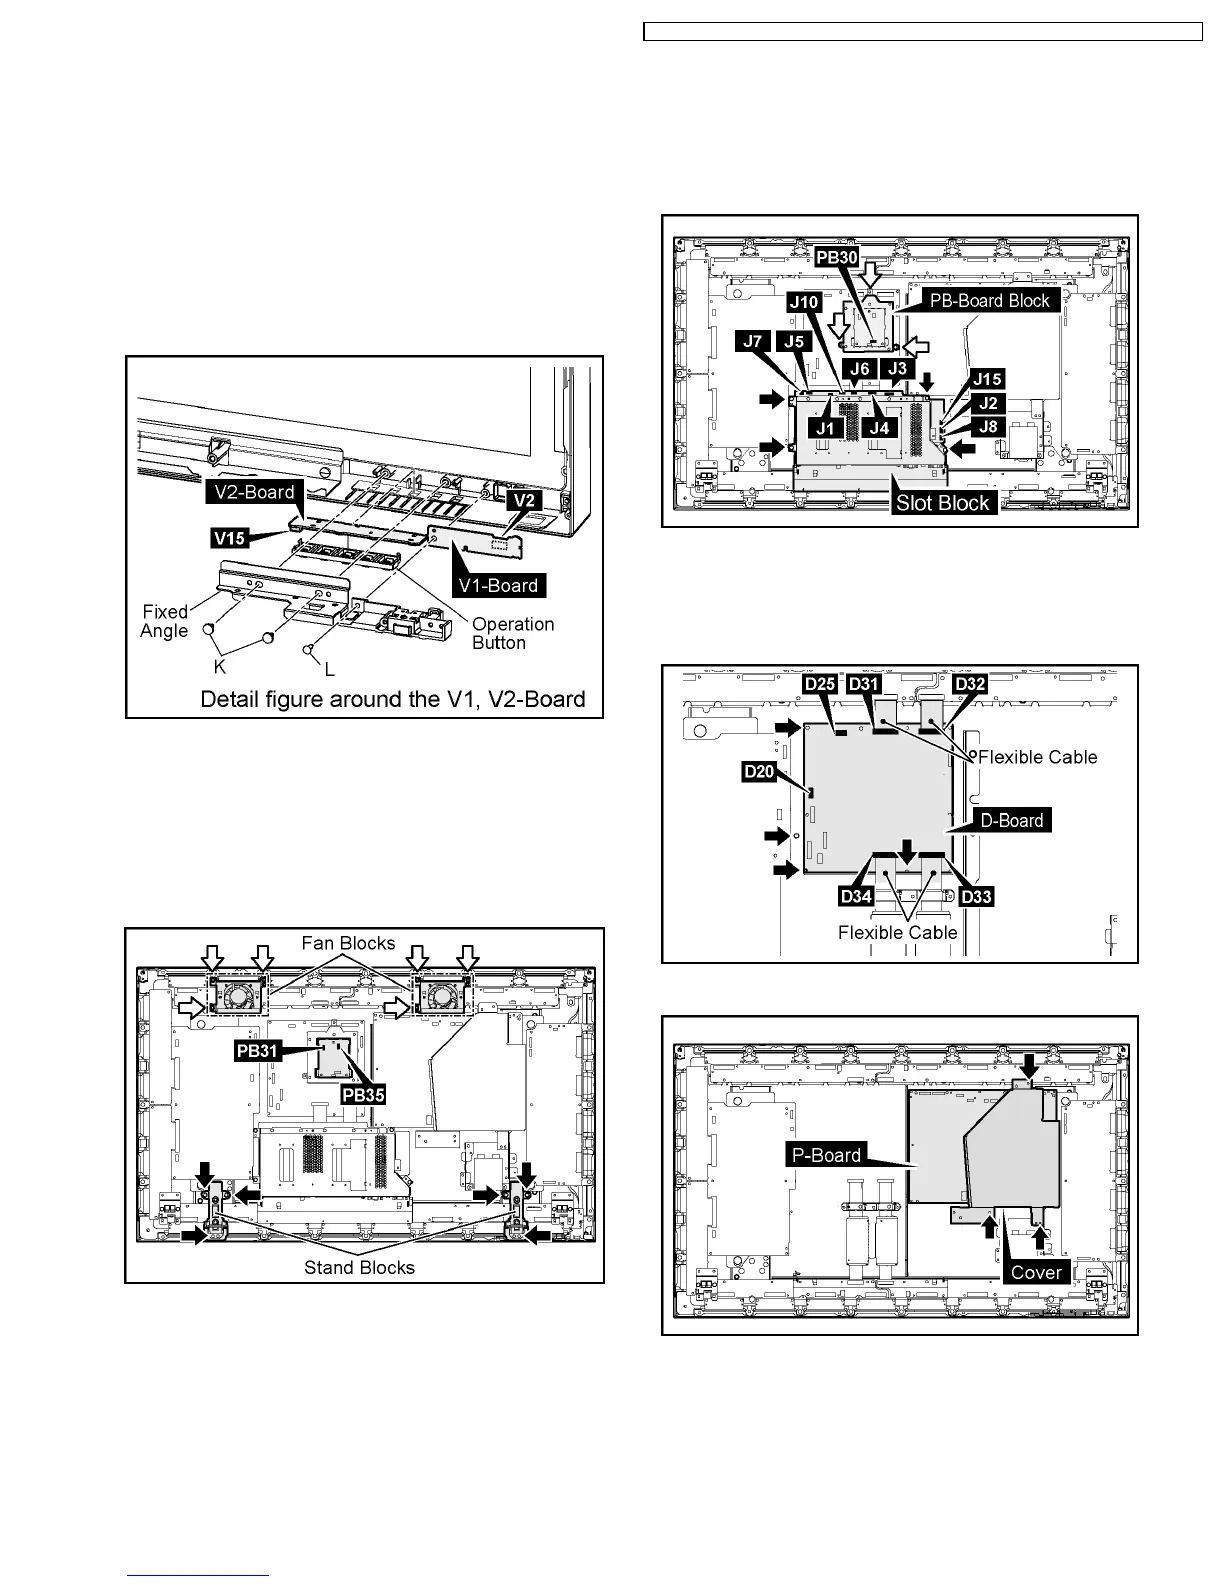
7.17. Removal of the V1-Board and
the V2-Board
1. Operate from procedure 1 to procedure 3 of 7.16.
(Reference to Removal of the Escutcheon)
2. Remove the 2 screws(K) and then remove the Fixed Angle.
3. Remove the 1 screw(L).
4. Remove the operation button from the V2-Board.
5. Disconnect the coupler(V15) and then remove the V2-
Board.
6. Disconnect the coupler(V2) and then remove the V1-Board.
7.18. Removal of the Plasma Panel
1. Disconnect the couplers(PB31, PB35).
2. Remove the each 3 screws and then remove the Fan
Blocks.
3. Remove the each 3 screws and then remove the Stand
Block(L, R).
4. Disconnect the couplers(J1, J2, J3, J4, J5, J6, J7, J8, J10,
J15).
5. Remove the 4 screws and then remove the Slot Block.
6. Disconnect the coupler(PB30).
7. Remove the 3 screws and then remove the PB-Board
Block.
8. Disconnect the couplers(D20, D25).
9. Remove the Flexible Cable from the couplers(D31, D32,
D33, D34).
10. Remove the 4 screws and then remove the D-Board.
11. Remove the 3 screws and then remove the Cover.
19
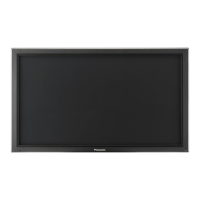
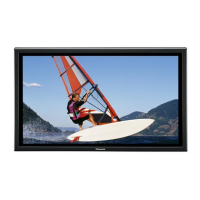
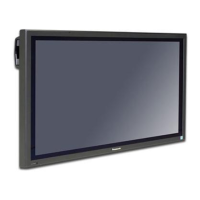
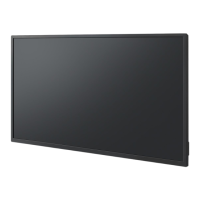
TH-37PHD8GK / TH-37PHD8GS / TH-37PHD8UK / TH-42PHD8GK / TH-42PHD8GS / TH-42PHD8UK
 Loading...