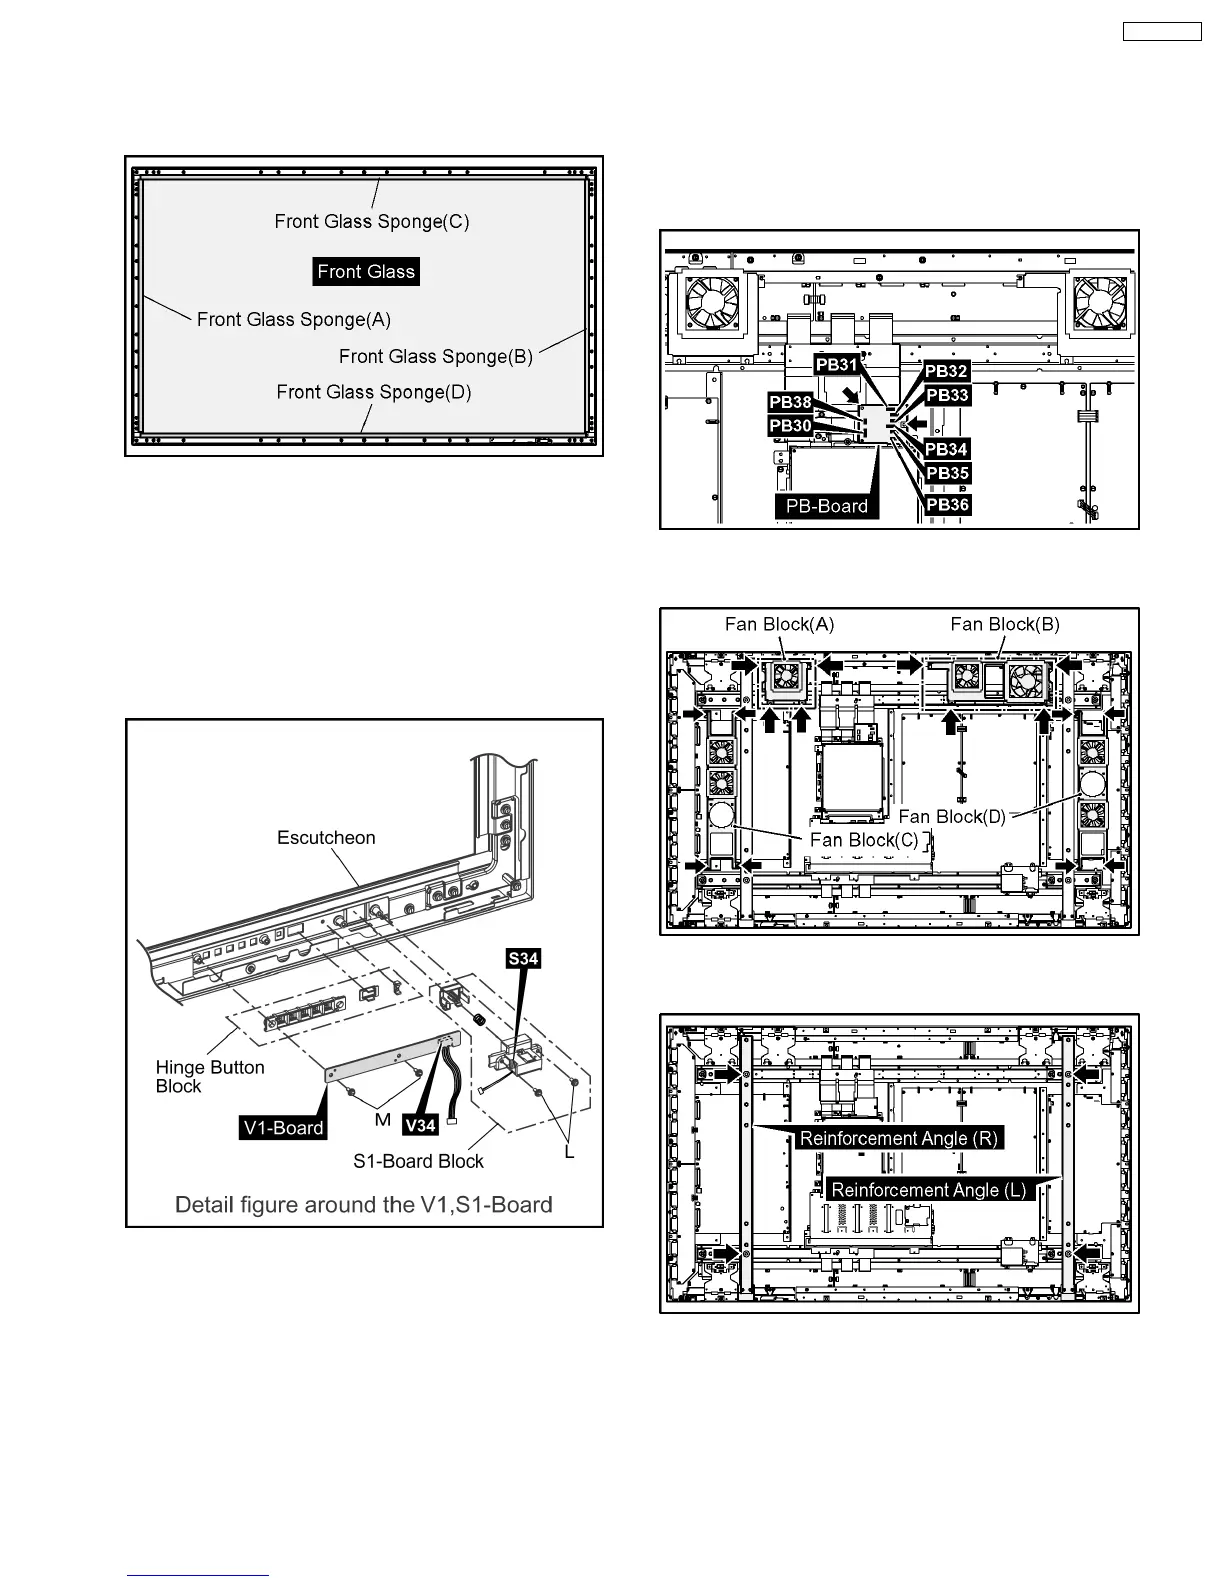
Note: when Front Glass is exchanged
·
Along each fixed Angles of an top and bottom, right
and left order and the sponge for the Front Glass is
pasted to the Front Glass.
Note
·
The sponges are parts which cannot be recycled.
Please use the new article when you exchange the
Front Glass.
6. Remove the 2 screws (L) and then remove the S1-Board
Block.
7. Remove the 2 screws (M) and then remove the V1-Board
and the Hinge Button Block.
8. Remove the Escutcheon.
6.19. Removal of the Plasma Panel
·
The C1,C2,C3,C4,C5,C6 Boards are connected with the
plasma panel for the repair.
1. Disconnect the couplers (PB30, PB31, PB32, PB33, PB34,
PB35, PB36, PB38).
2. Remove the 2 screws and then remove the PB-Board.
3. Remove the each 4 screws and then remove the Fan
Blocks (A), (B), (C), (D).
4. Remove the each 2 screws and then remove the
Reinforcement Angles (L), (R).
5. Remove the flexible cables from the couplers (DN1, DN6).
6. Remove the couplers (DN2, DN3, DN51).
19
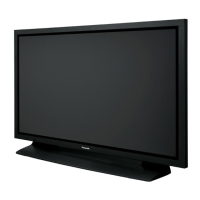
TH-65PF9UK