The buttons in the [ASSIGN] area mimic the LED buttons in the PAN/ASSIGN
BUS ASSIGN
section. For example, the button in the [ASSIGN]
area of the LCD has the same function as the 1 LED button in the
BUS/ASSIGN section on the DA7 Top Panel. When the assignment is active,
the relevant LED is on (green). When the assignment is off, the related LED
goes off. If a selected channel is set for stereo, bus numbers are paired in the
[ASSIGN] area of the window.
See Chapter 8 for more information on ouput assignments and surround
sound functionality.
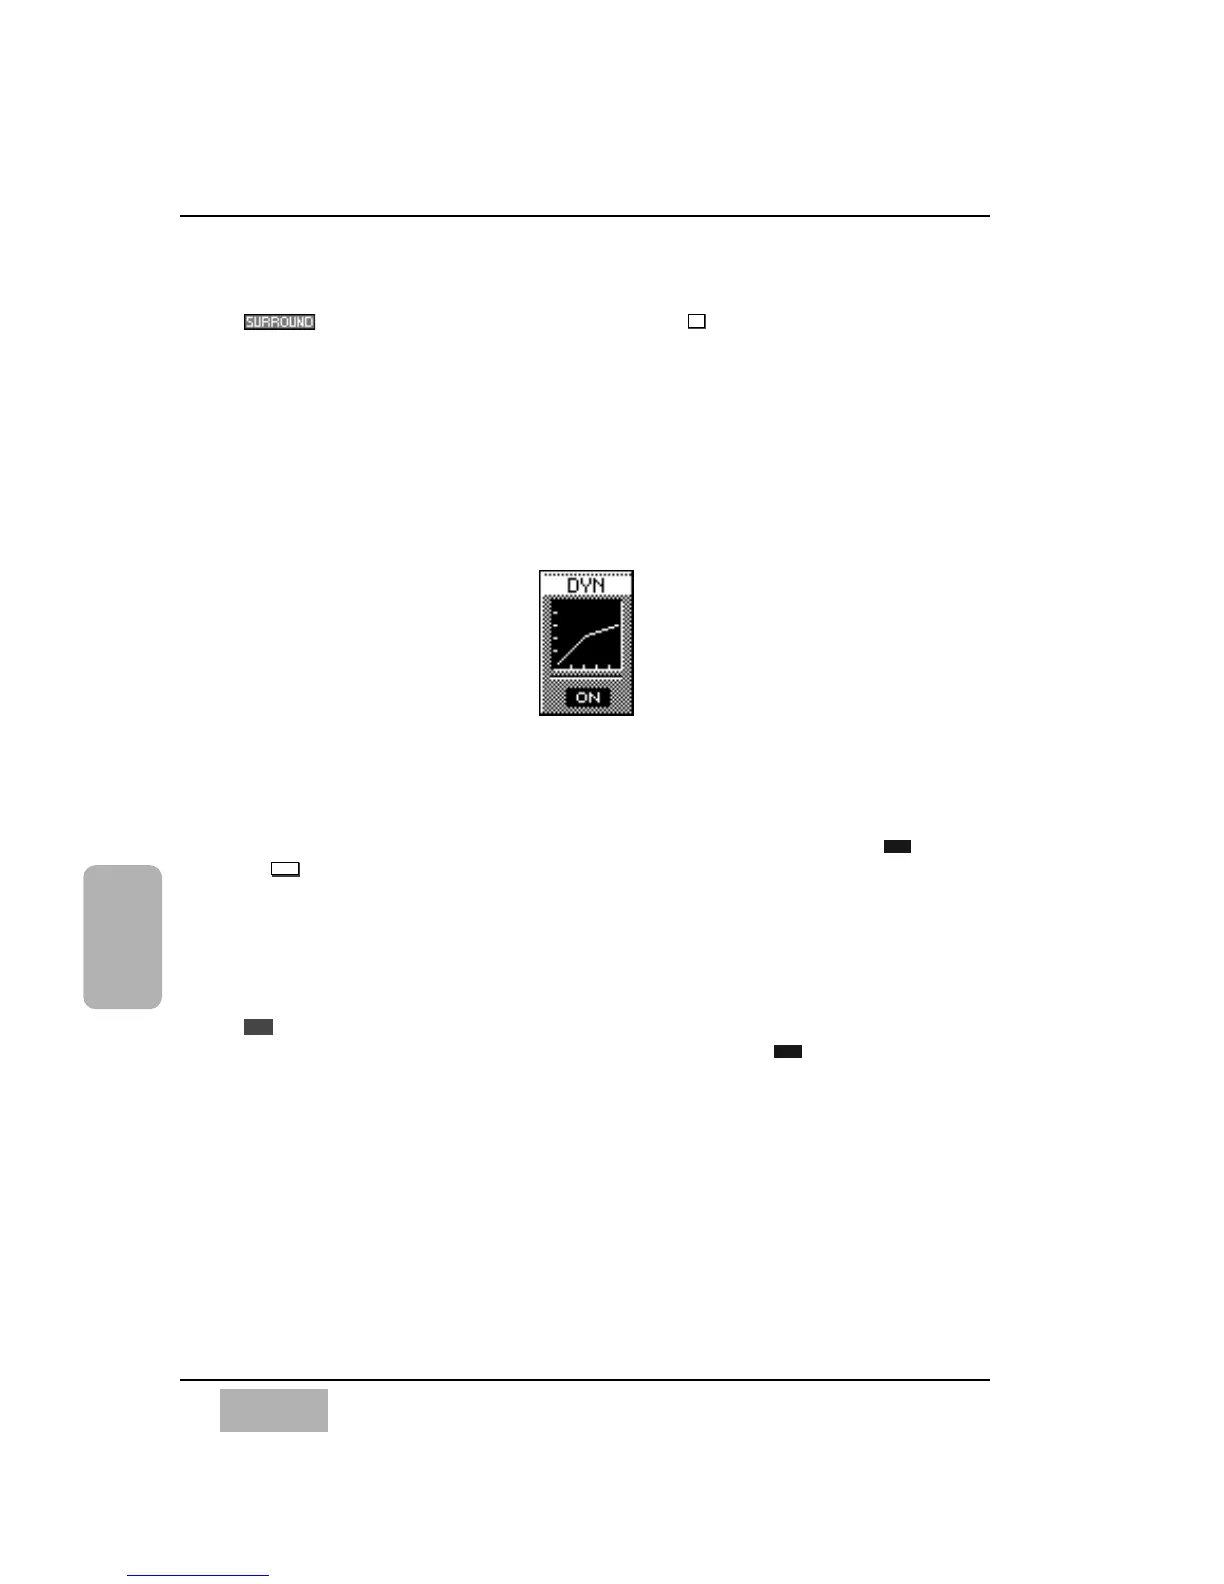
[DYN] Area
The [DYN] (dynamics) area is displayed for a channel with dynamics
capabilities.
To turn dynamics on or off from the [CHANNEL] window, cursor to the
or button, and press the ENTER button.
The dynamics graph reflects the characteristics that are set in the DYNAMICS/
DELAY section of the DA7.
To switch to the [DYNAMICS] window, cursor to the [DYN] graph, and press
the ENTER button. The LCD will switch to the [DYNAMICS] window of a
selected channel, or you can reach the [DYNAMICS] window by pressing the
knob in the DYNAMICS/DELAY section. When the [AUTO DISP
CHANGE] selection in the [UTILITY>CONFIG] window is , you can also
display the [DYNAMICS] window by either pressing one of the LED buttons
or by adjusting one of the knobs in the DYNAMICS/DELAY section.
See Chapter 9, Dynamics/Delay for additional information.