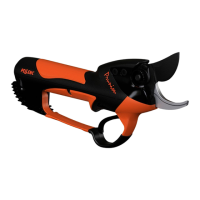
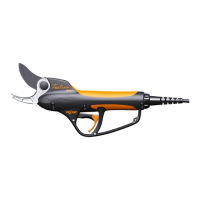
PRUNING SHEARS C45, C45-P150, C45-P200
163529-D
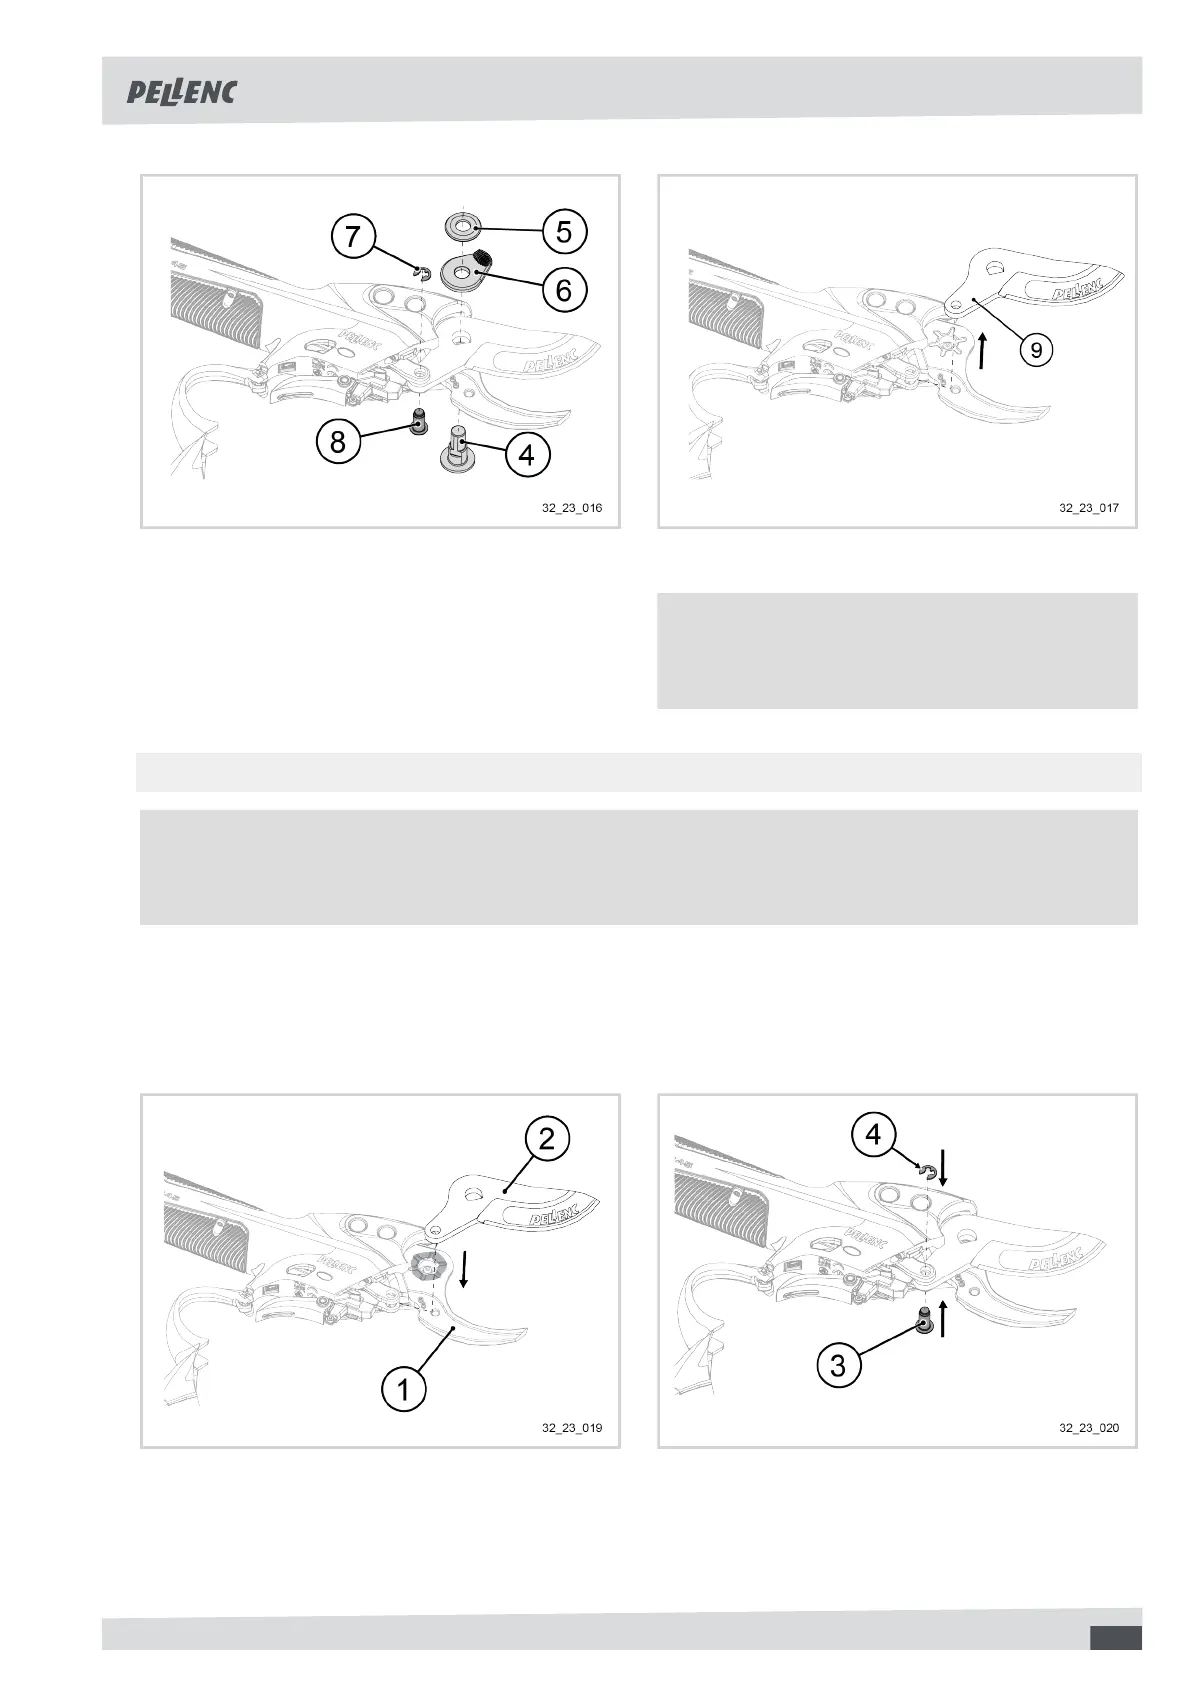
6. Remove the nut (2).
7. Remove the parts in this order:
• The blade pin (4),
• The washer (5),
• The knurled adjustment washer (6),
• The circlip (7) by levering with a small screwdriv-
er,
• the clevis pin (8).
8. Remove the blade (9) and dispose of it.
Note
To reinstall the blade and pins, see 6.4.1.2. Fit the
blade and pins of the tool alone, page 39.
6.4.1.2.FITTHEBLADEANDPINSOFTHETOOLALONE
Note
To remove the blade, the pins and change the worn parts, see 6.4.1.1. Remove the blade and pins from the
tool alone, page 38.
Before fitting the blade and tool pins:
1. Ensure that the battery is switched off.
See the operating instructions for the battery.
2. Make sure the tool is disconnected from the battery.
See 4.8. Disconnecting the tool from the ULIB 150P and 250 batteries, page 18.
3. Grease the surface of the hook (1) in contact with
the blade (2) with the tube of grease supplied.
4. Fit the blade (2) on the hook (1).
5. Grease the clevis pin (3) with the supplied tube of
grease.
6. Install the clevis pin (3) on the tool link.
7. Fit a new circlip (4) with the sharp edge facing out-
wards onto the clevis pin (3).
39