Designs
Embroidery stitch-out
USB device
Start/stop
Embroidery mode
Selection menu
3HUVRQDOÀOHV
Embroidery mode - preparations
7:5
Getting started embroidering
1. After attaching the embroidery unit and
embroidery foot, insert a bobbin with
lightweight bobbin thread.
Note: Make sure that the IDT
™
system is disengaged.
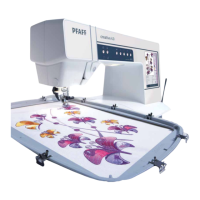
2. Touch embroidery mode icon to go to
Embroidery edit. To select a built-in design,
open the selection menu and touch the designs
icon. Locate desired design and touch it once to
load to Embroidery edit.
You can also load a design from an USB device
RUIURPSHUVRQDOÀOHV7RXFK86%GHYLFHRU
SHUVRQDOÀOHVWRORFDWH\RXUGHVLJQDQGORQJ
touch the design to load it.
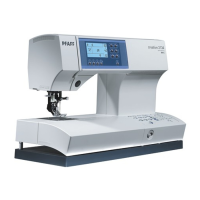
3. The design is placed in the center of the hoop.
4. Switch from Embroidery edit to Embroidery
stitch-out by touching the Embroidery stitch-out
icon on the option bar.
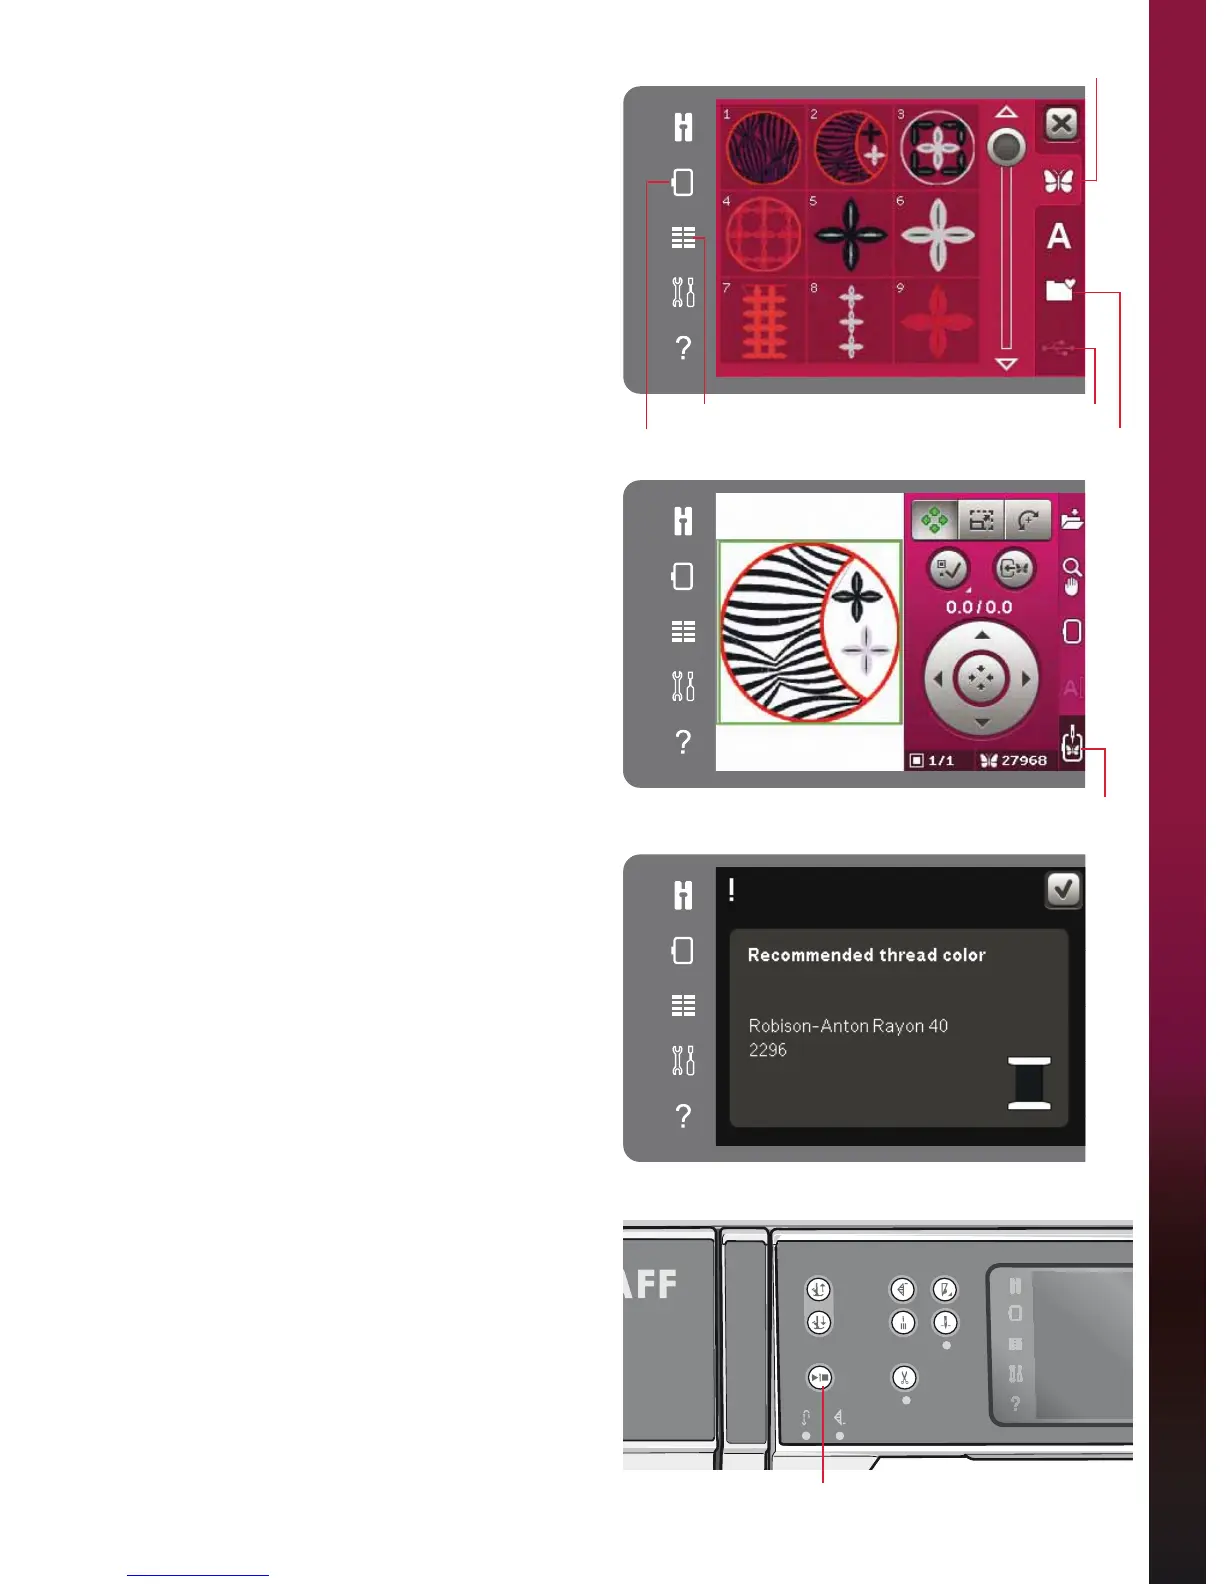
5. When entering Embroidery stitch-out mode, a
pop-up will appear on the screen. Thread the
machine with the color that is displayed in the
pop-up.
6. Prepare recommended hoop with fabric and
stabilizer. Attach the hoop to the embroidery
arm.
&OHDUVXIÀFLHQWVSDFHWRDFFRPPRGDWH
movement of the embroidery arm and the hoop.
Hold the needle thread and touch the start/stop
button or the foot control. The machine starts
embroidering.