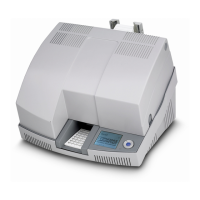
Setting up and connecting the printer
103933_en_01 PHOENIX CONTACT 2-1
2 Setting up and connecting the printer
2.1 Checking the scope of supply
Check the scope of supply.
The following should be supplied in the box with the BLUEMARK LED:
– Mains cable (Europe and US)
– CD-ROM with driver and these operating instructions
–USB cable
–CLIPPROJECT advanced planning and marking software
– Hexagonal screwdriver
Retain the packaging for subsequent transport. The original packaging can also be ordered
separately (see "Ordering data" on page A-2).
2.2 Removing the transportation safeguard and
inserting the Fluid Cartridge
A transportation safeguard is fitted inside the BLUEMARK LED when supplied. For safety
reasons, the printer is also delivered with an empty Fluid Cartridge.
The first step is to remove the transportation safeguard and replace the empty
Fluid Cartridge with a full Fluid Cartridge (BLUEMARK FLUID-CARTRIDGE, Order No.
5147421).
Removing the
transportation safeguard
• Connect the printer to the mains using the corresponding mains cable.
The printer has a wide-range power supply unit (100 V AC ... 240 V AC), which means
that no voltage switch-over is required on the device.
• Switch on the printer.
"Fluid Cartridge Missing" appears in the display.
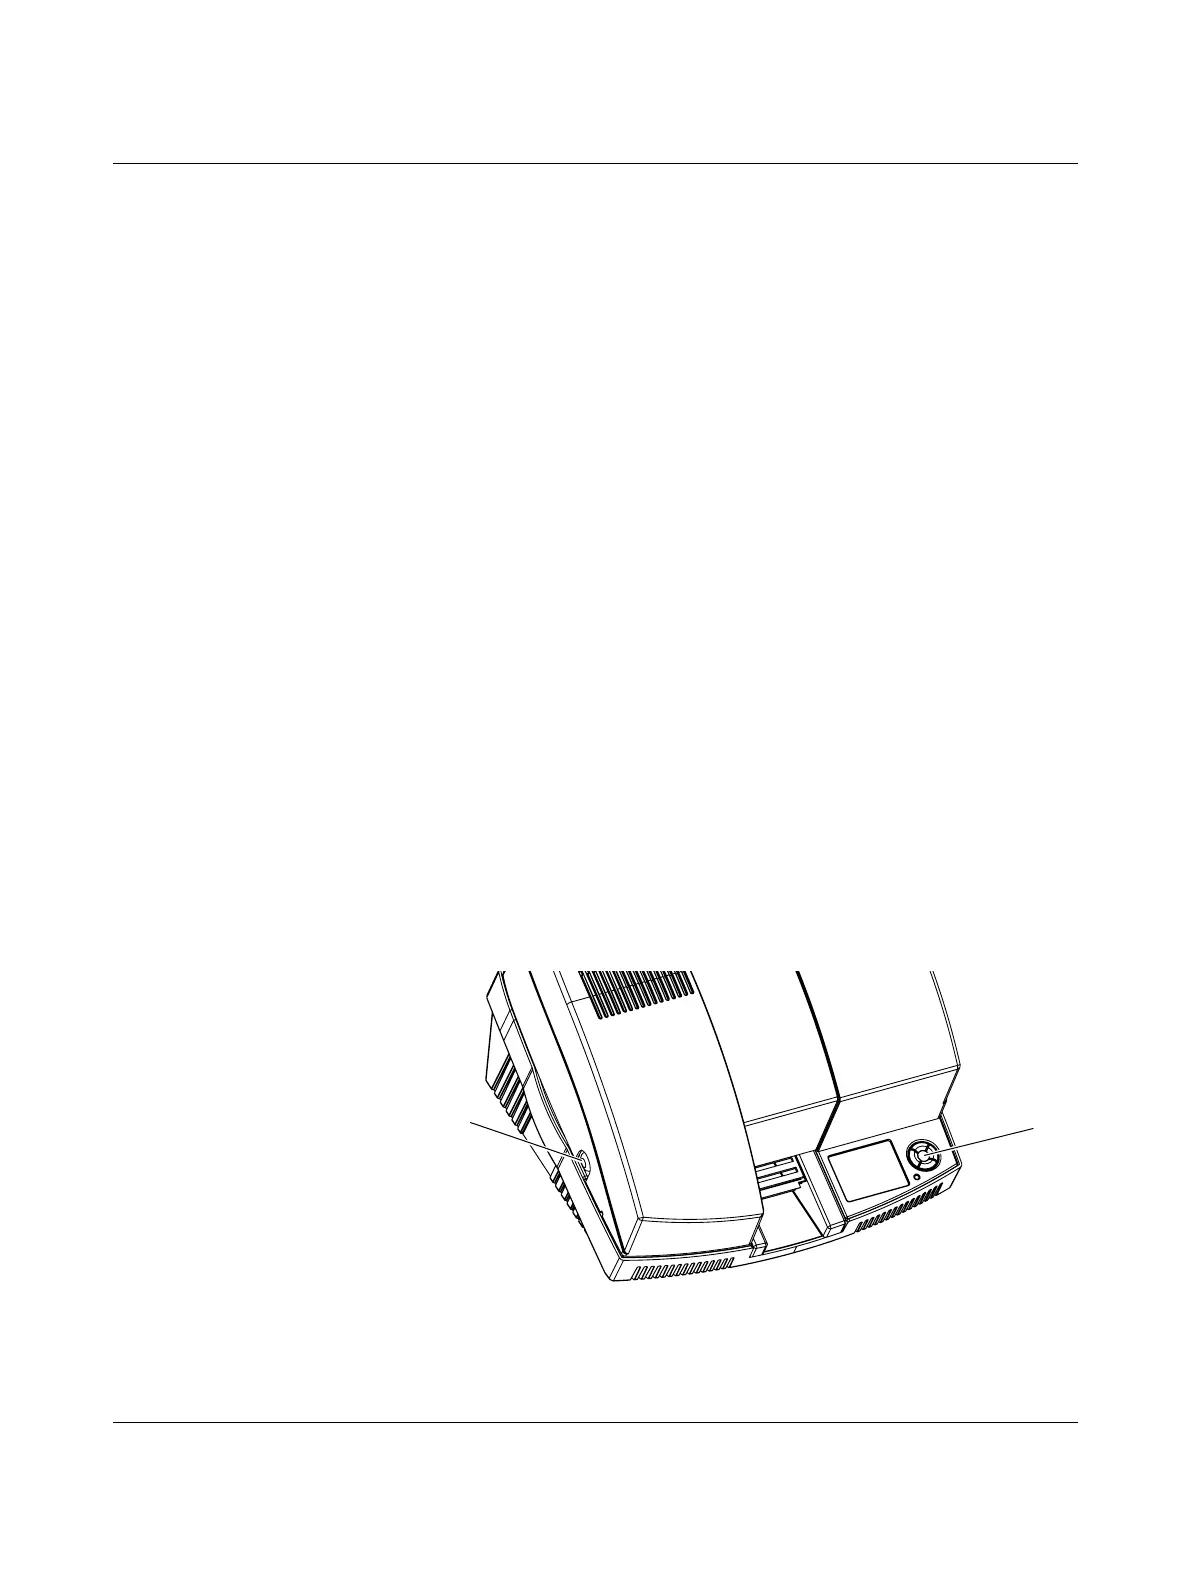
Press the
• key (2 in Figure 2-1) to unlock the cover.
Figure 2-1 Opening the cover
• Press the pushbuttons (1) on both sides of the printer and open the cover.
1
2
 Loading...