BLUEMARK LED
2-10
PHOENIX CONTACT 103933_en_01
2.5.3 Ethernet connection (LAN)
Use this connection type if you wish to connect the device to your network via an Ethernet
cable.
Requirements Prior to driver installation, the following points must be met:
– The transportation safeguard has been removed.
– The dummy Fluid Cartridge has been replaced with a normal Fluid Cartridge.
– The BLUEMARK LED is installed in a suitable location.
– The BLUEMARK LED is connected to the power supply, but is switched off.
– Equipment required: Hub/router/switch and an Ethernet cable.
Connecting the
Ethernet cable
• Connect one end of the Ethernet cable to the Ethernet connection on the back of the
printer.
• Connect the other end of the Ethernet cable to the hub/router/switch.
• Switch on the BLUEMARK LED.
Start driver installation with the supplied installation program, which uninstalls any existing
older BLUEMARK LED drivers and copies the new drivers.
• Insert the supplied CD-ROM and start the
"[Drive]:\Bluemark Installer\setup.exe" file.
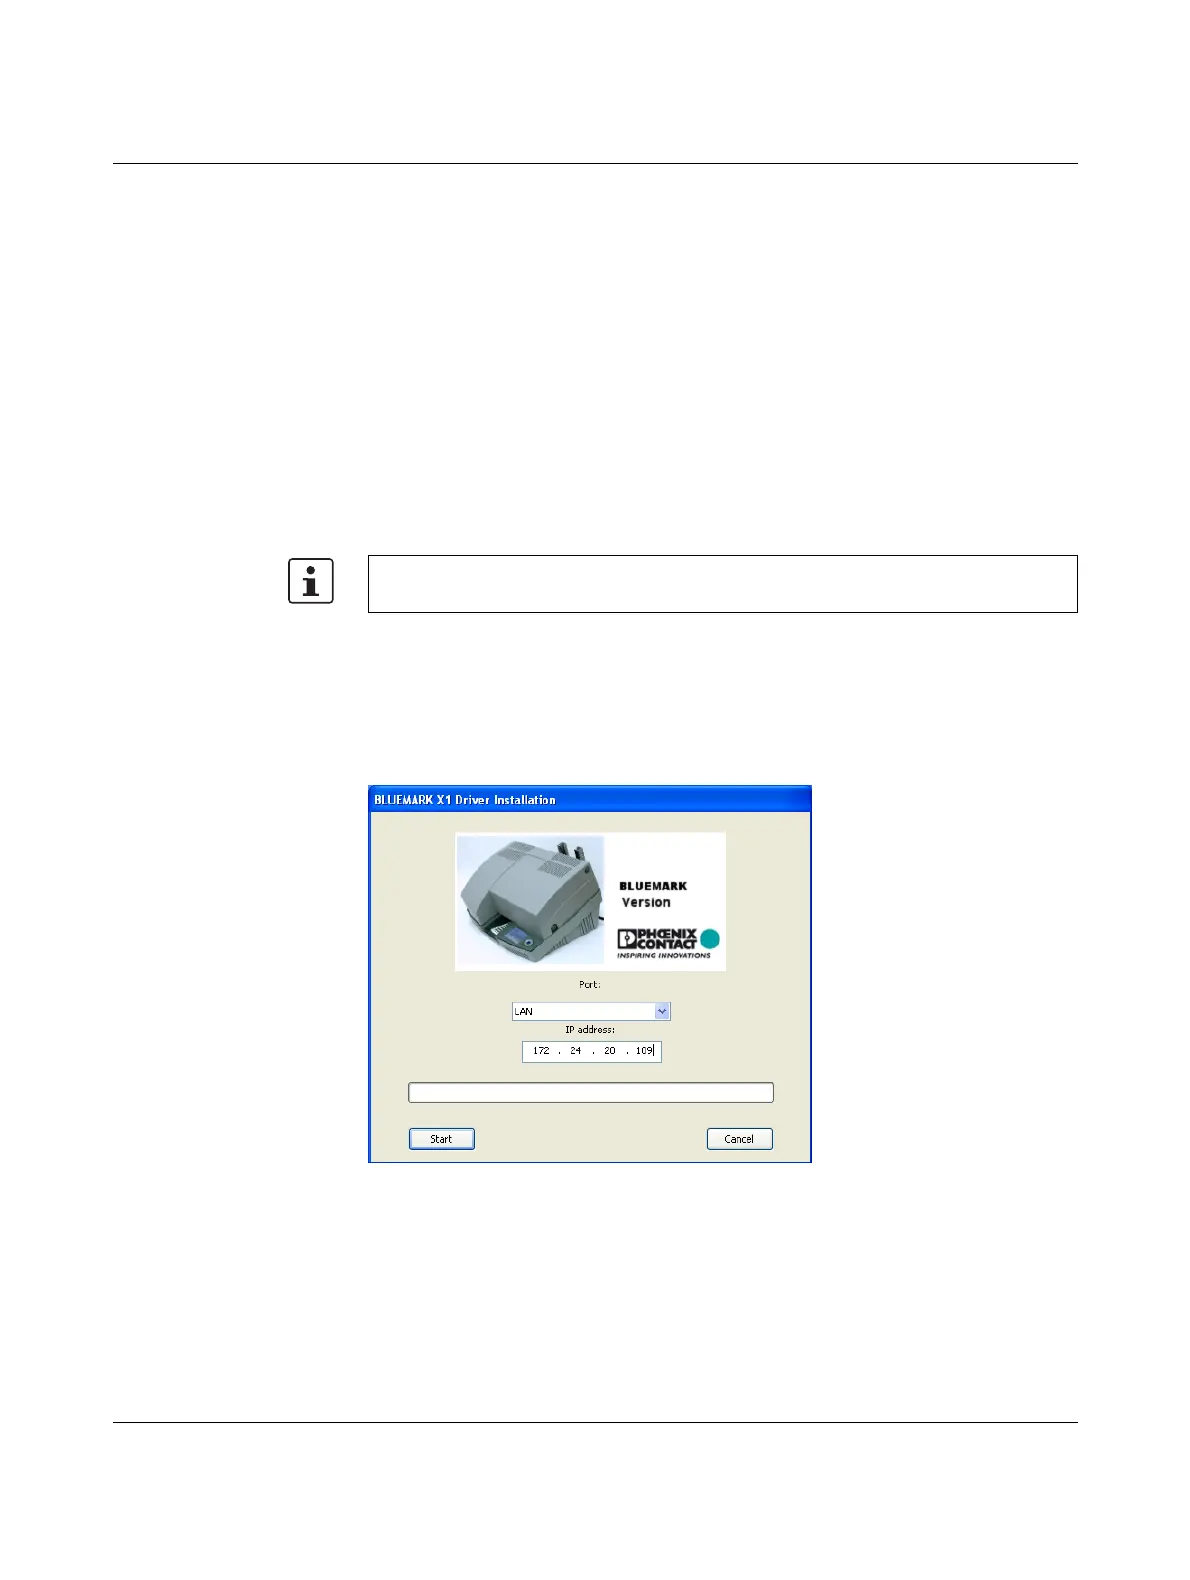
The following window appears:
Figure 2-11 BLUEMARK LED Driver Installation (LAN)
• Select "LAN" from the drop-down menu.
• Enter the IP address that has been assigned to your printer.
The IP address can be read on the printer (see "Reading the IP Address" on page 2-11).
Enter the IP address in 3-digit format or separate the numbers with a dot.
Example: IP address 172.24.20.109 or 172024020109.
Do not connect the Ethernet cable to a cable modem. You must have an operational
network.
 Loading...