Setting up and connecting the printer
103933_en_01 PHOENIX CONTACT 2-7
2.5.2 USB connection
Requirements Prior to driver installation, the following points must be met:
– The transportation safeguard has been removed.
– The dummy Fluid Cartridge has been replaced with a normal Fluid Cartridge.
– The BLUEMARK LED is installed in a suitable location.
– The BLUEMARK LED is connected to the power supply, but is switched off.
– The BLUEMARK LED is not yet connected to the PC.
Start driver installation with the supplied installation program, which uninstalls any existing
older BLUEMARK LED drivers and copies the new drivers.
• Insert the supplied CD-ROM and start the
"[Drive]:\Bluemark Installer\setup.exe" file.
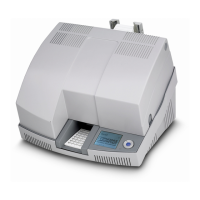
The following window appears:
Figure 2-7 BLUEMARK LED driver installation (USB)
• Select "USB" from the drop-down menu and click on "Start".
Any older BLUEMARK LED drivers are uninstalled and the new drivers are copied. Once
this is done, a message window appears.
• Confirm the message with "OK".
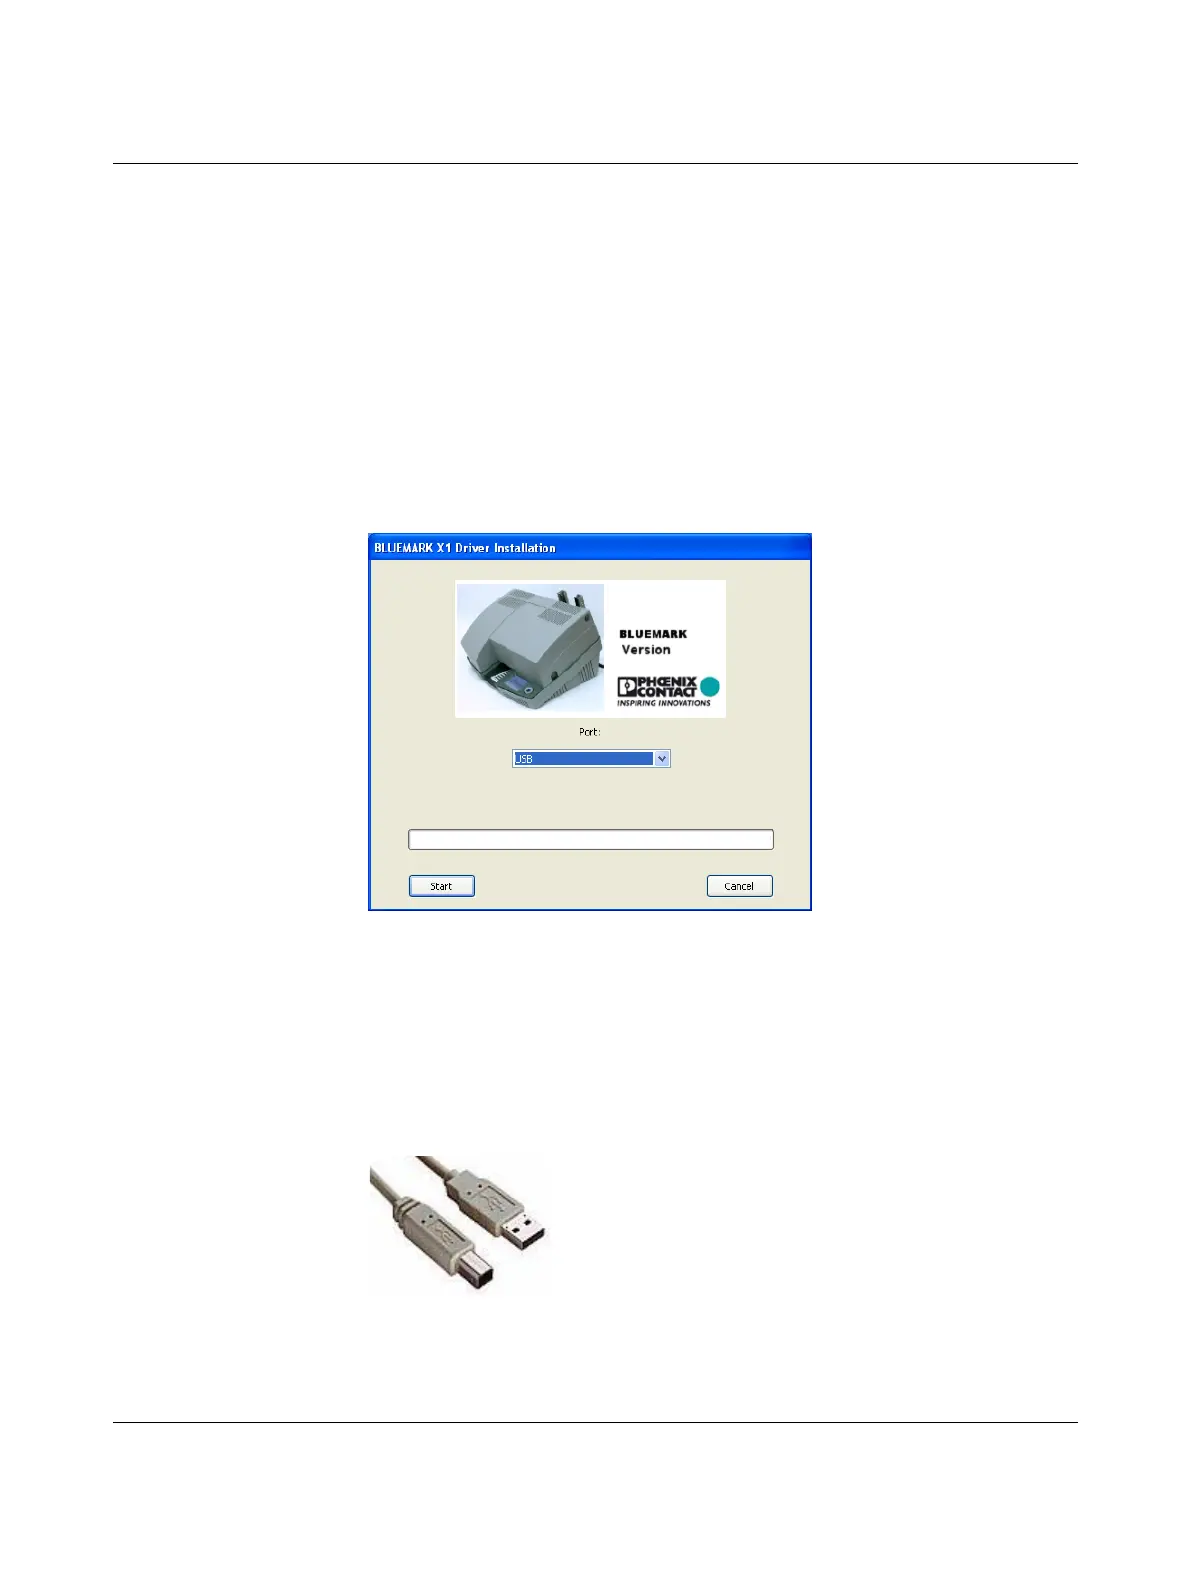
• Connect the printer to the PC using the USB cable supplied.
The smaller USB connector (USB B, bottom connector in the figure) is connected to the
printer and the wider connector (top connector in the figure) is connected to the PC.
Figure 2-8 USB cable
 Loading...