10 PANORAMIC EXPOSURE
User’s Manual Planmeca ProOne 47
The exposure will be taken in two stages and the C-arm
will move twice.
Position the patient as described in section 10.1 “Patient
positioning” on page 41. Take the first exposure as
described in section 10.2 “Taking an exposure” on page
45.
The first exposure is a short, low-dose exposure during
which the optimal position for the image layer is
calculated.
The image will appear on the control panel and computer
screen.
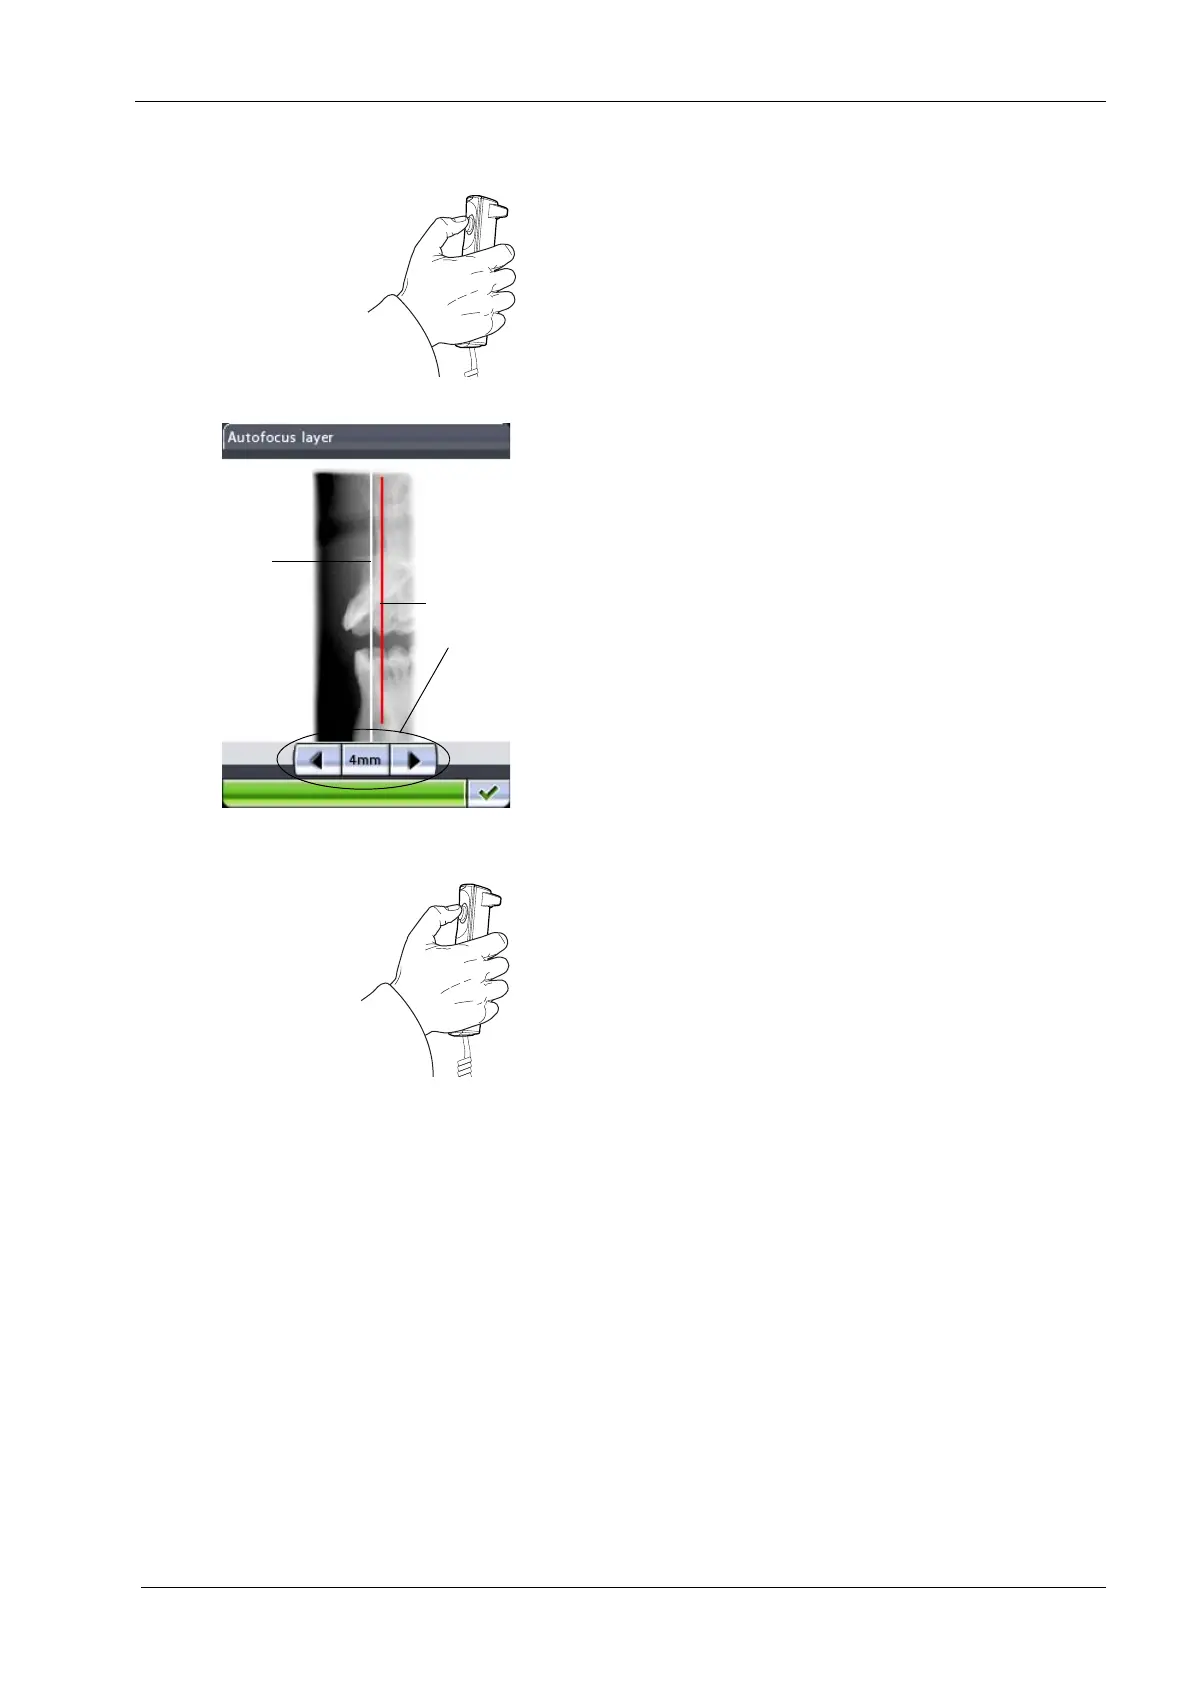
The calculated layer position is shown with a white line on
the image. If necessary, you can adjust the layer position
by touching the arrow buttons on the control panel
display. The new position will be shown with a red line.
The selected layer position will be shown at the bottom of
the display (e.g. 4 mm).
Make sure the patient does not move between exposures.
Press the exposure button again to take the second
exposure. The second exposure will produce the actual
image and the C-arm will now move through one
complete exposure cycle.
Calculated
Manually
position
adjusted
position