9 SYSTEM SETUP
24 Planmeca ProScanner User’s & installation manual
9.5 Switching on the scanner
When the system has been properly connected
the system can be switched on.
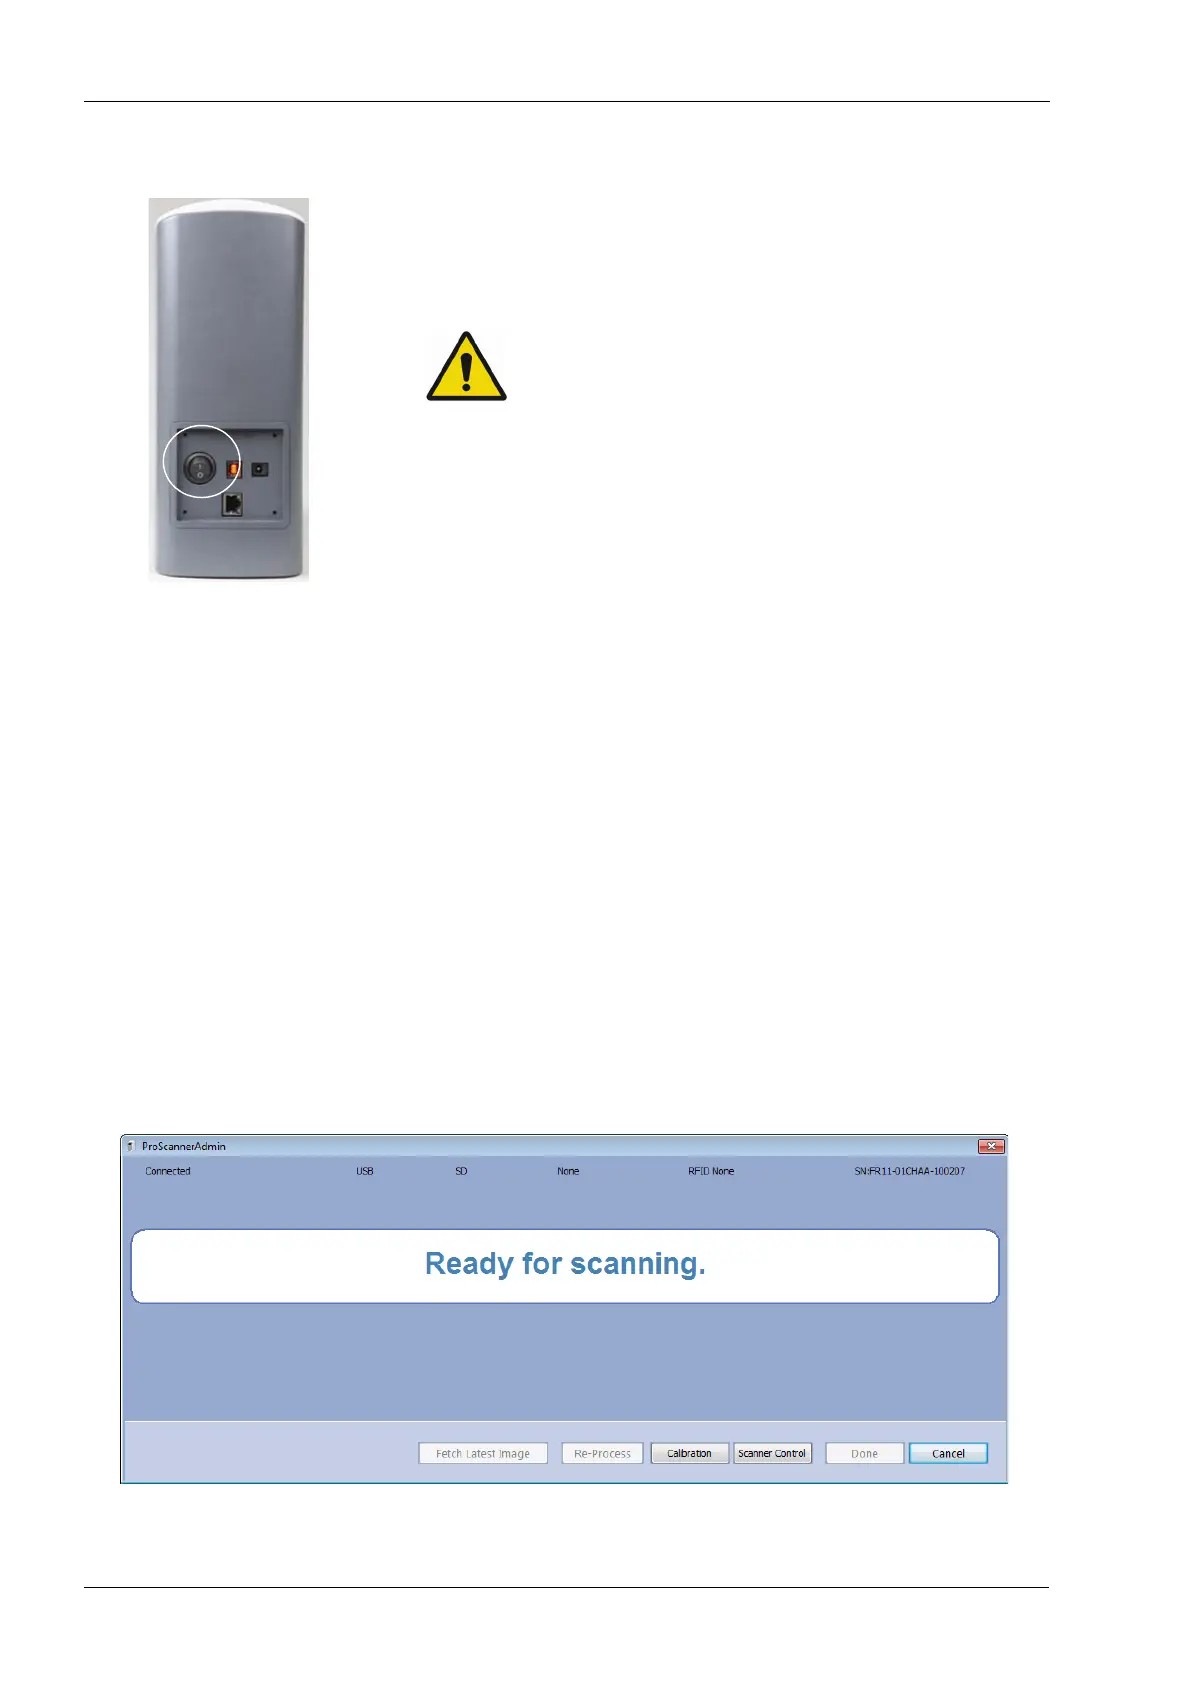
To switch on the scanner press the On/Off
switch on the back side of the scanner.
This device uses laser. Avoid looking inside
the scanner.
9.6 Installing calibration files
The calibration file of each used scanner must
be installed before use. The calibration files are
stored inside the scanner and may be retrieved
using ProScannerAdmin.exe.
1. To retrieve the calibration files, connect the
scanner using USB connection (see section 8.1
“USB or direct 1-to-1 Ethernet” on page 13).
2. Make sure Planmeca ProID is
not
connected to
the PC.
3. Browse to Planmeca Romexis
Client
installation
folder on your computer.
4. Start ProScannerAdmin.exe by double-clicking
the file.
If calibration file is not found on the computer,
the following window opens.