9 SYSTEM SETUP
26 Planmeca ProScanner User’s & installation manual
9.7 Connecting scanner to network
9.7.1 IP-address configuration on the scanner
When Ethernet connection is used, the network
settings must be defined in the
Settings
menu
before use.
For more information refer to section 10.2.5
“Settings” on page 32.
9.7.2 IP-address configuration on PC
1-to-1 ETH mode
When several scanners are installed to the
same network in 1-to-1 Ethernet mode, the IP-
address of the used scanner must be defined
separately on each client computer. The IP-
address must be entered manually in the
firecr.ini file under
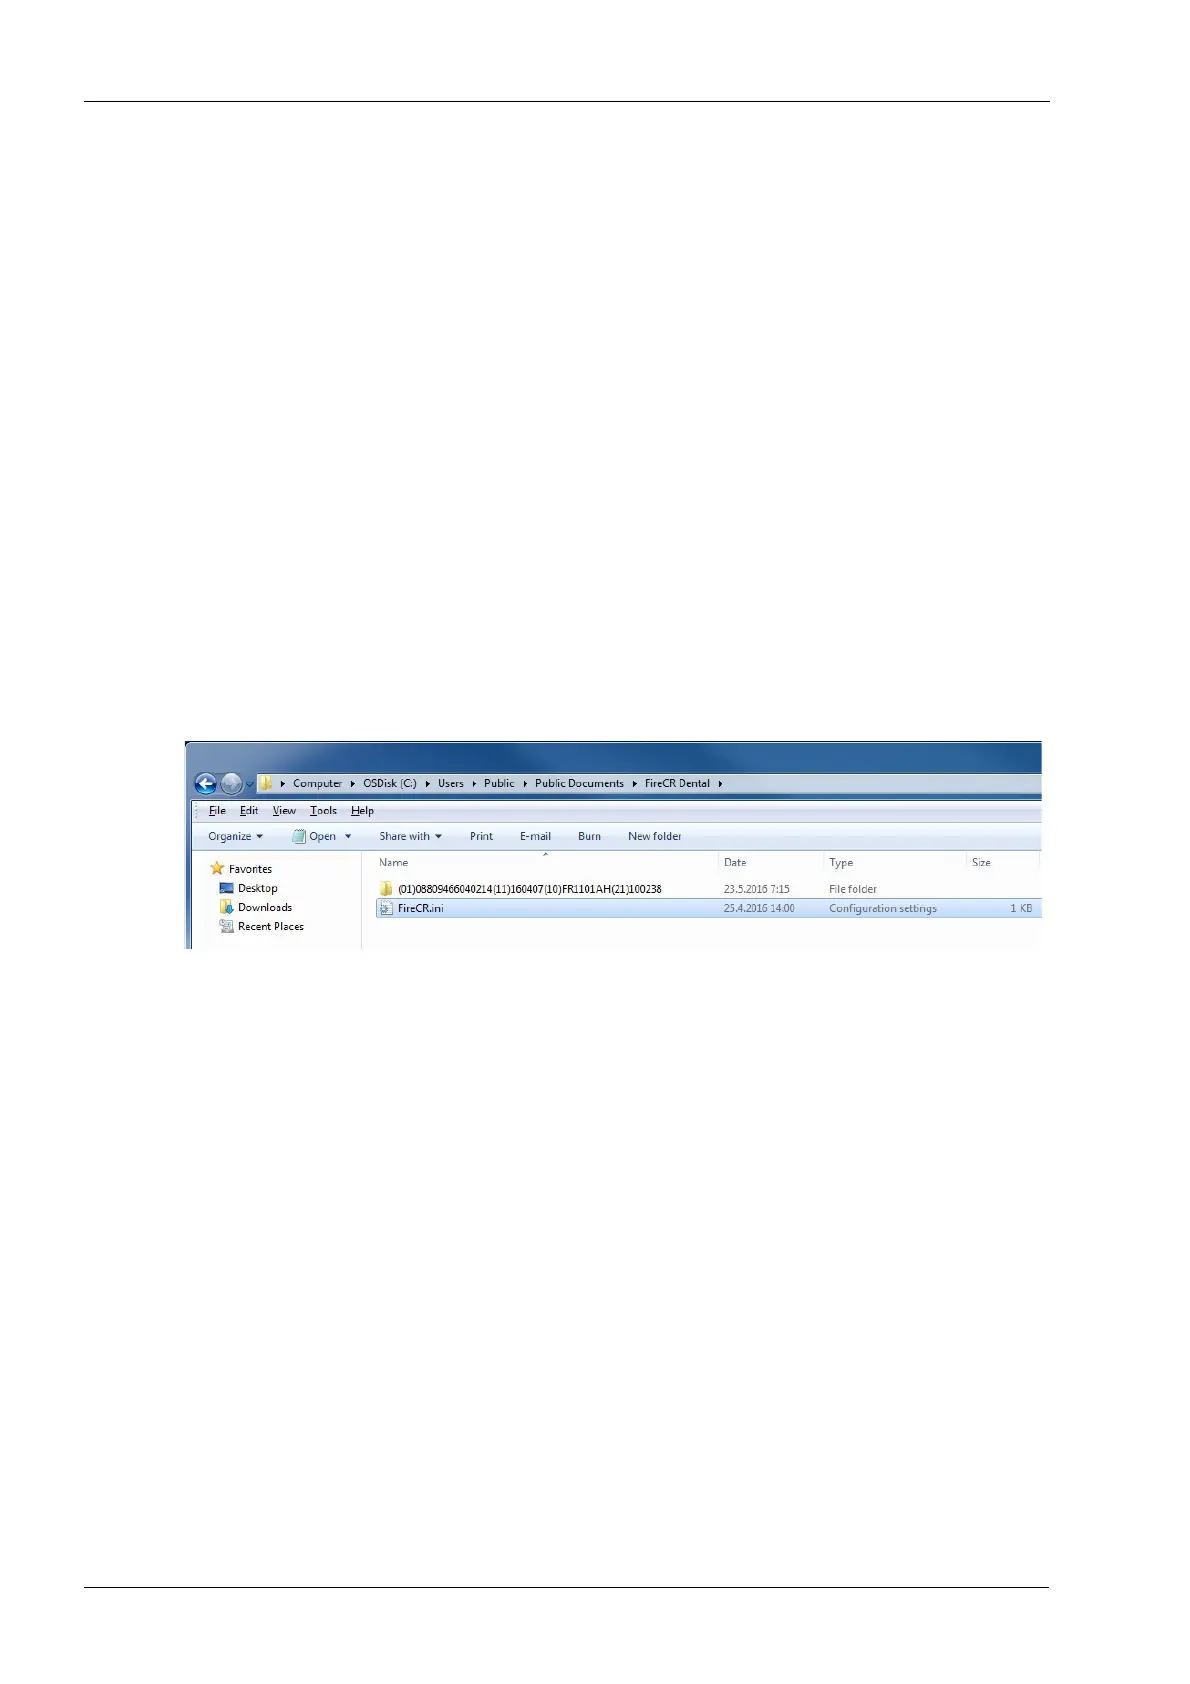
C:\Users\Public\Public
Documents\FireCR Dental
.
Seen in Windows Explorer window as
C:\Users\Public\Documents\FireCR Dental
Firecr.ini is created the first time the scanner is
connected to the PC. If necessary the fireri.ini file
can be created by starting the
ProScannerAdmin.exe.
By default the CONNECTION parameter is set
to AUTO in which case the HOST parameter is
not used. The IP-address of the scanner is
automatically detected.
//-----------------------------FireCR.ini-------------------
[SCANNER]
CONNECTION=AUTO
[NETWORK]
HOST=0.0.0.0
//--------------------------------------------------------------