10 MAIN PARTS
User’s & installation manual Planmeca ProScanner 29
10.2 Touch panel display
The touch panel display indicates the status of
the Planmeca ProScanner and is used to adjust
the settings of the scanner.
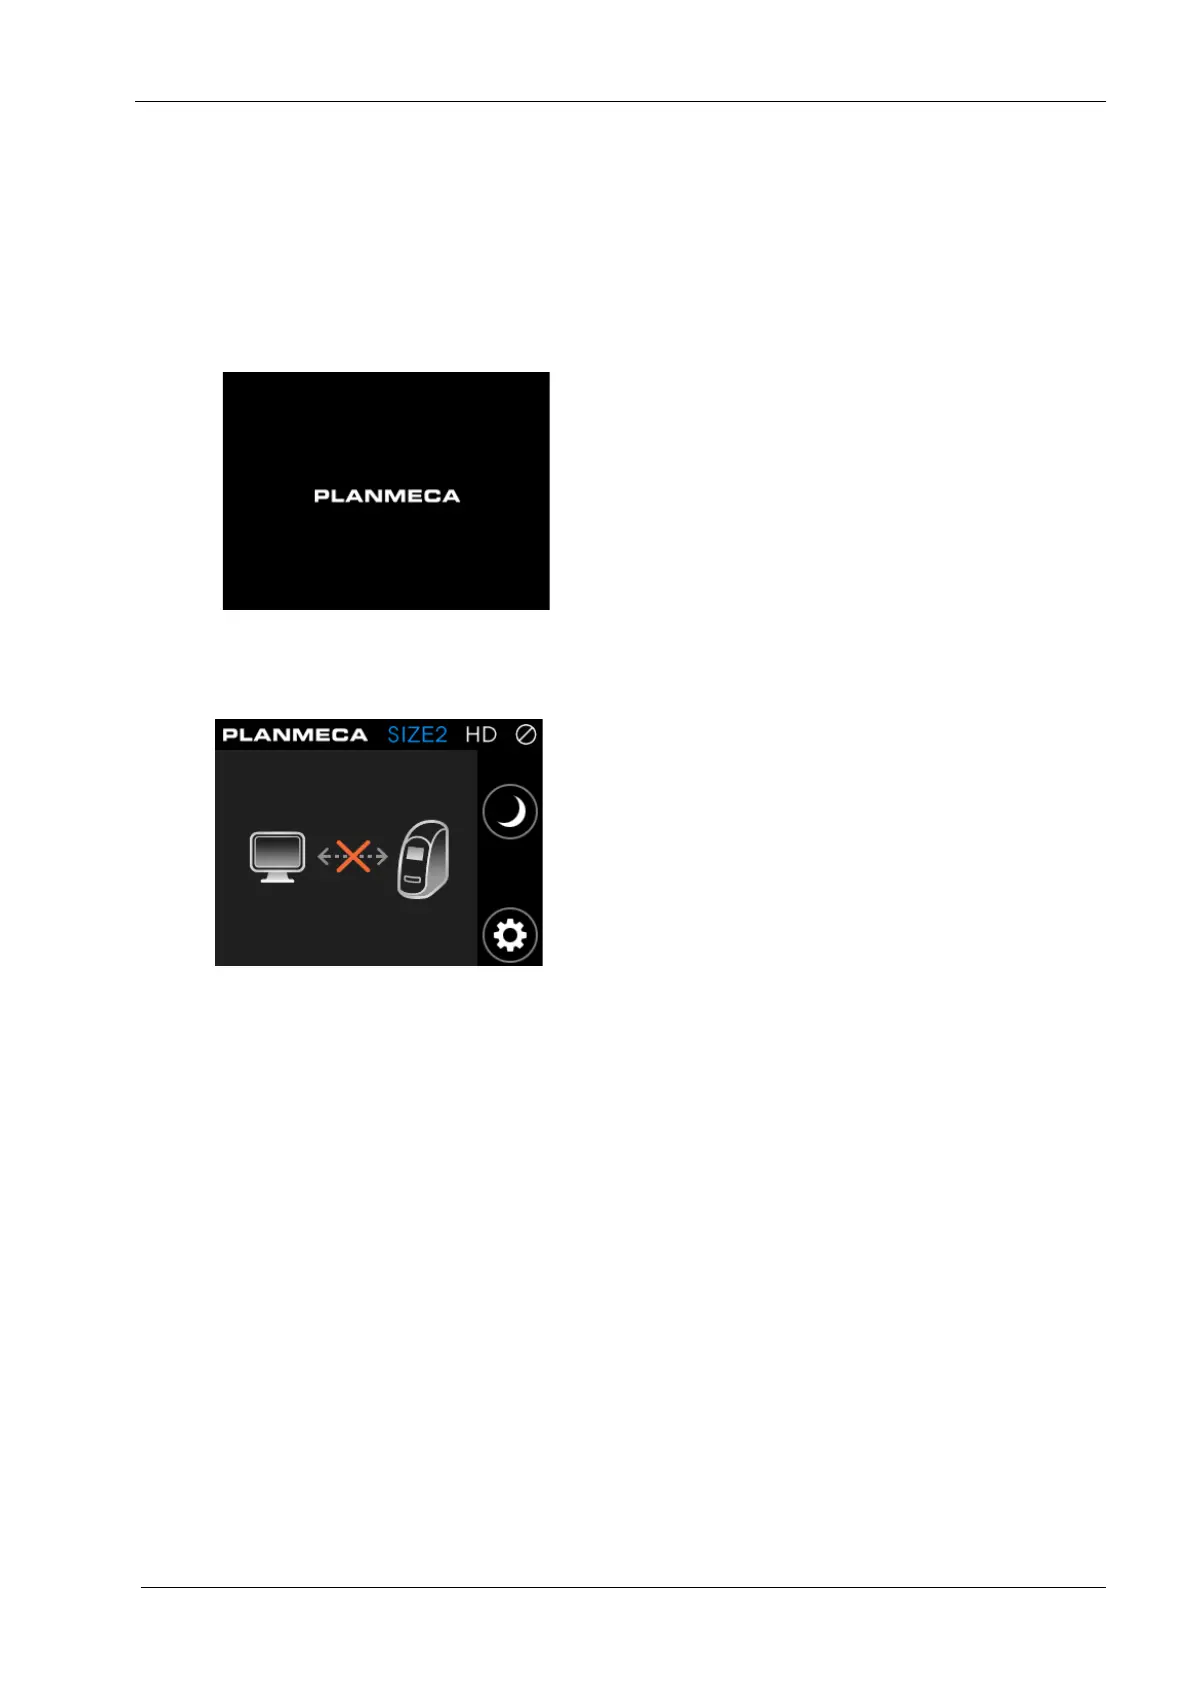
10.2.1 Initialization (booting screen)
The booting screen is displayed during system
initialization after the scanner is switched on.
10.2.2 Main window
The main window communicates the status of
the system and guides the user.
This screen is displayed when the scanner has
booted and is awaiting connection to Planmeca
Romexis.
• To activate a stand-alone scanner, open the
Planmeca Romexis ProScanner image
capturing window.
• To activate a shared scanner open the
Planmeca Romexis ProScanner image
capturing window and read an imaging plate
with Planmeca ProID reader.
When the scanner has been activated, the
scanning mode is displayed (see section
10.2.4 “Scanning” on page 31).
If the scanning mode cannot be activated,
check the cabling and network settings.