5
9929422 R02 - 2017-2019 ACE 900 Service Manual
© Copyright Polaris Industries Inc.
5.15
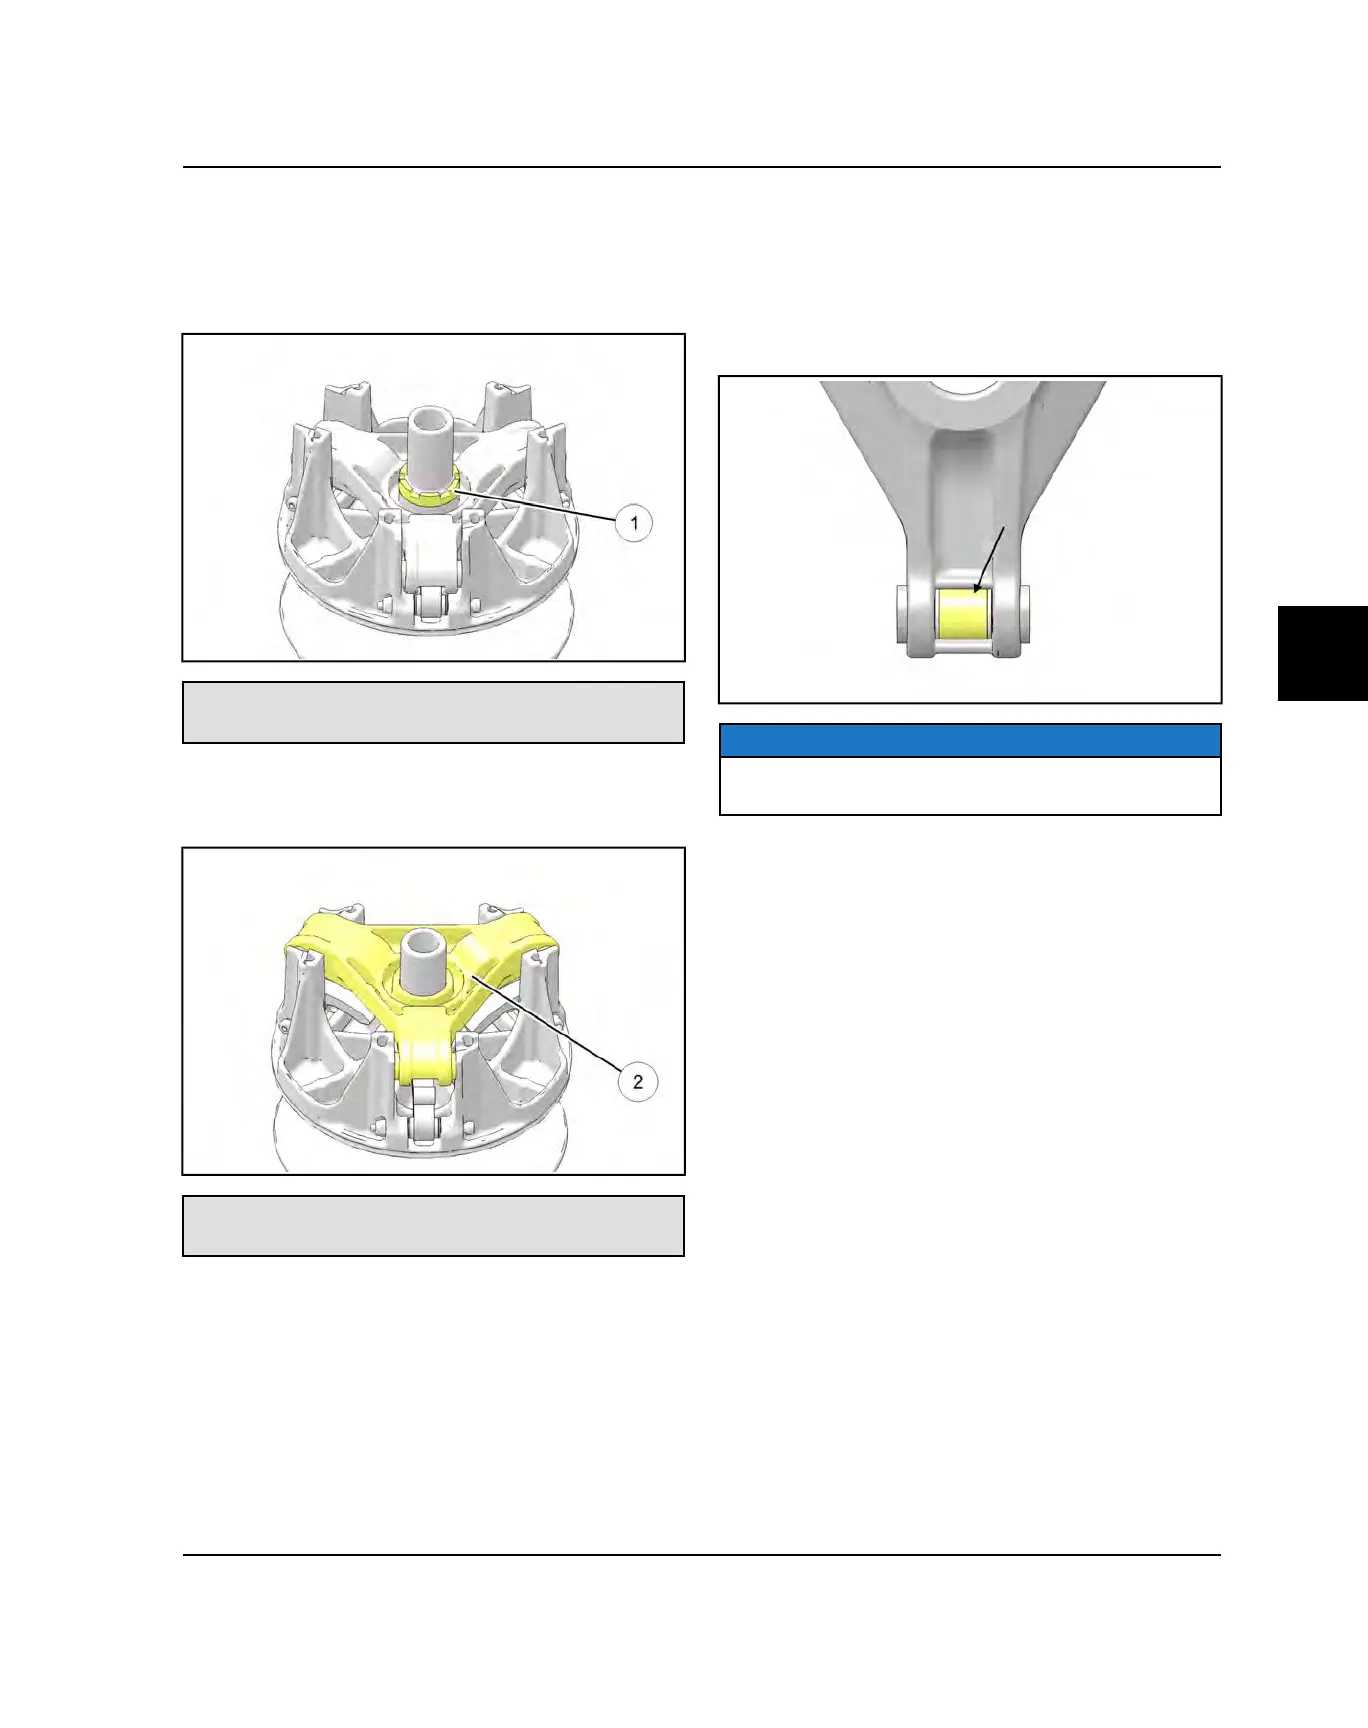
SPIDER REMOVAL
1. Install clutch onto holding fixture and secure in bench
vice. Loosen and remove the spider jam nut
q
(counterclockwise) using the Clutch Spider Nut
Socket.
Clutch Spider Nut Socket: PU-50578
Clutch Holding Fixture: 2871358-A
2. Loosen and remove the spider
w
(counterclockwise)
using Clutch Spider Removal / Installation Tool (PN
2870341).
Spider Removal / Installation Tool: 2870341
Clutch Holding Fixture: 2871358-A
ROLLER, PIN AND THRUST WASHER
INSPECTION
1. Inspect all rollers, roller bushings and roller pins by
pulling a flat metal rod across the roller.
2. Turn roller with your finger. If you notice resistance,
galling, or flat spots, replace the drive clutch.
NOTICE
Rollers, pins, thrust washers and buttons are not
serviceable at the time of this publication.
PVT SYSTEM
 Loading...