5.26
9929422 R02 - 2017-2019 ACE 900 Service Manual
© Copyright Polaris Industries Inc.
5. Install the spring so the arm
i
rests into the notch in
the moveable sheave.
6. Align the X’s
o
on the spider and moveable sheave.
7. Install the universal clutch compressor on the clutch
and compress the helix cover.
CAUTION
The helix cover is loaded by the spring. Not using a
proper compressor may result in personal injury or
damage to the clutch.
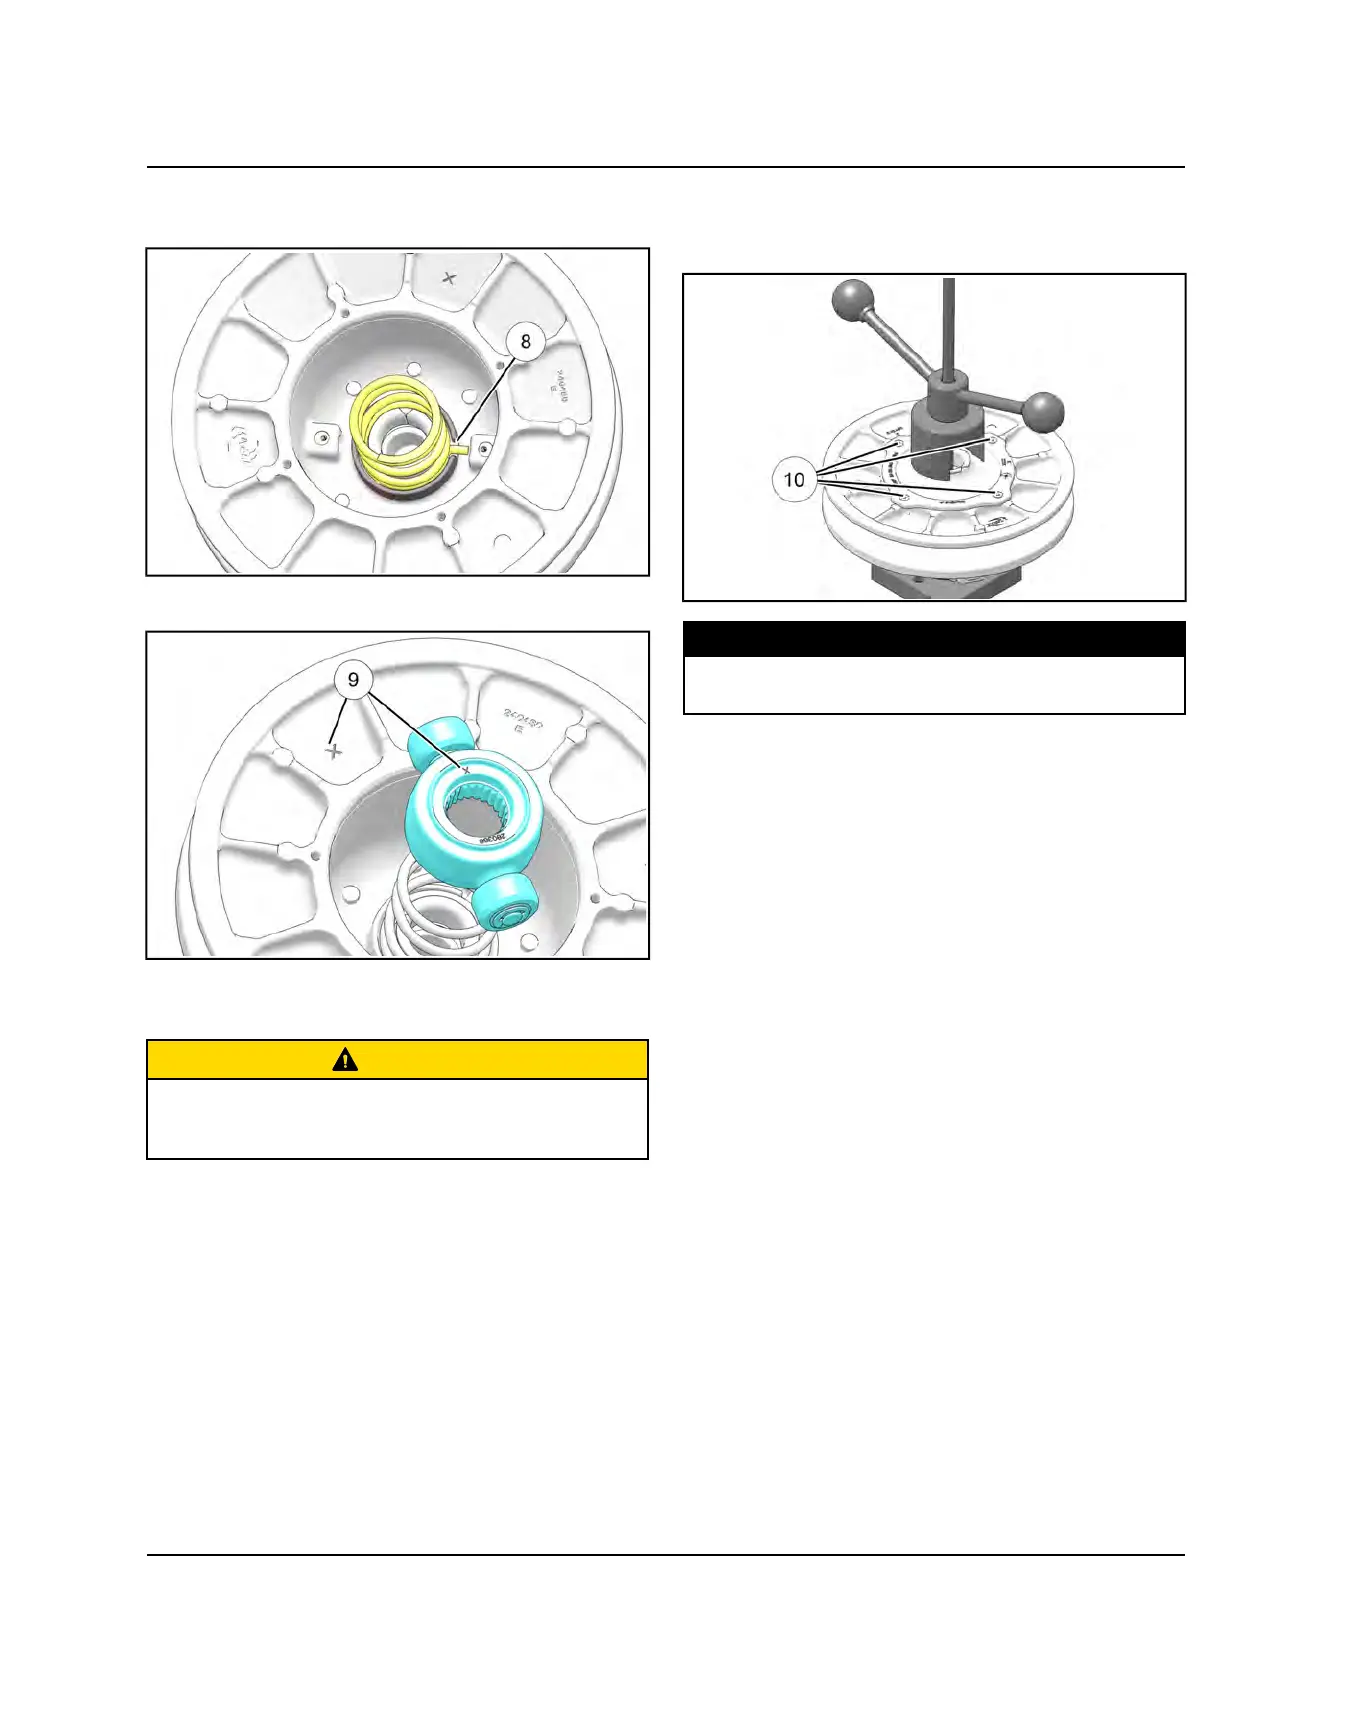
8. Align the marks previously made on the helix cover
and moveable sheave. Install the helix/cover and the
four fasteners
a
. Torque fasteners to specification.
TORQUE
Helix Retaining Screws:
48 in-lb (5 Nm)
9. Once back together, verify the grease / tape marks
made during disassembly are properly aligned.
10.Install the drive clutch on the vehicle. See PVT
Assembly page
PVT SYSTEM
 Loading...