10
9929422 R02 - 2017-2019 ACE 900 Service Manual
© Copyright Polaris Industries Inc.
10.31
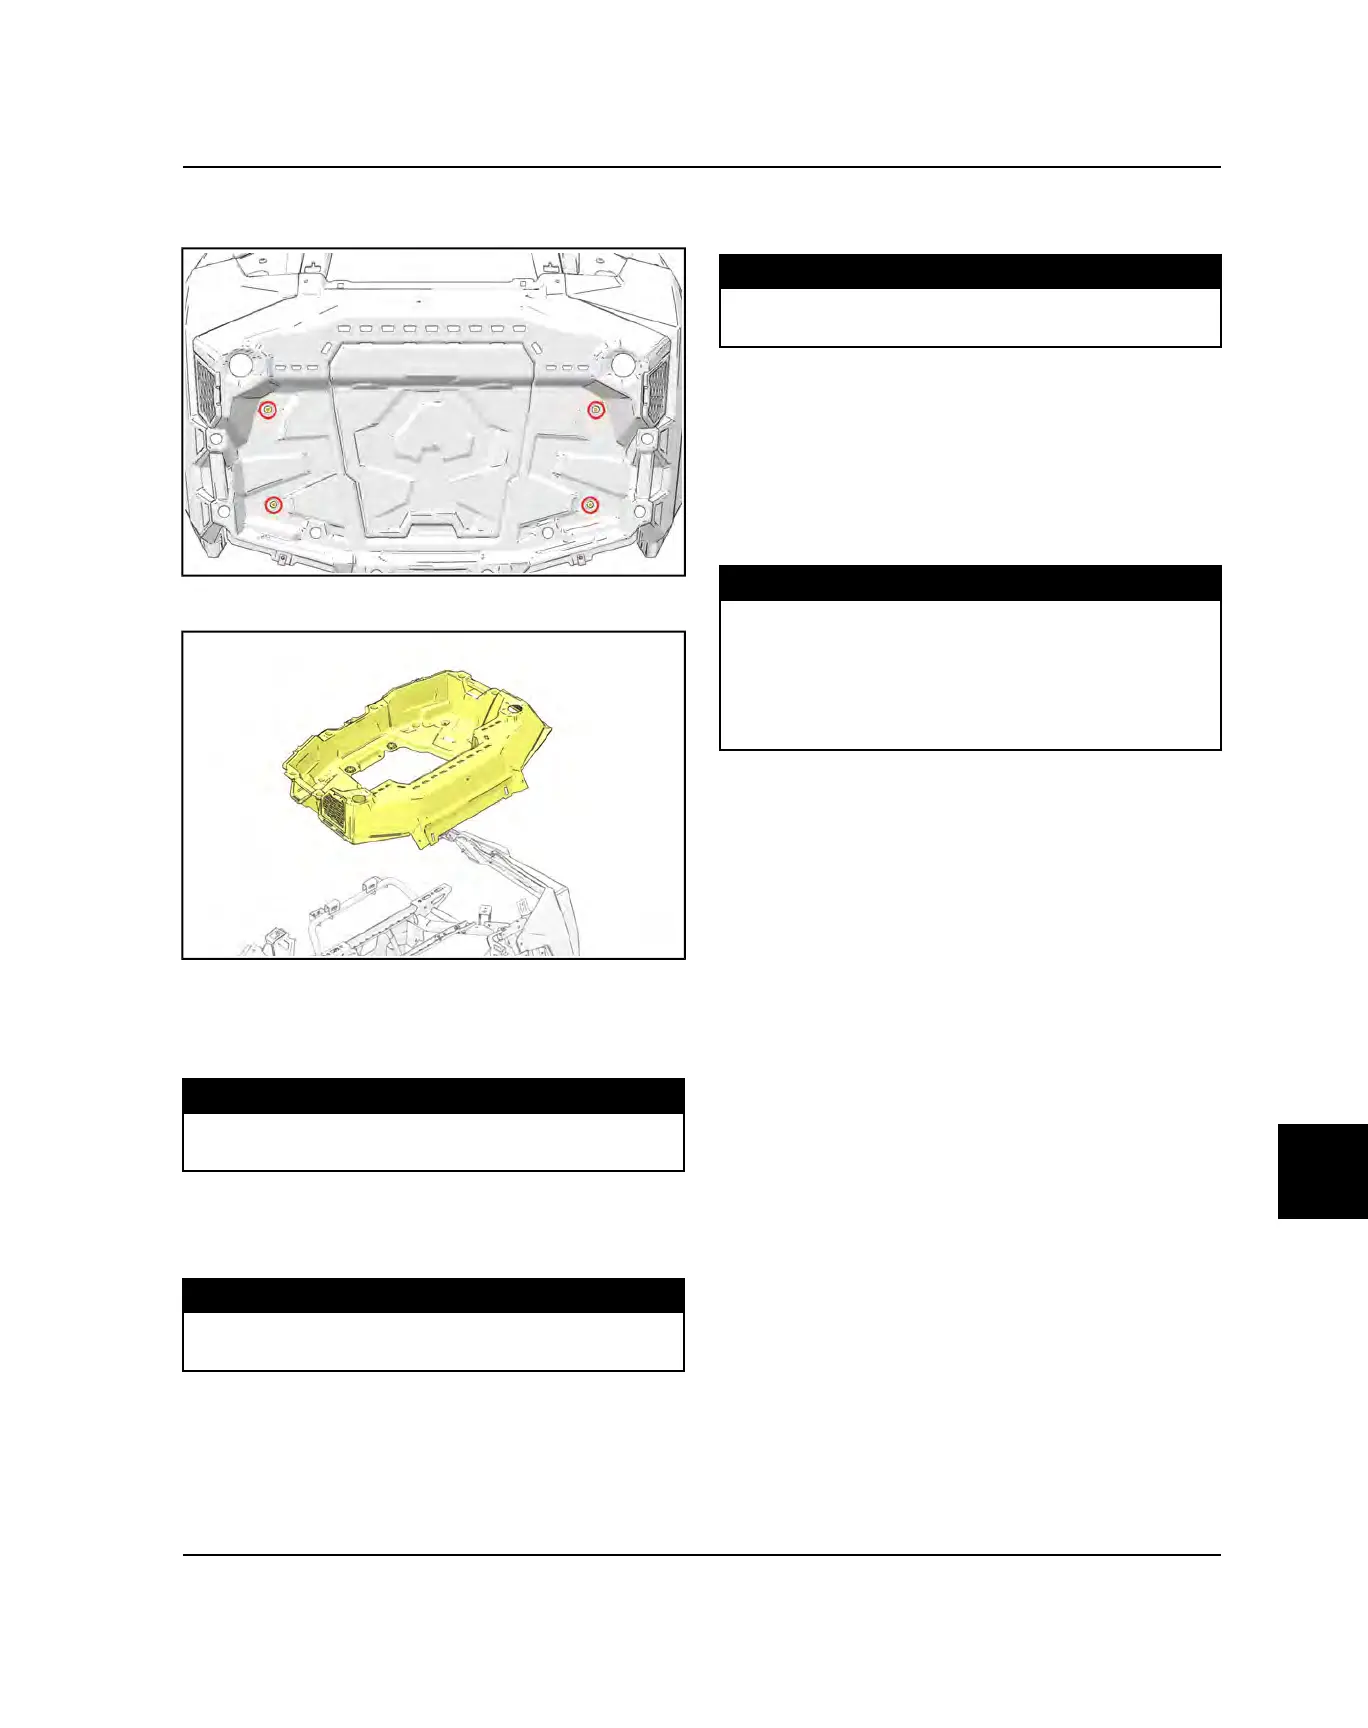
5. Remove the screws securing the storage box to the
chassis.
6. Remove rear storage box from vehicle.
Installation Procedure
1. Position the rear storage box on the frame. Install the
box screws and torque to specification.
TORQUE
Rear Storage Box Screws:
8 ft-lbs (11 Nm)
2. If the rear bumper was removed, reinstall it onto the
vehicle. Torque fasteners to specification. Reconnect
the tail lamp wire harness connectors.
TORQUE
Rear Bumper Fasteners:
14 ft-lbs (19 Nm)
3. If the left and right fenders were removed, reinstall
them using the screws and plastic rivets.
4. Install the screws securing the front of the storage
box and fenders to the frame. Torque to specification.
TORQUE
Mounting Screws:
8 ft-lbs (11 Nm)
5. Verify the engine and PVT intake ducts are seated
correctly with the storage box. Reinstall the rosebud
fasteners.
6. If removed, reinstall the engine and PVT intake pre-
filters and screens.
7. Reinstall the ROPS rear tube assembly and side
bolsters. Torque fasteners to specifications.
TORQUE
ROPS Tube Fasteners:
30 ft-lbs (41 Nm)
Side Bolster Fasteners:
14 ft-lbs (19 Nm)
Upper Seat Belt Fastener:
42 ft-lbs (57 Nm)
BODY / FRAME
 Loading...