7.38
9929375 R02 - 2016-2019 GENERAL / GENERAL 4 Service Manual
© Copyright Polaris Industries Inc.
6. Remove the boot from the shaft.
CAUTION
Complete disassembly of the plunging joint is NOT
recommended. The internal components are precision
fit and develop their own characteristic wear patterns.
Intermixing the internal components could result in
looseness, binding, and/or premature failure of the joint.
IMPORTANT
If the grease in the joint is obviously contaminated with
water and/or dirt, the joint should be replaced.
7. Thoroughly clean the joint with an appropriate solvent
and dry the joint to prevent any residual solvent from
being left in the joint upon reassembly.
8. Visually inspect the joint for damage. Replace if
needed.
9. Clean the splines on the end of the shaft and apply a
light coat of grease prior to reassembly.
10.Slide the small boot clamp and boot (small end first)
onto the drive shaft and position the boot in its groove
machined in the shaft.
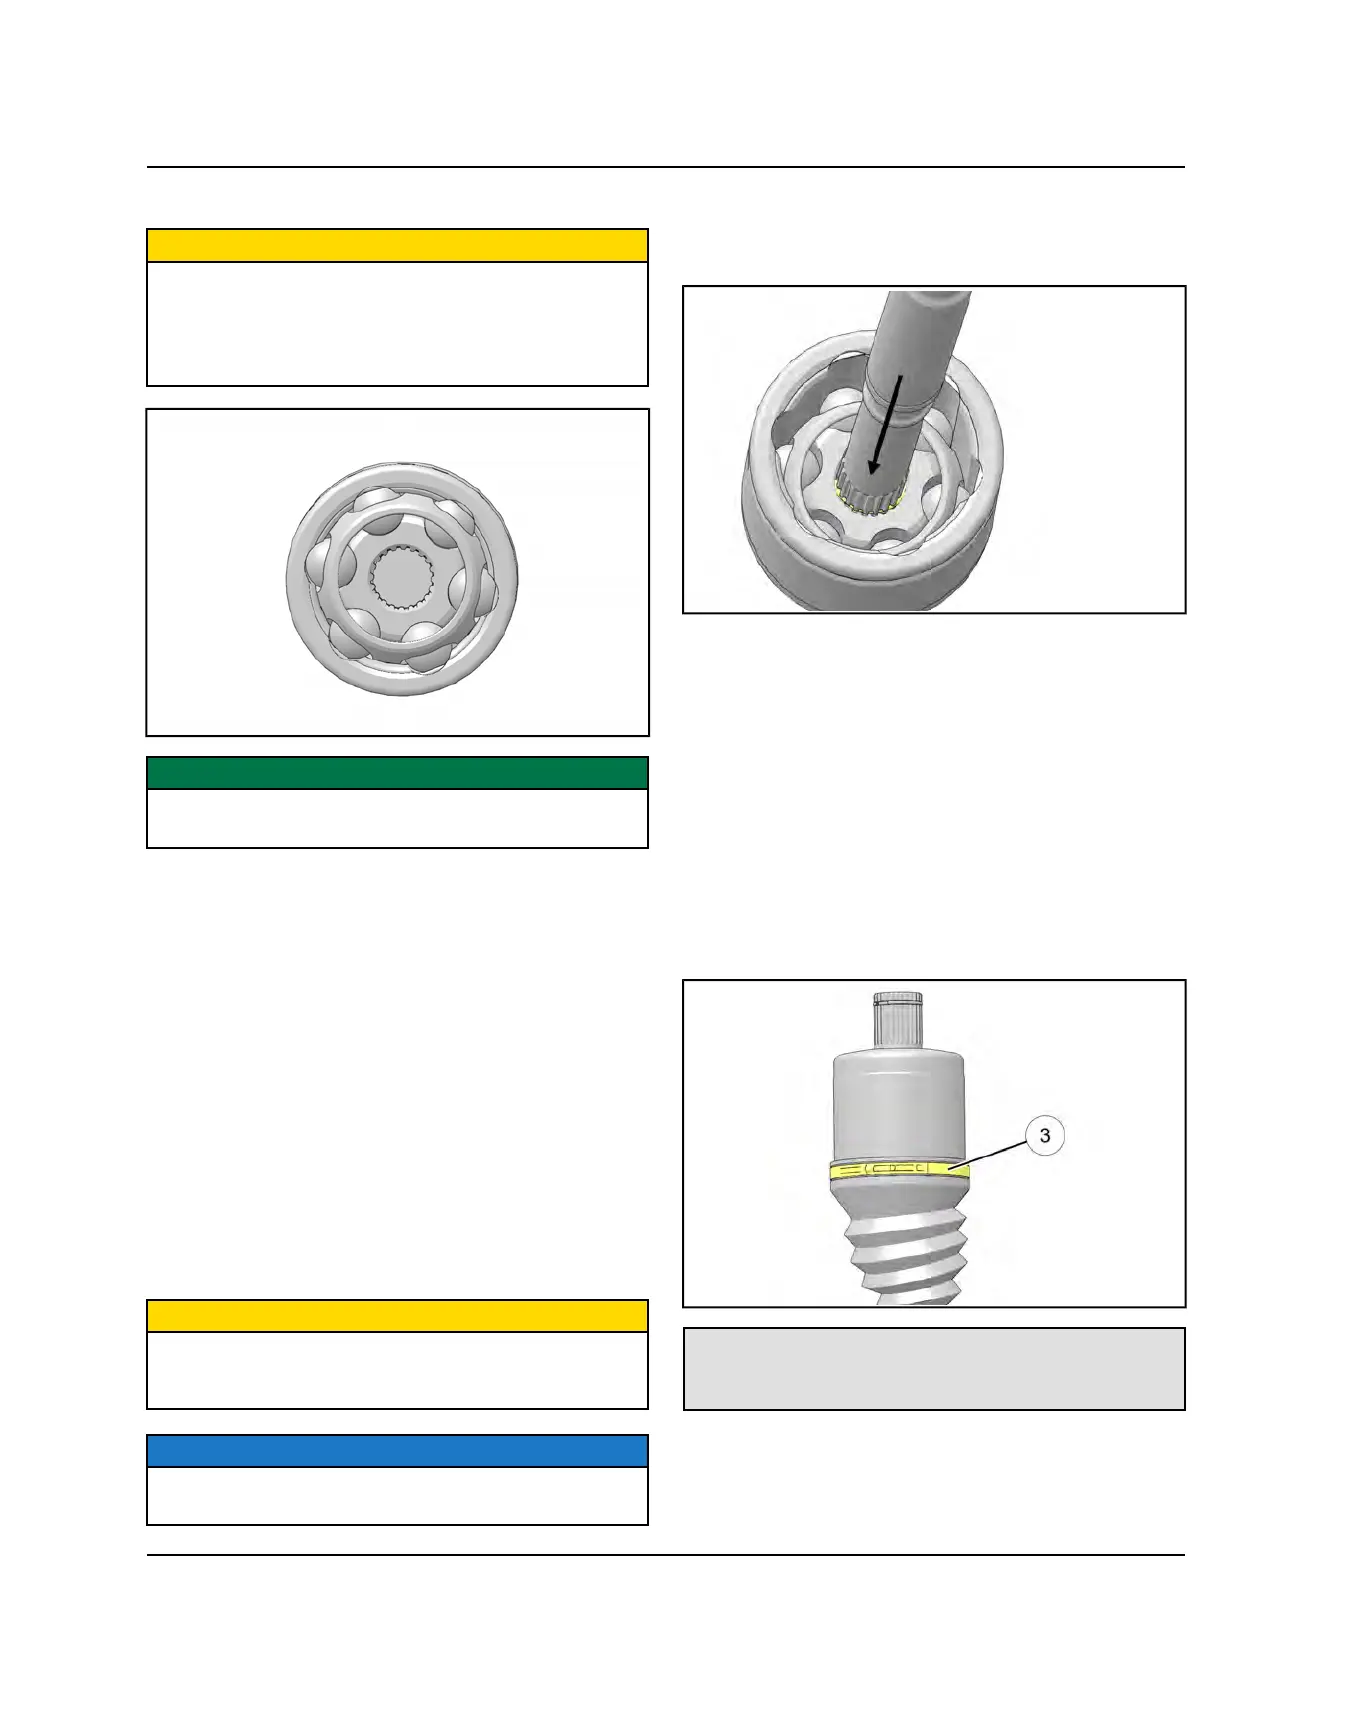
11. Install a new circlip on the end of the shaft.
12.Grease the joint with the special joint grease provided
in the boot replacement kit. Fill the cavity behind the
balls and the splined hole in the joint’s inner race.
Pack the ball tracks and outer face flush with grease.
Place any remaining grease into the boot.
CAUTION
The grease provided in the replacement kit is specially
formulated for wear resistance and durability. DO NOT
use substitutes or mix with other lubricants.
NOTICE
The amount of grease provided in the boot kit is pre-
measured. Use entire contents of package.
13.Fully compress the joint and push the drive shaft
firmly into the inner race.
14.Align the circlip with the lead-in chamfer.
15.Use a soft-faced hammer to tap the joint onto the
drive shaft until you reach the end of the splines and
the joint locks in place.
16. Pull on the joint to test that the circlip is seated and
that the joint is securely fastened to the shaft.
17.Remove excess grease from the plunging joint’s
external surfaces and place the excess grease in the
boot.
18.Pull the boot over the joint and position the boot lips
into the grooves on the joint housing and shaft. Make
sure the boot is not dimpled or collapsed.
19.Install and tighten the small clamp
e
using the
appropriate clamp tool.
Axle Boot Clamp Tool: PU-48951
or
CV Boot Clamp Pliers: 8700226
FINAL DRIVE
 Loading...