CONTROLS AND INSTRUMENTS
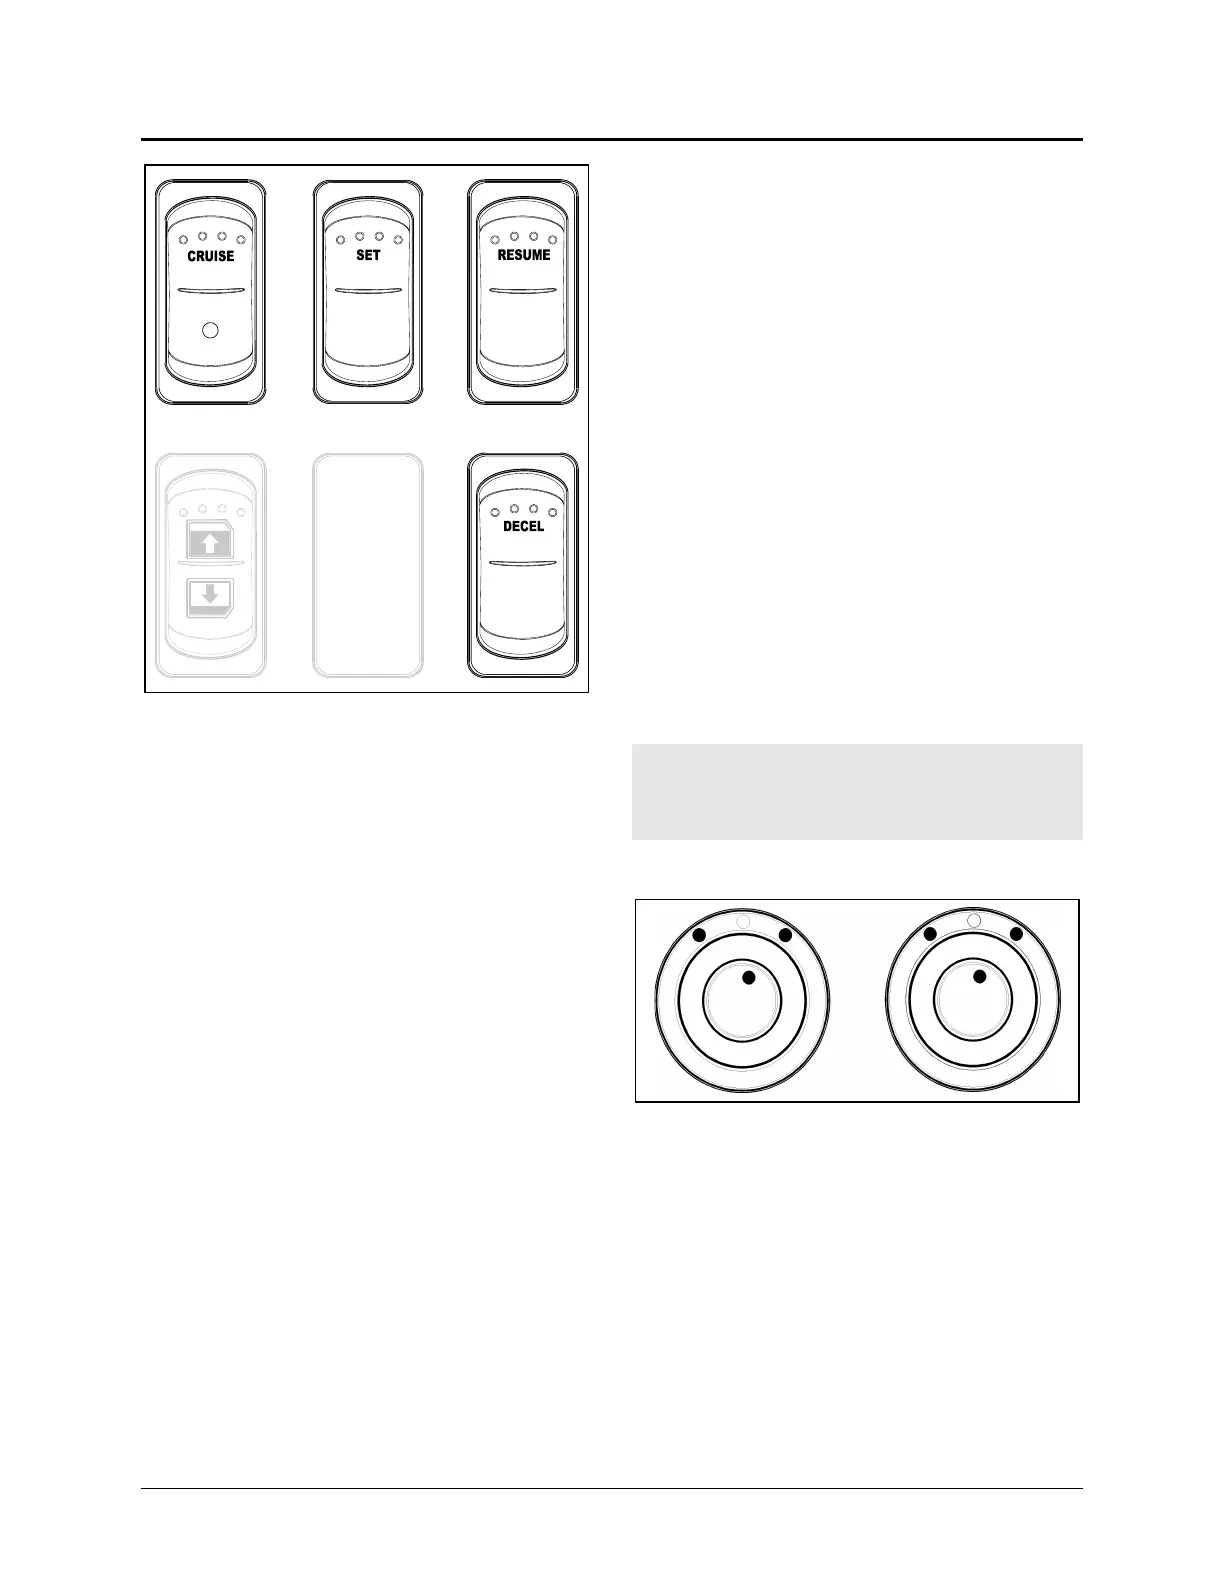
CRUISE CONTROL SWITCHES 06233
Increasing Set Speed
The vehicle cruise speed setting can be increased
by one of the following methods:
• Accelerate using the accelerator pedal until
the desired cruising speed is reached.
Depress and release the SET switch.
• Depress and hold the RESUME switch until
the desired cruising speed is reached. When
the RESUME switch is released, the new
cruising speed will be stored in the cruise
control memory. The RESUME switch does
not operate at speeds below 20 mph
(32 km/h).
When driving with cruise control ON, each time
either the RESUME switch is momentarily
depressed, the cruising set speed is raised by 0.6
mph (1.0 km/h).
Note: When driving with cruise control, the
vehicle can still be accelerated by depressing the
accelerator pedal in the usual manner. Once the
accelerator pedal is released, the vehicle will
return to the previously set cruising speed.
Decreasing Set Speed
The cruise speed setting can be decreased by
one of the following methods:
• Depress and hold the SET switch until the
desired cruising speed is reached. When the
SET switch is released, the new cruising
speed will be stored in the cruise control
memory.
• Depressing momentarily the SET switch will
decrease set cruising speed by 0.6 mph
(1.0 km/h).
• Slightly apply the service brake.
• Depress and release the DECEL switch.
After disengaging the cruise control, you can
return to the preset cruising speed by pressing
and releasing the RESUME switch providing that
your speed is above 20 mph (32 km/h).
Note: To avoid sudden vehicle hesitation, slightly
depress the accelerator pedal before disengaging
the cruise control.
Note: When the CRUISE rocker switch is turned
off, the cruise control is completely shut off and
the cruise speed setting is erased from the cruise
control memory.
Warning: Every time the SET or the RESUME
switch is depressed results in a decrease or
increase (respectively) in cruising set speed of
0.6 mph (1.0 km/h).
MIRROR CONTROLS (3)
MIRROR CONTROLS 06374
Turn left pointer knob counterclockwise for
outside flat mirror adjustments and to the right for
convex mirror adjustments, then use the joystick
control to adjust the selected mirror’s viewing
angle. Adjust the right outside mirror similarly but
by using the right side control.
Note: If the mirror assemblies on your vehicle do
not include convex mirrors, only one (1) mirror
control knob will be installed for both mirrors. To
operate, turn pointer knob to the left for L.H.
mirror adjustments and to the right for R.H. mirror
adjustments, then use the joystick control to
adjust the selected mirror’s viewing angle.
3-5