ProMinent
®
Page 28
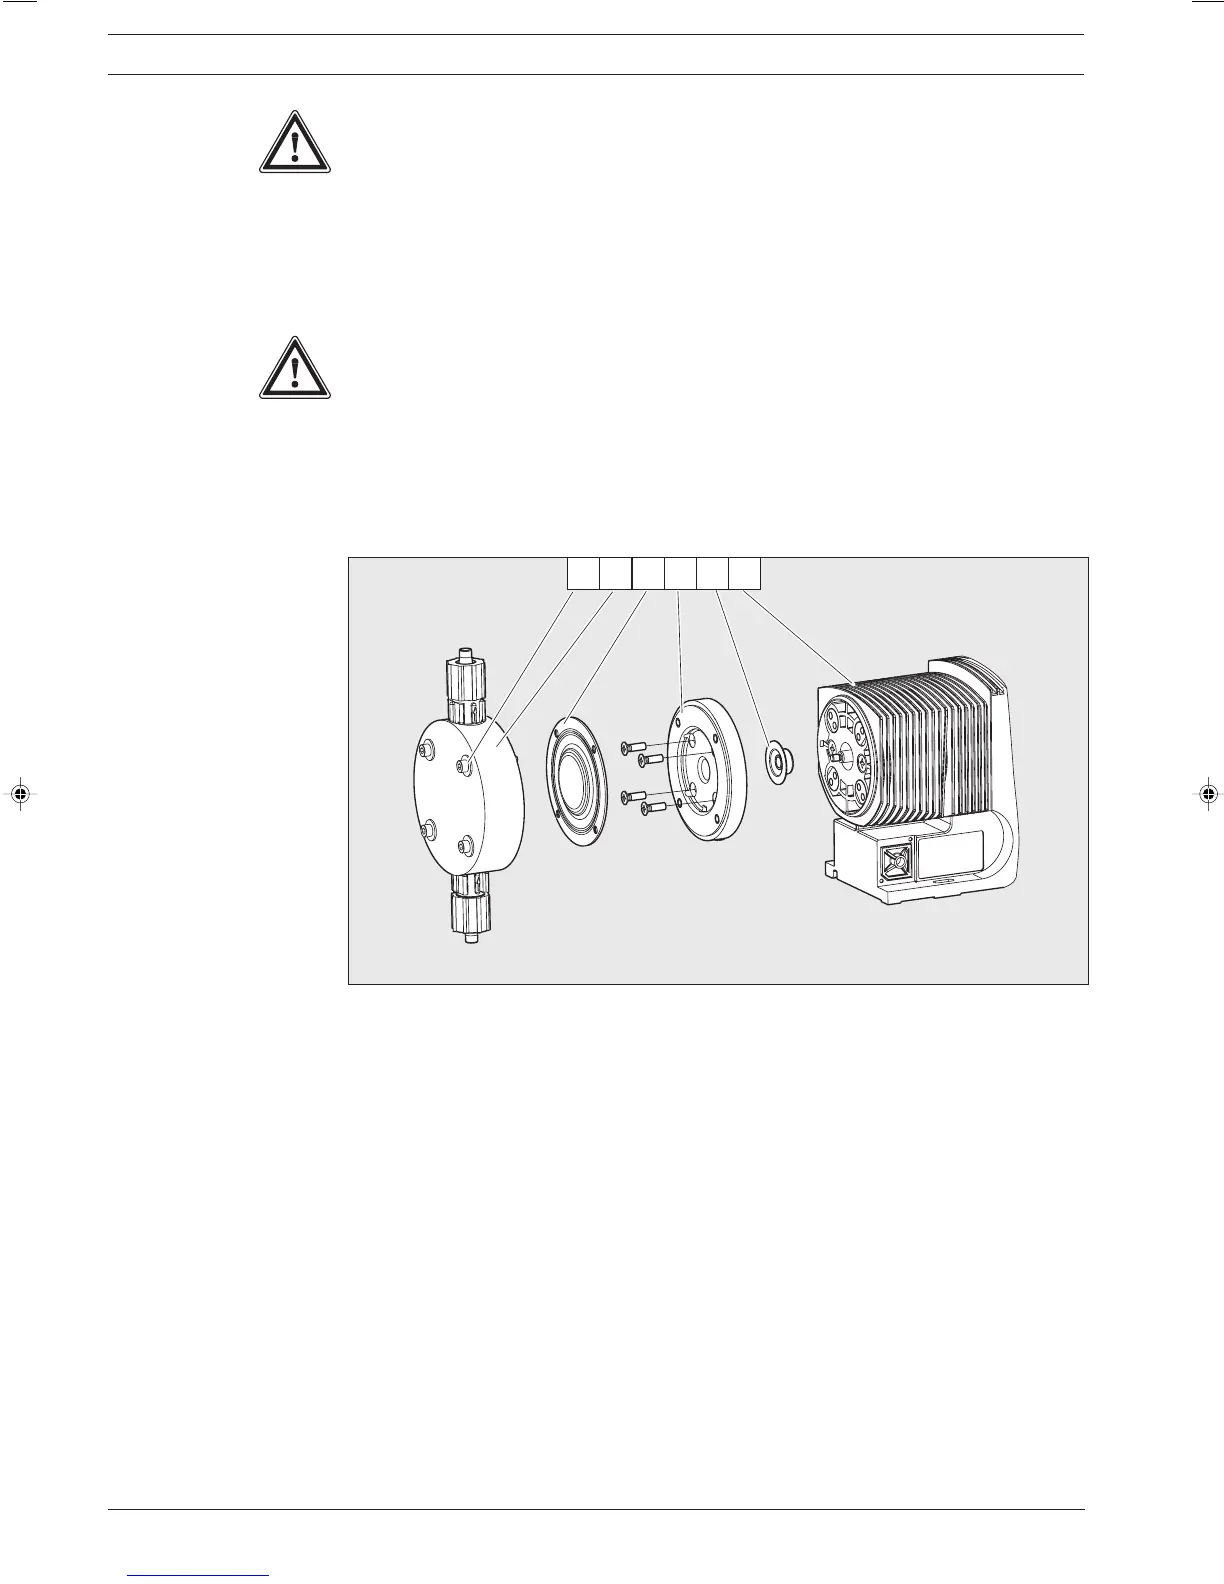
Fig. 19 1 Screws
2 Liquid end
3 Diaphragm
4Top plate
5 Safety diaphragm
6 Pump housing
CAUTION
• The leakage hole must point downwards when the pump is fully assembled (see fig. 13).
• Position the top plate correctly onto the pump housing. Do not distort the top plate on the
pump housing, otherwise the safety diaphragm will not fit.
왘 Adjust the stroke to 100 %.
왘 Lay the diaphragm (3) into the top plate (4).
왘 Hold the top plate and screw the diaphragm (3) in a clockwise direction until it is firmly in
position (you will feel the resistance of the return spring).
CAUTION
• Do not overtighten the diaphragm.
• The top plate must remain in position to prevent the safety diaphragm from distorting.
왘 Position the liquid end (2) with the screws (1) on the diaphragm (3) and the top plate (4) (the
priming connector must point downwards once the pump is fully assembled). Screw on screws
(1) lightly and tighten (starting torque, see above).
왘 For coarse/fine bleed versions: ensure the liquid end cover engages in the liquid end, then
push the coarse/fine bleed (knob) into the liquid end.
Repairs
NOTE
• Check the screw torque after 24 hours in operation!
• For PP liquid ends recheck the screw torque after three months!
Screw torques: 4.5 to 5 Nm
BA_BE_021_07_08_GB2.p65 17.07.2008, 14:35 Uhr28