10
Promise Technology
Pegasus R4i
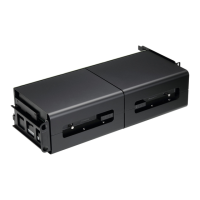
• Remove the clamp plates for the MPX bay to be used.
• Orient the Pegasus R4i to align with the MPX bay.
• Carefully insert Pegasus R4i into the MPX bay as shown in the picture.
• Notice the left side ribs on the Pegasus R4i insert into slots in the Mac Pro chassis. This will
properly align the unit for insertion.
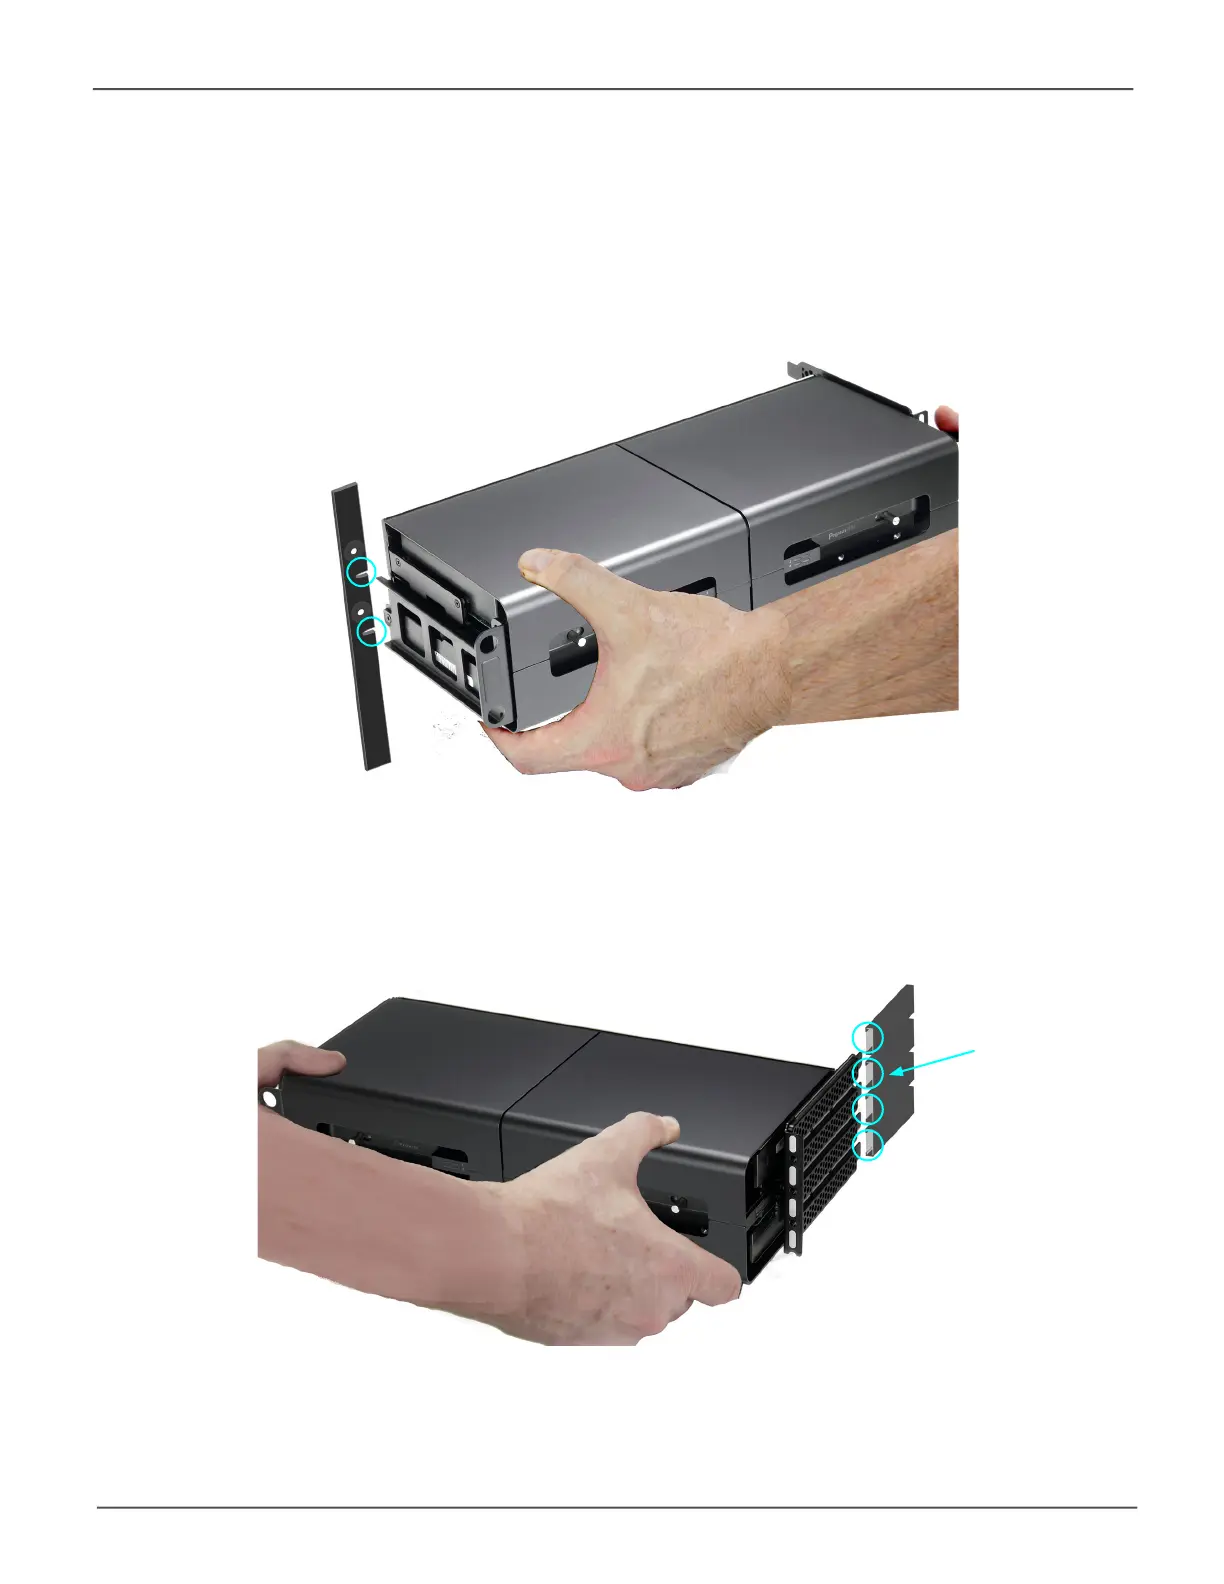
• The PCI faceplates on the right side of the Pegasus R4i must be inserted into the PCI
ladder.
• Firmly push the Pegasus R4i until the PCI bracket clip clicks in place. At this point the unit is
rmlyseatedandthePCIconnectorisfullyengaged.
PCI Faceplates t
into PCI ladder on
Mac Pro
 Loading...