32
Promise Technology
Pegasus32 R4/R6/R8
Daisy-Chaining Multiple Pegasus32 (Thunderbolt only)
Upto6Pegasus32devicescanbeconnectedtoeachotherandtoyourinadaisychainsequential
Thunderbolt™ 3 connection. To daisy-chain multiple Pegasus32 units:
1. Connect a Thunderbolt™ 3 cable from one of the Thunderbolt™ 3 ports on the back of your
computertooneoftheThunderbolt™3portsontherstPegasus32unit.
2. ConnectasecondThunderbolt™3cablefromotherThunderbolt™3portontherst
Pegasus32 unit to one of the Thunderbolt™ 3 ports on the second Pegasus32 unit.
Note
Unlocking the UI requires administrator privilege. Make sure you have the macOS
administrator Name and Password.
Unlocking the UI
Bydefault,theUIislockedtopreventunauthorizedchangestoyourRAIDsystem.WhentheUIis
locked,youcannotcreatelogicaldrivesorchangesettingsonthePegasus32unit.
To unlock the UI:
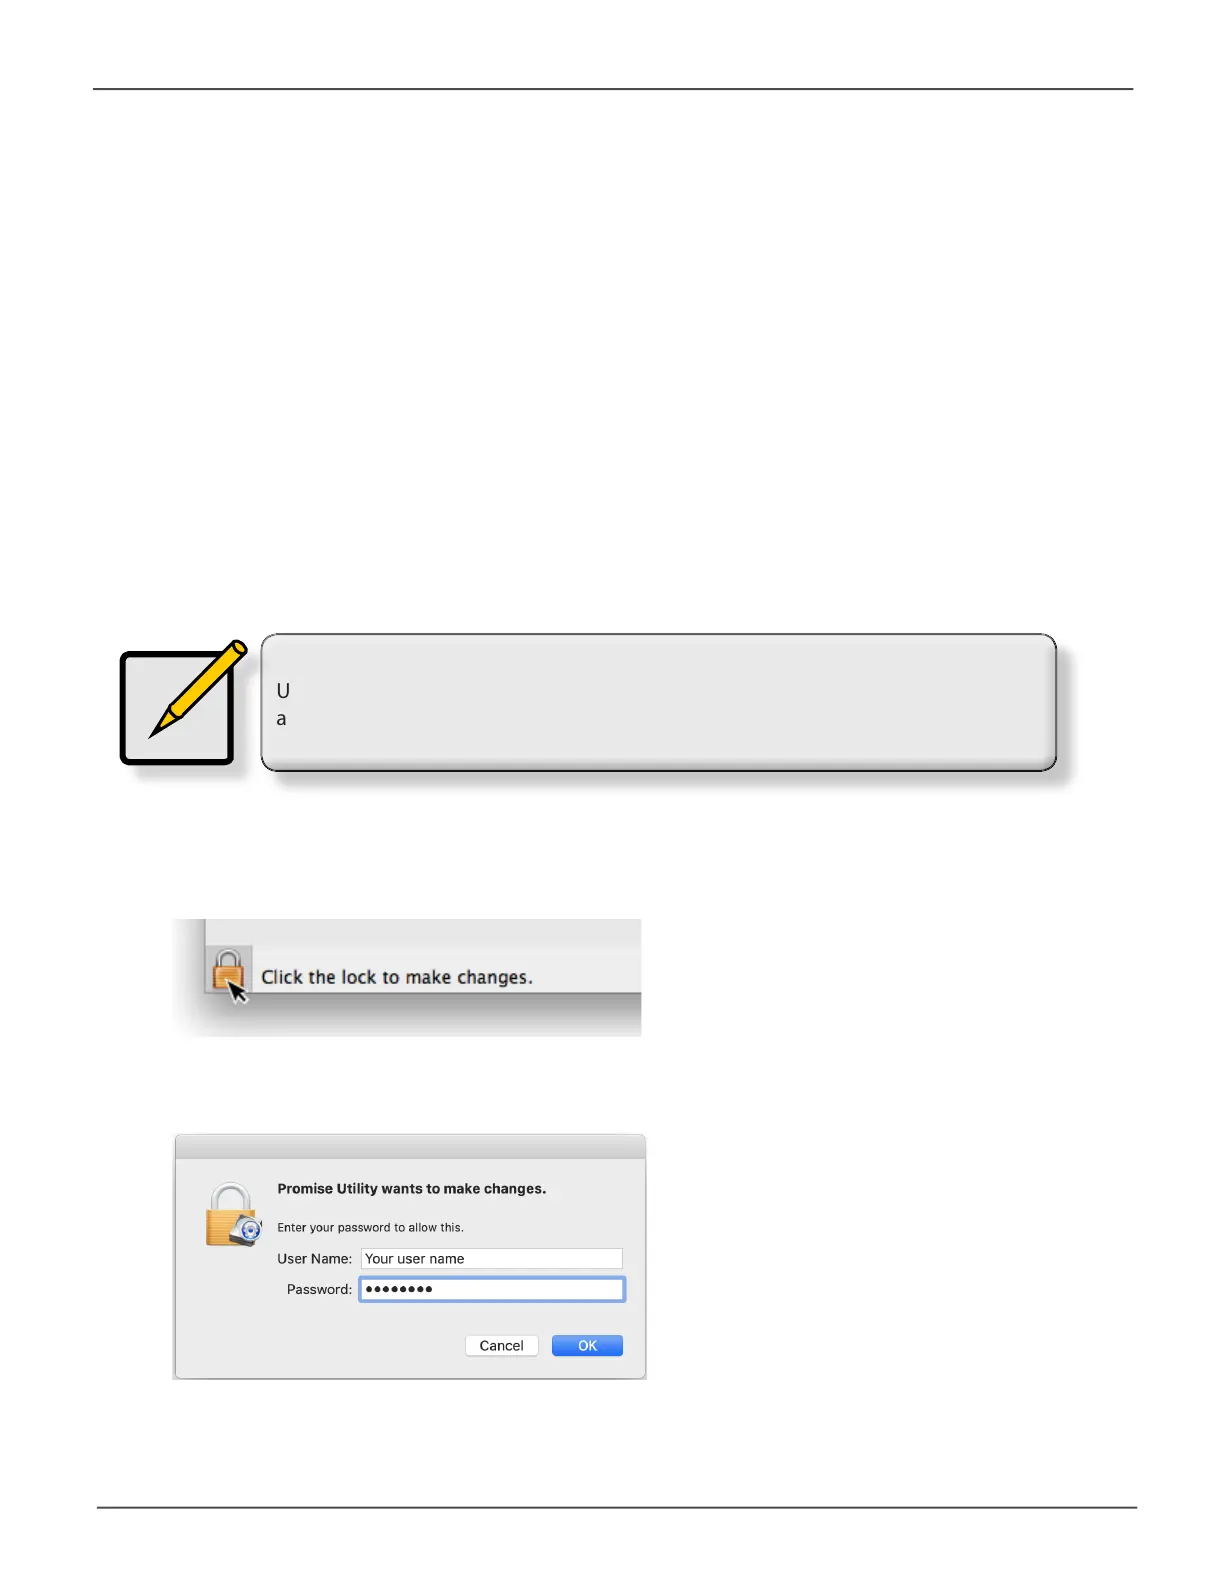
1. AtthelowerleftscreenofthePegasusUtilitywindow,clicktheclosedlockicon.
The Pegasus Utility password dialog box opens.
2. TypeyourMacpasswordintothePasswordeldandclicktheOK button.
Thelockiconchangestoopenandyoucannowaddanddeletelogicaldrives,makesettings,
runbackgroundactivities,andupdateyourPegasus32system.

 Loading...


