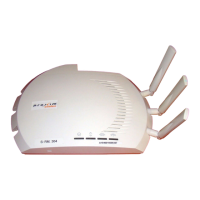
Installation and Initialization
Tsunami QB-8100 Series (100 Mbps/5 Mbps Models) Installation and Management Guide 24
Step 7: Plug in the Cables
1. Plug one end of Cat5 Ethernet cable (5.5 mm/.217 in OD maximum; not supplied) into the Ethernet (RJ45) jack of the
Ethernet interface inside the unit enclosure. Ensure that the cable connector is latched securely. You can hear a click
sound when the cable connector latches into the jack, then tighten the sealing nut by hand.
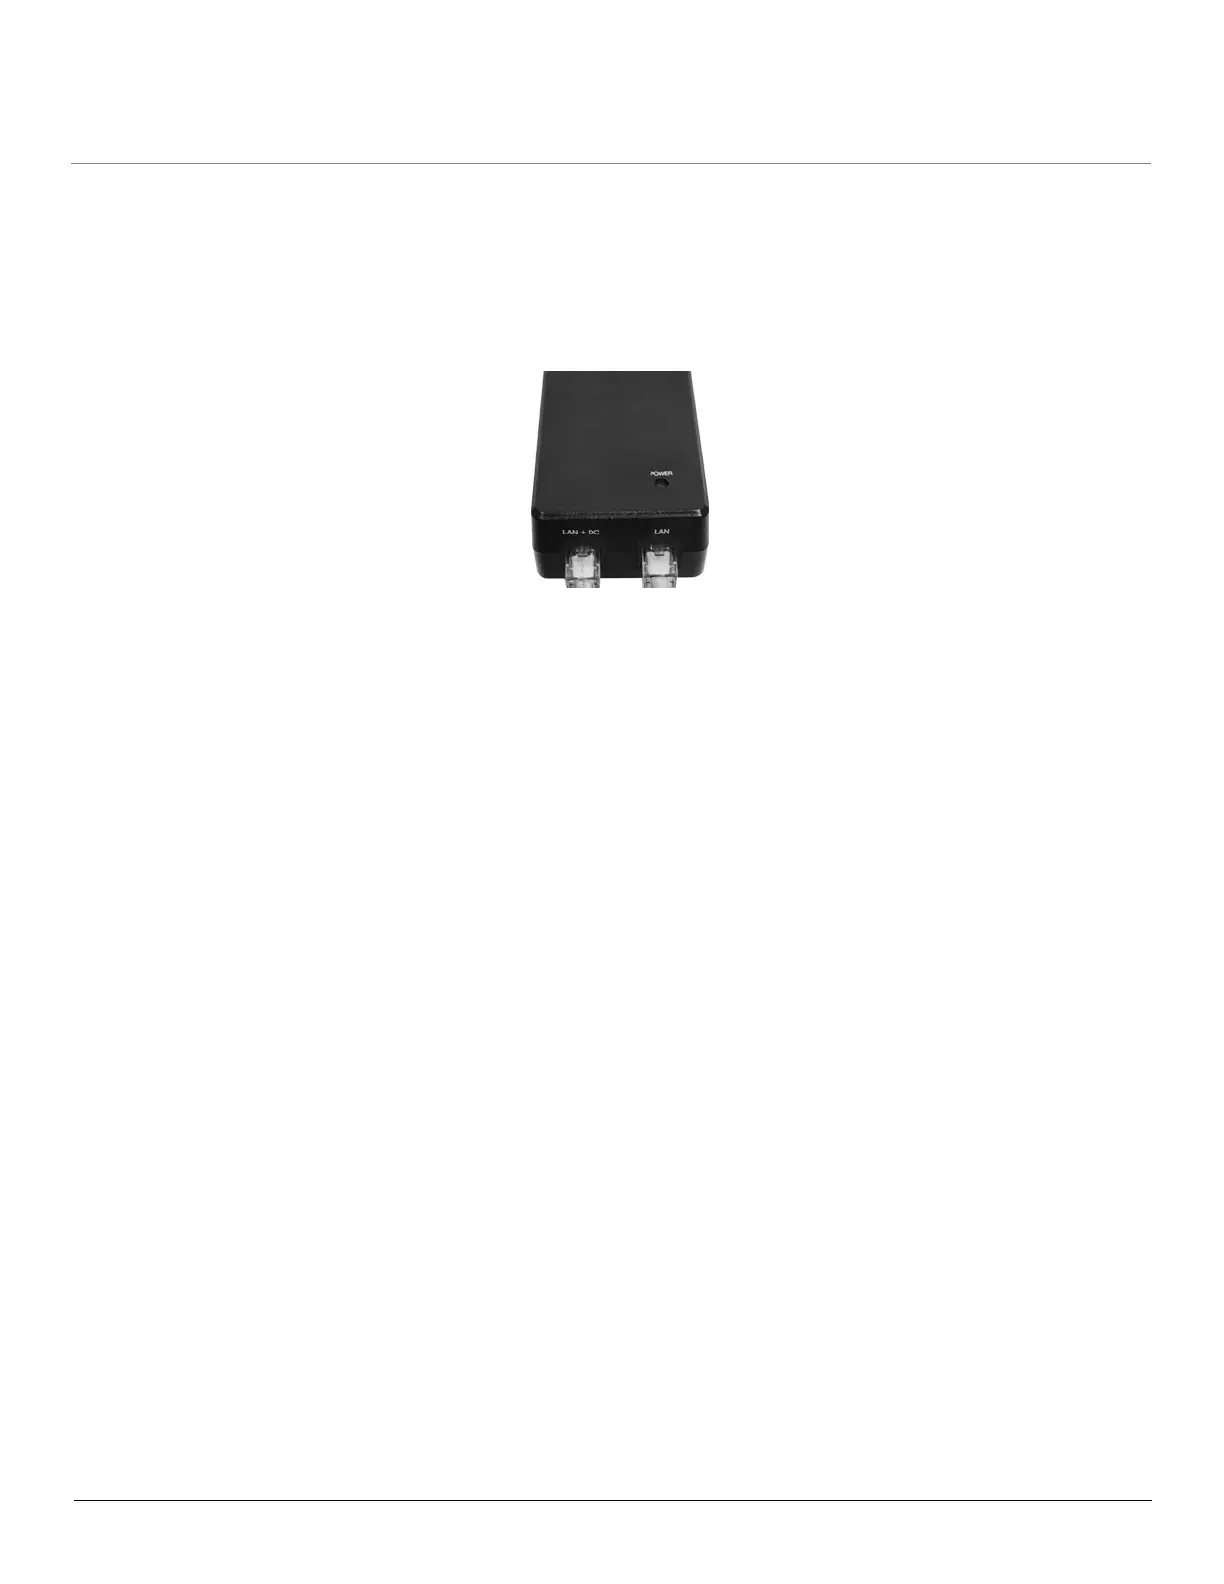
2. Connect the other end of the Cat5 cable to the “LAN+DC” port on the power injector.
NOTE: Proxim recommends to use the supplied PoE injector.
Figure 2-4 PoE Injector
WARNING: Connect network devices only into the “LAN” port of the Power injector. The “LAN+DC” port is
meant to power the QB-8100 unit.
3. To connect the QB-8100 unit directly to a PC, connect an Ethernet cable between the network interface card in the
PC and the RJ45 “LAN” port on the power injector.
4. To connect the QB-8100 unit through a hub or a switch to a PC, connect an Ethernet cable between the network
interface card in the PC and the hub. Connect another ethernet cable between the hub and the RJ45 “LAN” port on
the PoE injector.
NOTE: The unit auto-detects the cable type so straight or crossover ethernet cable can be used, provided the device at
the termination end has auto detection capability.
Step 8: Ground the Unit
To ensure proper grounding, use the ground point which is situated at the bottom corner of the unit and the grounding screw
(M3 thread size) provided to attach a ground wire of at least 12 AWG stranded to the unit. It is important that the following
ground guidelines are followed during installations:
1. Connect one end of the grounding cable to the QB 8100 unit as shown in the figure below and the other end to the
closest earthing system point at the installation.
2. Cut any extra ground wire length when finished connecting it to the single point earth ground.
3. Avoid sharp bends and never loop or coil up the ground wire, always connect it straight to ground.
4. A good earth ground impedance is less than 1.0 ohm.
5. Measure ground impedance at the point where the protector ground wire is connected and not at the ground rod.
6. Connect the protector ground wire and equipment ground (both power ground and telecomm ground) to a single
common ground.
7. Make sure all connections are fastened securely and are tight.
8. Never install during a storm and always follow your local safety codes.
Connect the grounding wire, which is supplied with the product package, to the grounding lug as shown below:
 Loading...