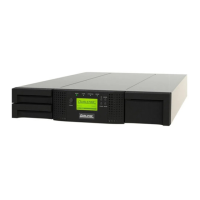
Q24/Q48 Tape Library Installation and Operations Manual
2.9 Installing a tape drive
A tape drive is installed from the rear of the library. If the library does not already have a tape drive
installed, install it now. If the library already has one tape drive installed, an additional tape drive may
be added now or after installation of the library is complete.
Required tool:
• #2 Phillips screwdriver
To install tape drives:
1. The Q24 has space for either 1 or 2 half-height tape drives. The Q48 has space for 1 to 4 half-
height tape drives. Always install the first tape drive in the bottom of the drive bay. A drive bay
cover must be installed over any upper empty drive positions.
2. If a drive cover is present, loosen the screws and remove the cover to install one half-height
tape drive.
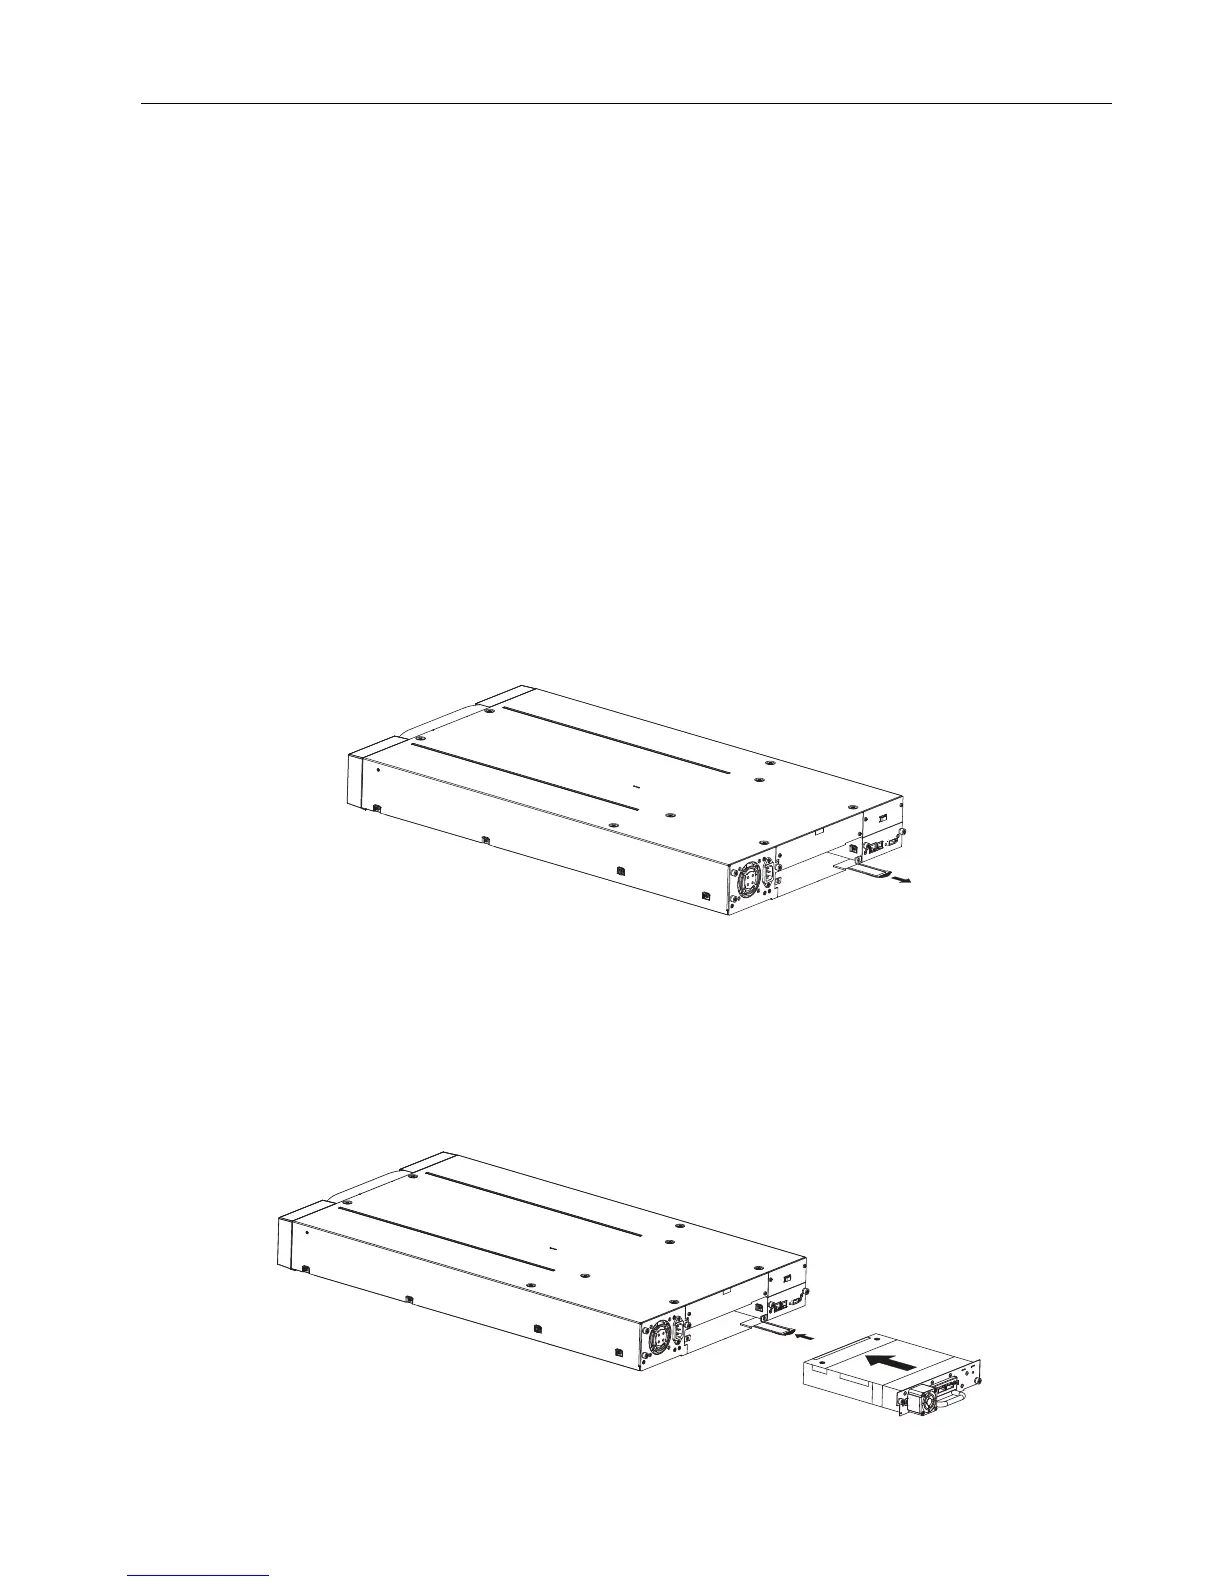
3. When installing the bottom drive, slightly pull out the tab of the product ID label so it does not
interfere with the insertion or removal of the tape drive.
Figure 16 Pullout tab for product ID
4. Before installing the drive, inspect the connectors on it. Ensure that the connectors are intact,
free of any foreign objects, and have no cracks, or deformed or bent contacts.
5. Insert the tape drive into the drive bay, and align the connectors on the library while
supporting the drive.
Figure 17 Install a tape drive
© Copyright QUALSTAR 2015 16