49
PAIRING INSTRUCTIONS
NOTE: The Teal 2 and TAC only needs to
be paired once. The system reestablishes
the link upon the
Teal QGC launch, as
long as the system has not been
unpaired or paired to a different TAC.
Follow along with our instructional video, Linking
Components: Teal Teal 2 Drone on our website at:
https://tealdrones.com/support/video/
Power on the Teal 2 and the TAC.
Make sure that the active network is set to DRONE and
not WIFI to pair the system in the Teal TAC Setting App.
Press and hold the black multi-function button on the
Teal 2 for 5 seconds, then release.
NOTE: Pressing this button will remove
any previous connection or pairing to a
TAC. This step is only necessary for
pairing, not reconnecting.
When the side panel lights stop flashing and stay on,
the Teal 2 is ready to pair with the TAC.
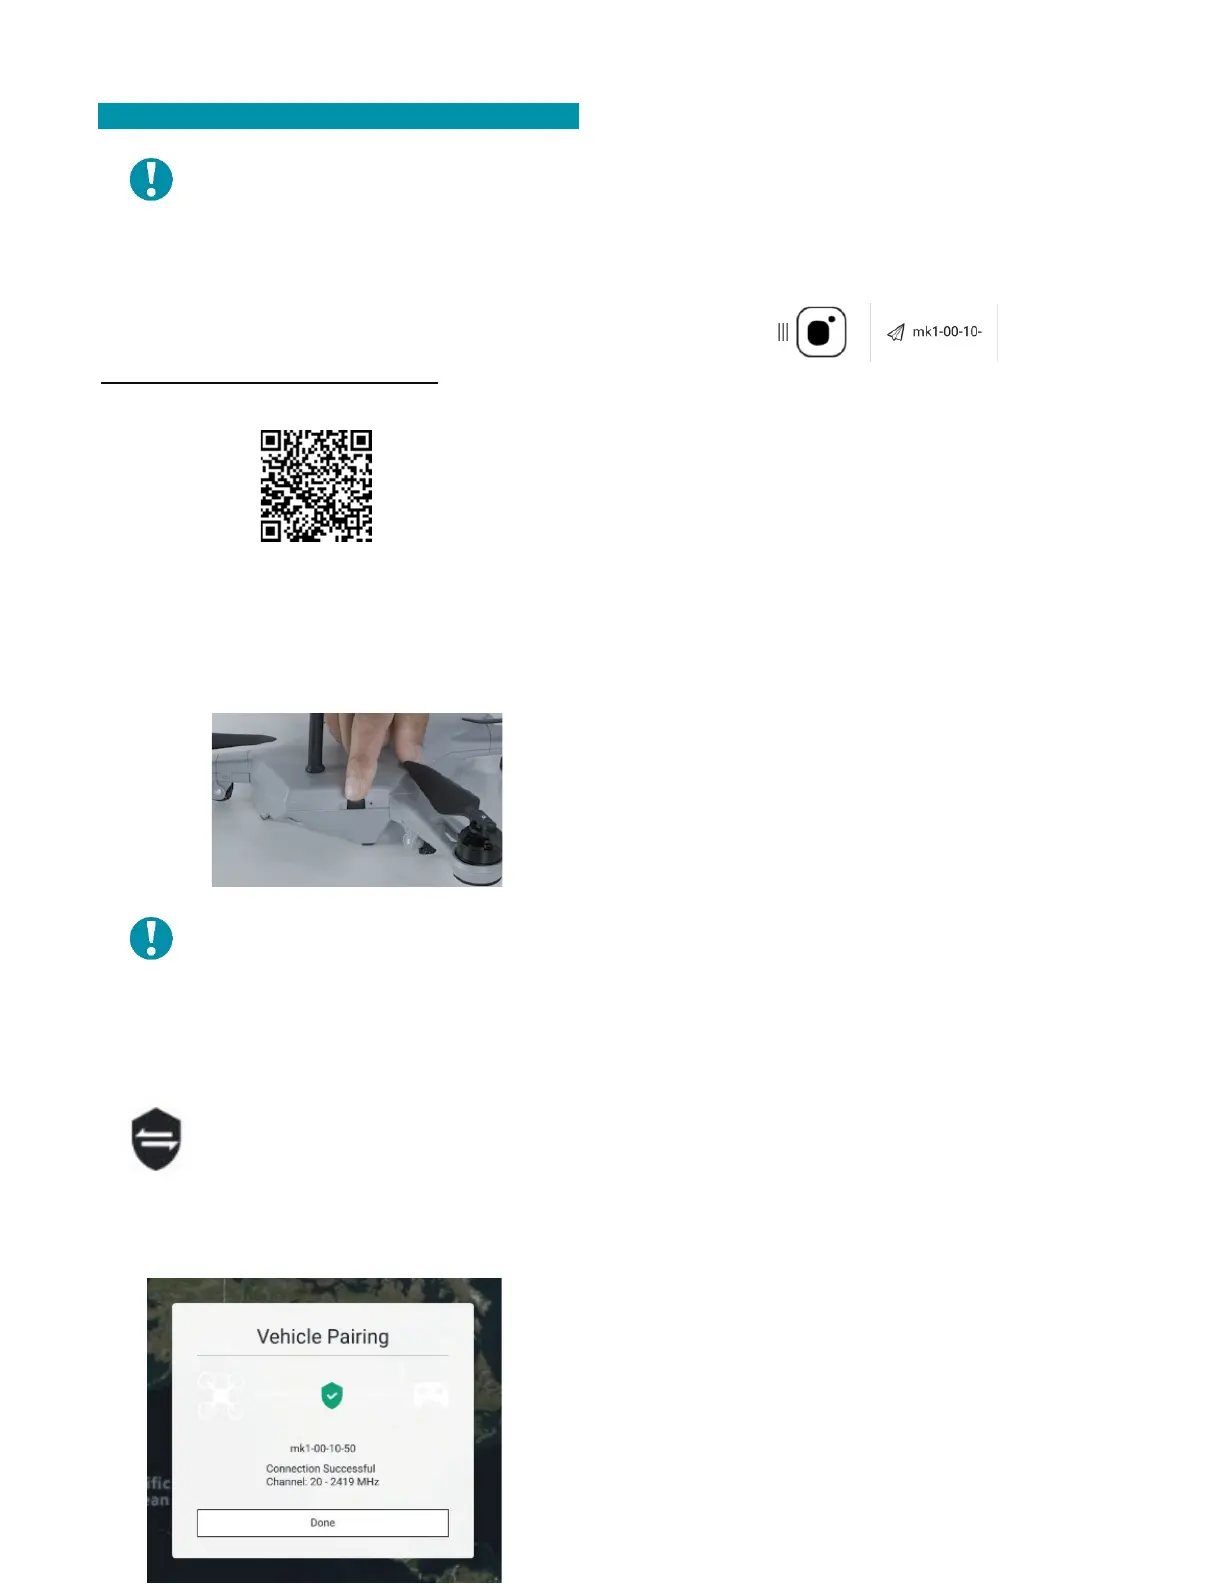
Touch the shield icon at the top-right
corner of the FLY SCREEN to open the
VEHICLE PAIRING window.
Once the Teal 2 has been discovered the
vehicle ID will appear in the window.
Touch the PAIR button to use the default
communications channel.
When the pairing is successful, a CONNECTION
SUCCESSFUL message will appear.
Select DONE to exit and return to the FLY SCREEN. The
vehicle ID should now be visible at the top of the
screen.
A red arrowhead will appear on the map representing
the vehicle and its location.
Touch the gear icon to open a Pairing Configuration
dialog box to change the pairing channel. A list of
available channels is displayed.
• The default or currently selected channel is
highlighted in green.
• Select the desired channel. This closes the
drop-down list and shows the newly selected
frequency in the Pairing Configuration dialog
box.
• Select APPLY to pair at that selected
frequency.