40
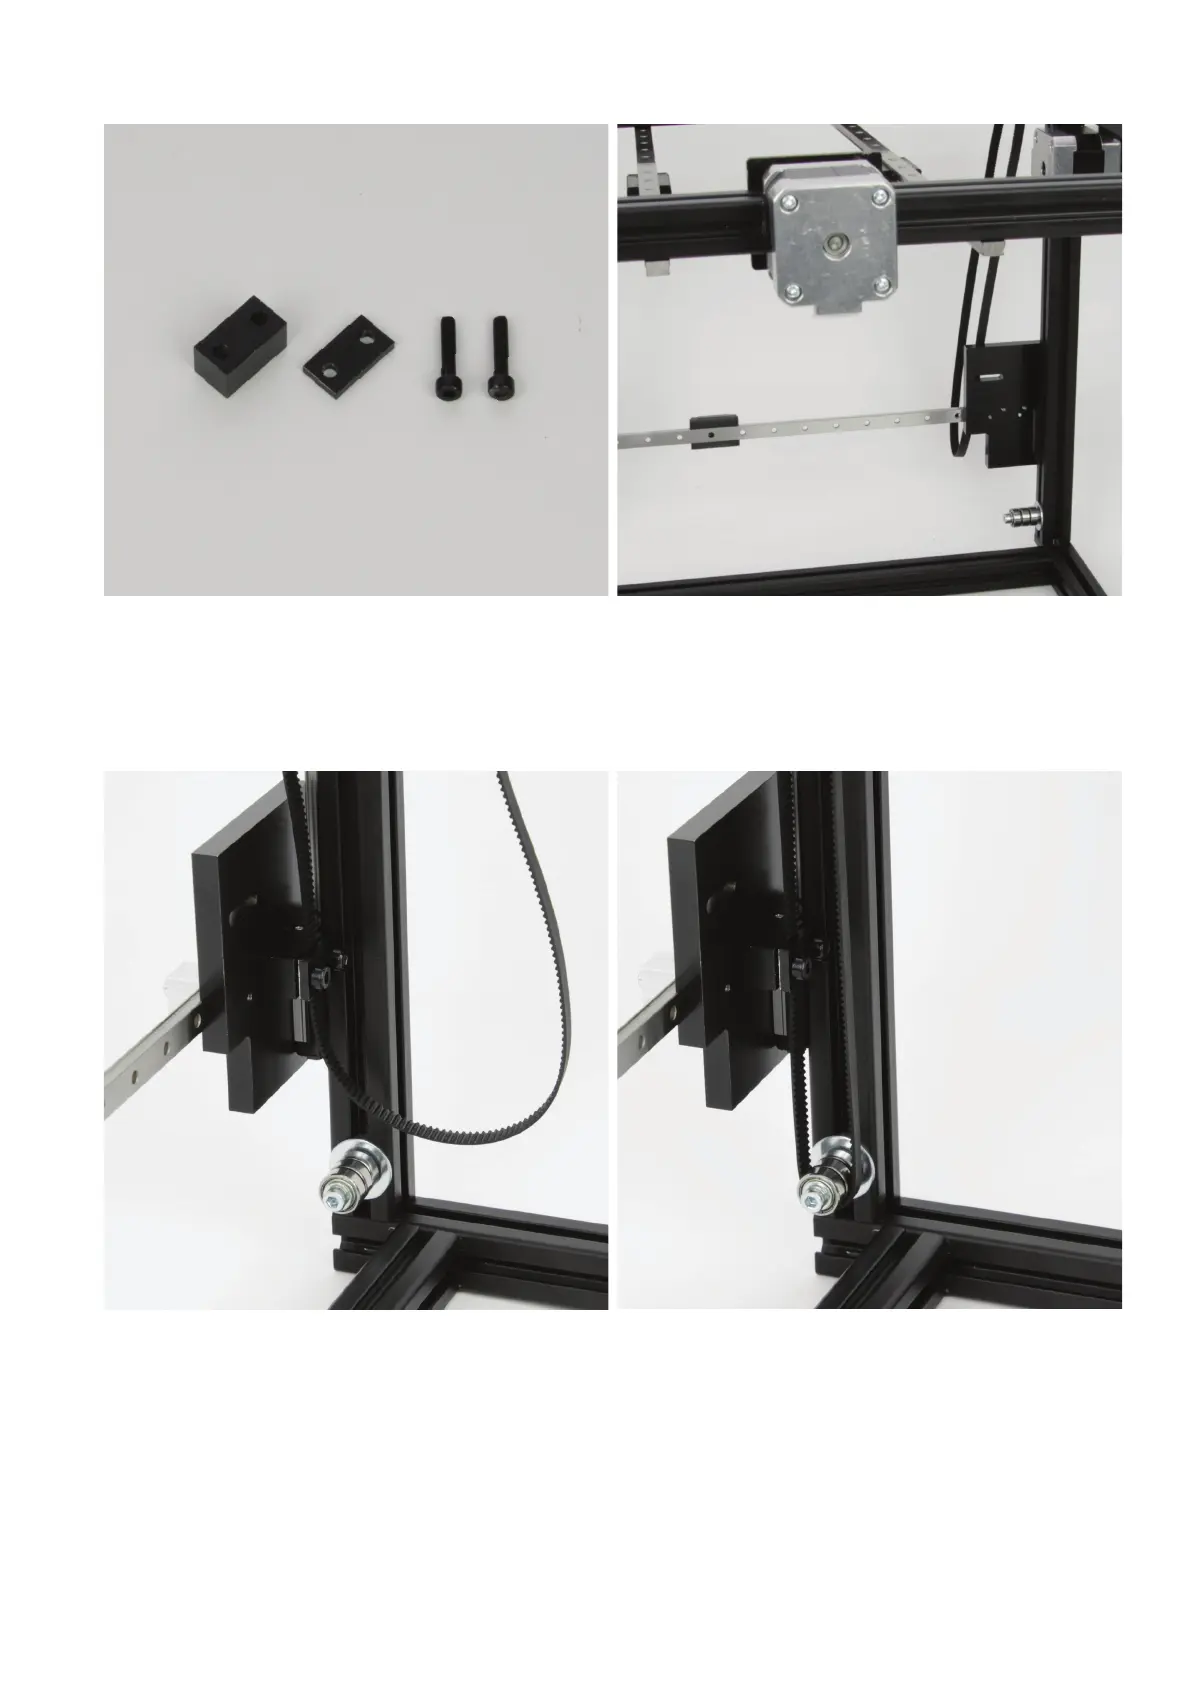
AttachmentoftheleftY-toothedbelt(viewedfromthefront)
1x black block with 2 bores
1x black disc with 2 bores
2x cylinder head screw M4x20
MovetheX-guiderailforwardintheY-directionuntilthelimitswitch
hits the end stop.
Place the basic frame on its front.
First,theleftY-toothedbelt(viewedfromthefront)isattached.
Attach the toothed belt to the bottom of the left guide carriage plate
as illustrated.
The order of attachment is as follows:
Guide carriage plate - black block - toothed belt - black disc - cylinder-
head screws.
Align the toothed belt so that it runs in parallel to the aluminium pro-
le.Tightenbothscrews.
Optionally, the screws can be secured with threadlocker varnish.
Now attach the toothed belt to the belt tensioner.
Move the belt tensioner to clamp the belt a little and tighten the screw
of the tensioner.
Final tensioning takes place when both toothed belts are attached.